When equipping your kitchen, deciding between a blender and a food processor can be pivotal, as each appliance serves distinct purposes that cater to different culinary needs.
The best blenders are designed primarily for liquid-based tasks. They're perfect for smoothies, soups, sauces, and other smooth concoctions. From budget-friendly options to high-performance machines, blenders are ideal for casual cooks and serious chefs.
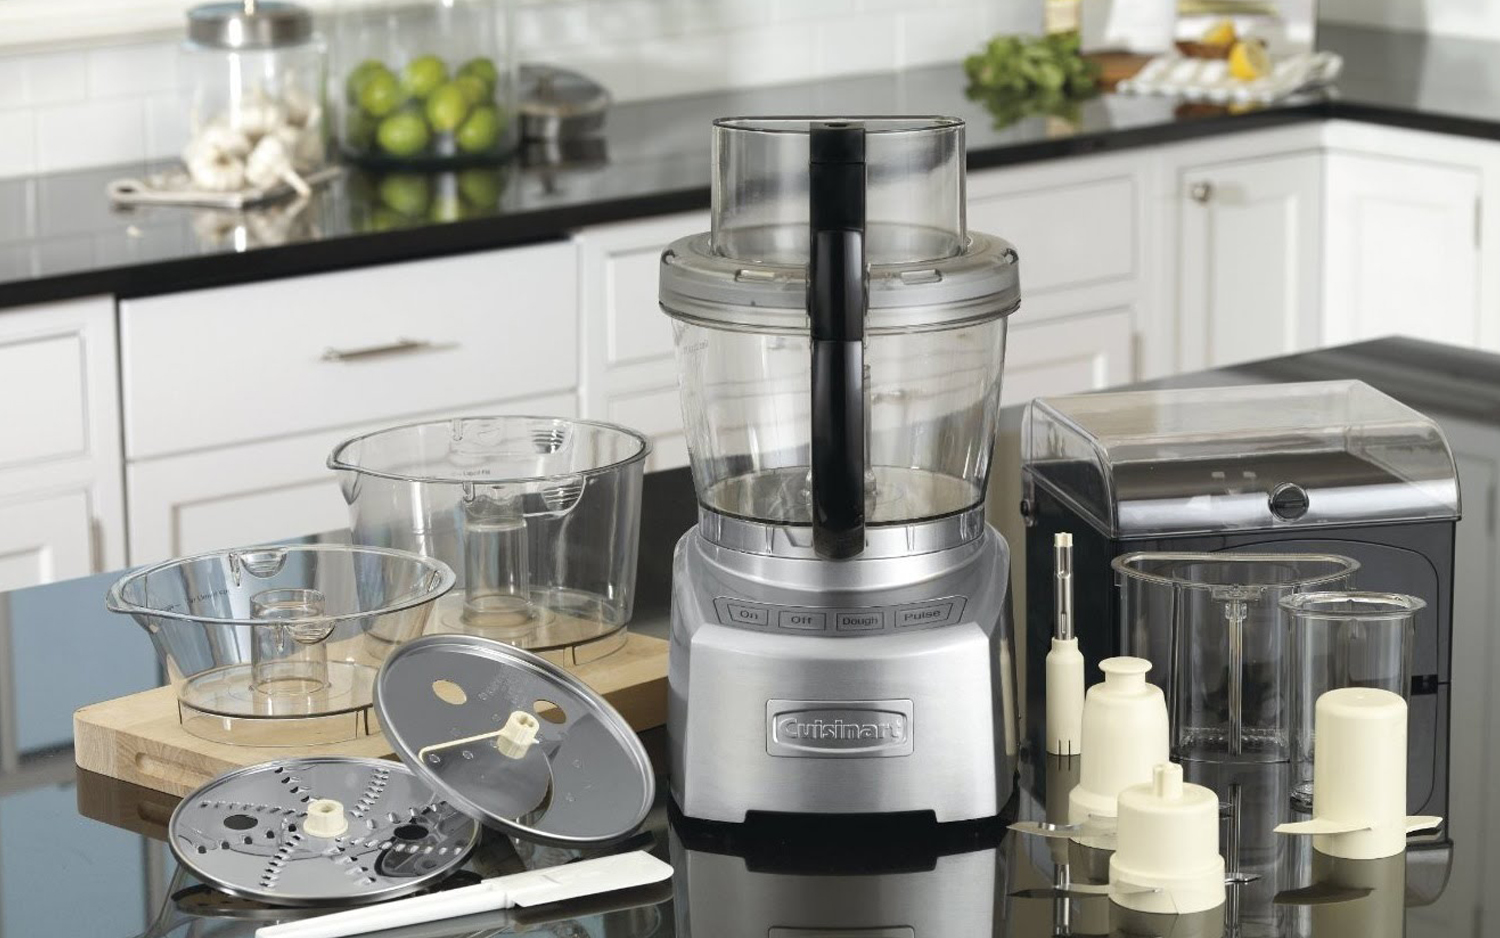
On the other hand, the best food processors are multipurpose tools that can chop, slice, shred, and mix stuff. They can handle large quantities of ingredients quickly and efficiently because they come with multiple attachments and blade options. Batch cooking or preparing diverse dishes at once is easy with their larger bowls.
If you want the best cooking experience, you have to know the strengths and limitations of both appliances. Knowing the right tool is critical whether you're a smoothie lover or a meal prep guru.
Food processor vs blender: Price & value
Blenders are generally more affordable than food processors because they have fewer attachments and serve different purposes. If you're looking for a reliable blender for smoothies and basic blending tasks, you can usually find good-quality models for under $100. NutriBullet and Oster offer great performance for less.
It's more expensive to buy a food processor because it's a multipurpose machine. With different blades and attachments, it can chop, slice, grate, and even knead dough. Ninja Precision Processors, with spiralizers and extra tools, can cost $150 or more.
Basic blenders are usually around $30, while high-performance ones like Vitamix can cost $300 to $600. For simple models, food processors start at about $50, with more advanced ones costing $200 to $400. A food processor's higher price reflects its complexity and versatility; it can do more than just blend.
Food processor vs blender: Features & functions
Blenders make liquid-based tasks easy. They efficiently blend ingredients to make smoothies, soups, and sauces. Smooth smoothies and frozen desserts are perfect for blenders that can handle tough ingredients like ice and frozen fruits. Most blenders come with multiple speed settings and preprogrammed functions, like crushing ice or making nut butter.
On the other hand, food processors can do much more than blend. They come with different attachments and blades for cutting, chopping, shredding, and even kneading. They're great for meal prep because they can process large amounts of vegetables and ingredients quickly. The bigger bowls on food processors make them great for batch cooking and simultaneously preparing ingredients for multiple meals.
While there's some overlap in functionality, like blending soups or making smoothies, each appliance shines in its way. For example, a blender is better suited for achieving a silky texture in liquids, while a food processor is better suited for solid ingredients and complex preparations.

Food processor vs blender: Performance
Blenders often feature powerful motors and sharp blades. They blend liquids and soft solids quickly and efficiently, creating smooth textures. Smooth smoothies, soups, and sauces are made with high-performance blenders, which can handle tough ingredients like ice, frozen fruit, and fibrous vegetables.
A blender's performance is influenced by its wattage; a bigger wattage usually means better blending abilities, especially for thick mixtures. In addition, many blenders have variable speed settings and preprogrammed functions, enhancing their versatility.
While food processors are built for versatility, they can chop, slice, shred, and mix food like no other. With different attachments and blades, they can handle a wide range of textures, from finely chopped veggies to coarsely shredded cheese.
When you cook for your family or prep meals, a food processor's larger bowl capacity lets you process larger amounts of food, saving you time. However, a food processor can't blend smoothly like a blender, especially for liquid-heavy recipes.
| Header Cell - Column 0 | Blender | Food processor |
|---|---|---|
| Smoothies | Yes | Not ideal |
| Soup | Yes | Not ideal |
| Puree | Yes | Not ideal |
| Nut butter | Not ideal | Yes |
| Dips | Not ideal | Yes |
| Dough | No | Yes |
| Shredded cheese | No | Yes |
| Chopped vegetables | No | Yes |

Food processor vs blender: which is better?
Consider your primary cooking needs when choosing between a food processor and a blender. Blenders create smooth textures, so they're perfect for smoothies, soups, and sauces. Their straightforward design makes them an excellent choice for liquid-based tasks. High-performance blenders can handle tough ingredients like ice and frozen fruits with powerful motors and various speed settings.
While food processors offer unparalleled versatility, they can chop, slice, shred, and knead dough, making them perfect for batch cooking. They are also great for handling large amounts of vegetables and ingredients because they have multiple attachments and larger bowls.
Food processors are more expensive and specialize in liquids. A blender is a good choice if you mainly cook drinks and soups. However, if you make many different dishes and need to handle different textures, you should get a food processor.
You might find that one suits your kitchen better than the other, or you might benefit from both.

