How to sand and refinish hardwood floors
Learn how to sand and refinish hardwood floors to revive the look of wooden flooring and show off its natural color.

Sign up to receive the latest news, reviews, buying guides and deals direct to your inbox
You are now subscribed
Your newsletter sign-up was successful
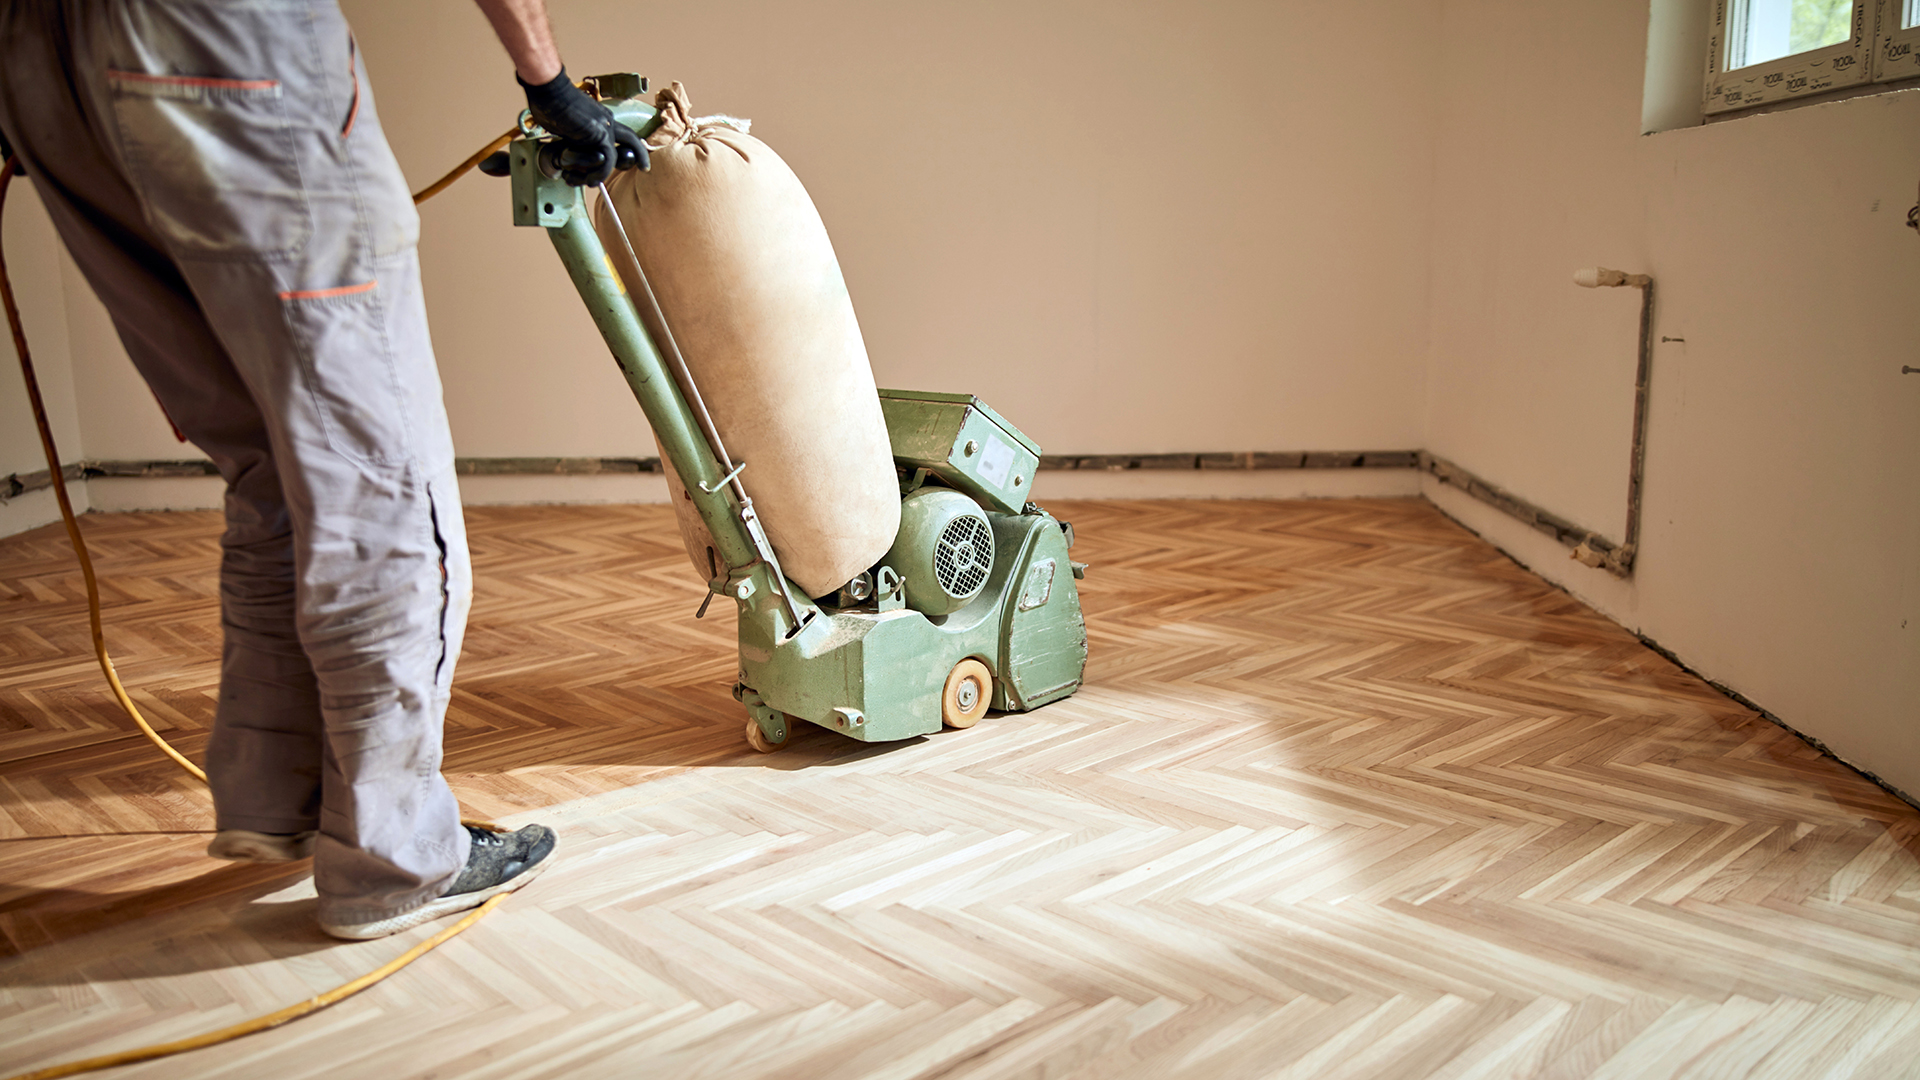
When you know how to sand and refinish hardwood floors, it can be simple to keep wooden floorboards in great condition for years to come. While regular sweeping will keep a wooden floor clean, sanding and refinishing can help restore hardwood to its original appearance when wear and tear has caused it to become dull or scratched.
Hardwood floors are finished with a clear protective coating that wears away over time. By sanding the floor and learning how to seal hardwood floors, you can give your wooden flooring a new lease of life – and the best part is, this is an easy DIY job that anyone can tackle.
Can you refinish hardwood floors yourself?
Refinishing hardwood floors is a popular DIY project that is cheaper than paying a professional. As Goodell David, Founder of WoodWorking Clarity explains, “Any homeowner can finish or refinish hardwood floors using a variety of methods.”
Goodell David, Founder of WoodWorking Clarity, says
“The most difficult part of working on hardwood floors is the installation, however, you can refinish hardwood floors yourself.”
If you are planning to tackle multiple rooms, it may be quicker to hire someone to do the job for you. Similarly, if your floor is uneven or has been stained by pets, it might require expert attention. However, most hardwood floors can be refinished relatively easily during a weekend of DIY, which is great for those on a budget.
How to sand and refinish hardwood floors
1. Spot check for nails
Check the surface of the floor for any protruding nails and tap back into place with a hammer.
2. Start sanding
Sign up to receive the latest news, reviews, buying guides and deals direct to your inbox
Goodell David says, “You need an orbital sander to remove the old finish.” Make a first pass over the floor with the sander and a 36-grit sandpaper, moving slowly and smoothly.
3. Hand-sand the edges
Use a hand-held sander for the edges, and a detail sander for the corners. Vacuum up any dust.
4. Fill the holes
Fill any nail holes or dents with wood filler. Mix some sawdust from your initial sanding with some white glue for a DIY filler that matches your floor, then apply with a putty knife.
5. Re-sand
Sand the floor again using a 50 or 60-grit sandpaper. Follow this with sanding the edges and corners again, and vacuum once more.
6. Go in for the final sand
Use at least 80-grit sandpaper for the final sanding. Finish with the edges and corners, and one last vacuum. Wipe with a damp rag and mineral spirits to remove as much dust as possible.
7. Start to stain
If you are staining your floor, apply the stain now.
8. Finish with a seal
Finish the floor with up to three coats of oil or polyurethane. Allow the sealant to dry between coats for the best results.
Discover more guides for the home…
Best steam mops
Best robot vacuums
Best handheld vacuums
Best carpet cleaners
Hayley Francis is a freelance writer based in the UK with an interest in travel, culture, and the great outdoors. When not busy writing for a variety of clients, she can be found planning her next trip or hiking a new trail.
- Goodell DavidFounder, Woodworking Charity

