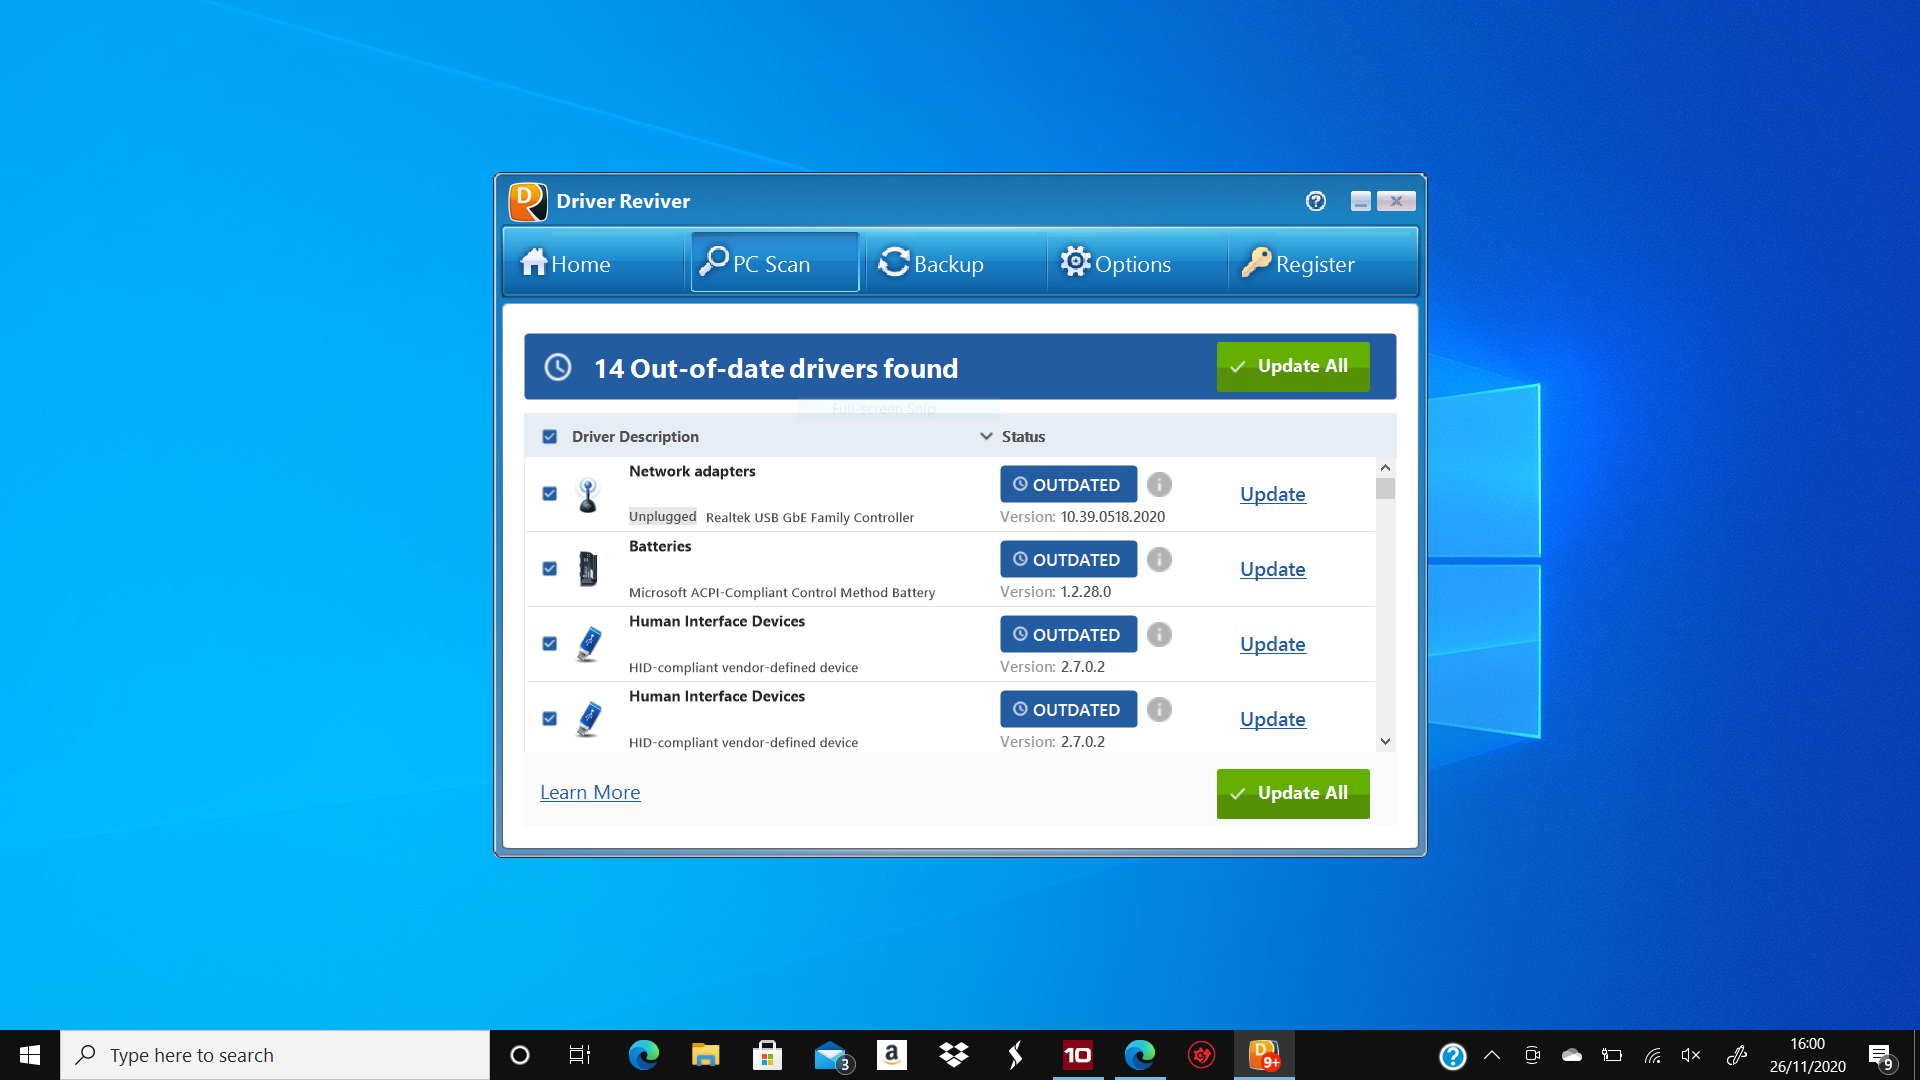
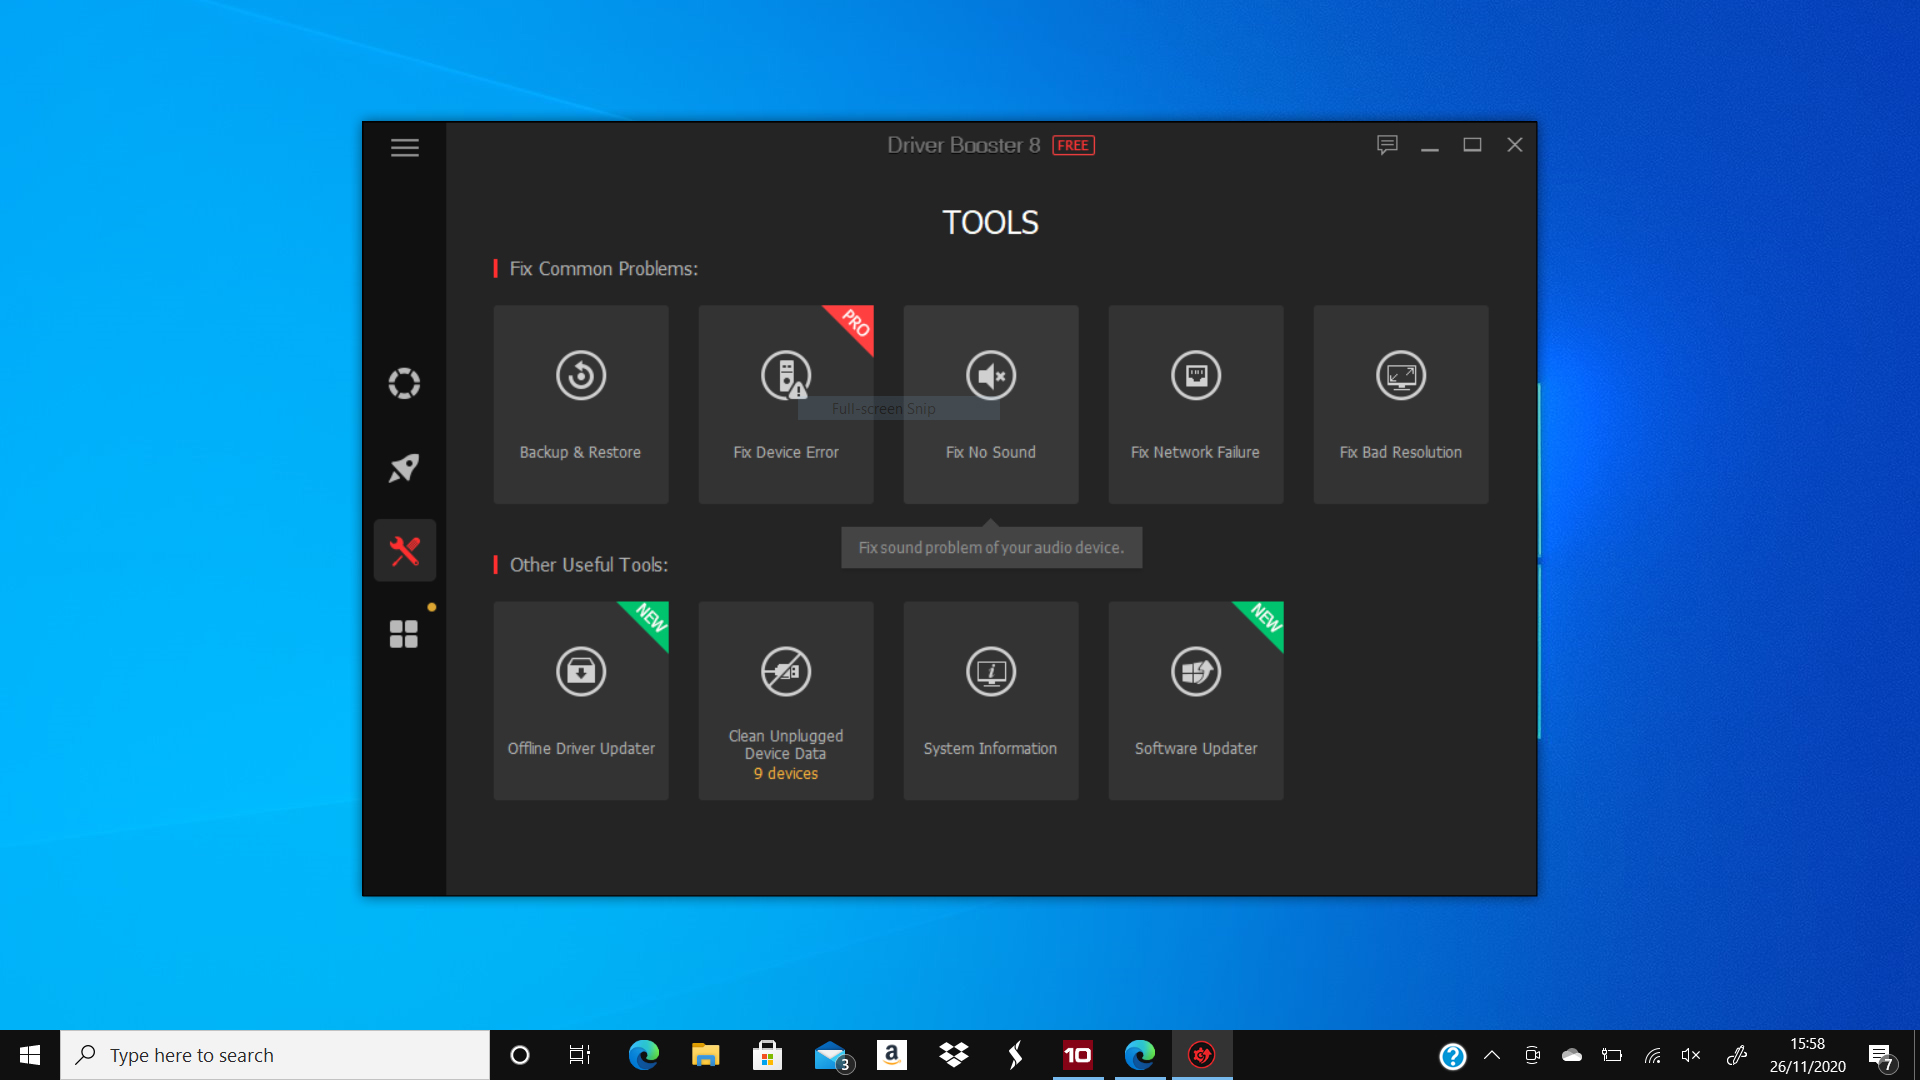
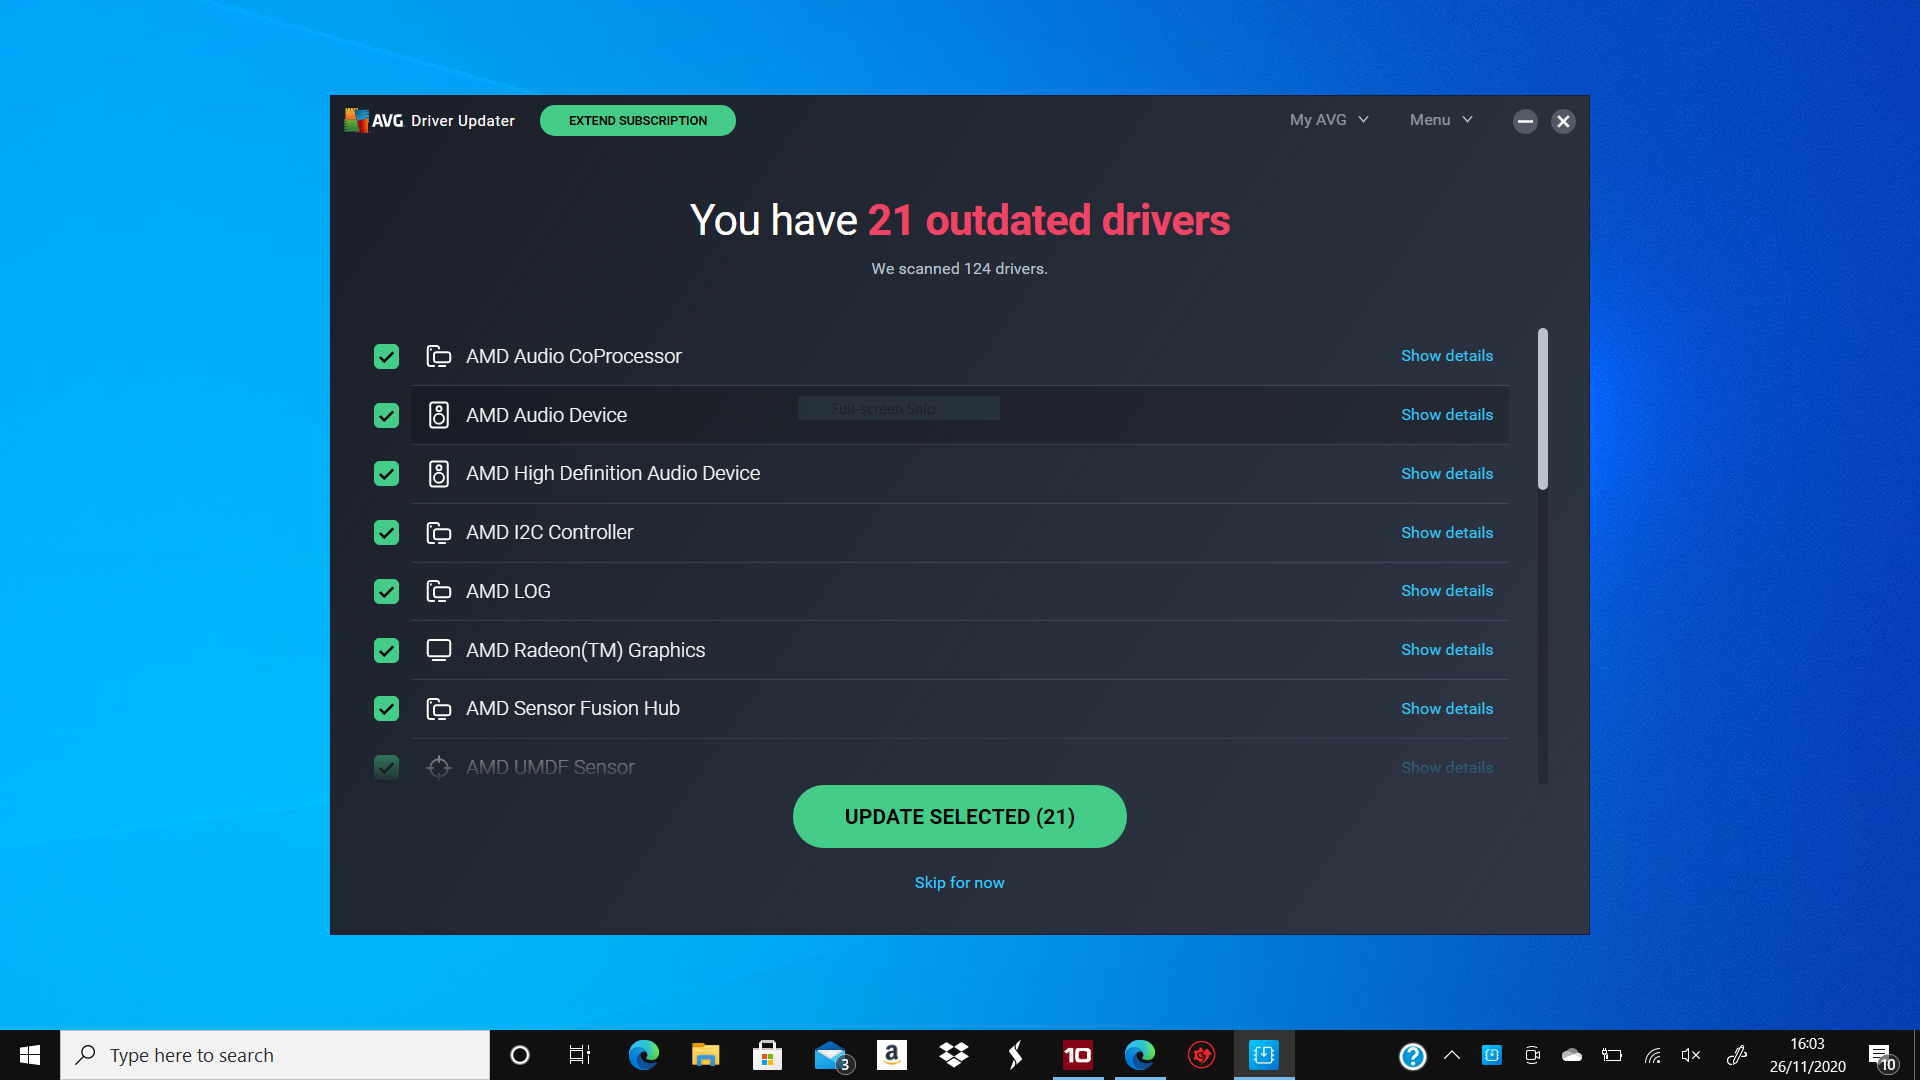
Keeping your PC drivers up to date can be a pain. While Windows 10 makes the whole process much easier than it used to be, you may still need guidance on how to stay on top of them. In addition to our guide to the best PC driver update software, we've put together some tips to answer various questions you may have about the process itself. While most of the update apps will manage all this for you, not everyone wants to pay for separate software. And in many cases, you simply won't need to.
Below are some of the most common PC driver questions, including advice on verifying updates, copying them from other computers (if you've invested in one of the best home computers and want to keep your updates), and just staying on top of them. What you don't want to happen is ending up with a bunch of outdated drivers on your PC. It's worth noting that this advice only applies to Windows computers and laptops, and not Macs.
How to verify a driver version
If you want to see the version on a driver currently installed on your Windows computer, in order to verify that the driver is up to date, but you don’t want to buy update software just for these single checks, don’t worry – there is another way. Manually verifying a driver’s version doesn’t take too long and it helps you avoid the hassle of opening and running the software when a simple check will do. Of course, you can also just run update software if you know it has been a while since your drivers were updated, and you own it. But if you only want to know the version, this is how:
To check the current version of a driver, click the Start or Windows button, then click on My Computer. From there, click the Manage option. From the Computer Management page, click on the Device Manager. You should be able to see a list of every device and driver that is connected to your computer. Once you’re on this page, click the device category that you want to work with, then double click the device you want to check the driver version information of. A small window will pop up. If you click on the Driver tab within this window, you’ll be able to see all of the information pertaining to the driver.
Depending on the driver, and your operating system version, you may also see a link to the driver’s original equipment manufacturer’s website. It may also tell you if the driver is available for an update and provide you with further information or steps for getting your driver updated.

Are there free ways to keep drivers up to date?
If paying for and using third-party driver update apps still doesn’t seem like your cup of tea, don’t worry. You can keep your peripheral drivers updated with one of these alternative methods, though you’ll likely need to be quite tech-savvy in order to use some of them. If you aren’t, we still recommend going with a third-party driver update software application, as it does all of the heavy lifting for you.
Via command line. If you’re an advanced user, and your computer’s administrator, you can access your machine’s Command Prompt to get a list of all drivers installed on your computer. This should also show you the date they were published, which is different from when it was last updated. From here you can review the drivers and determine if they need an update. You will also have to track down each driver update manually from a hardware manufacturer. If you know how to do all of this, it shouldn’t take too long and gives you the most granular control over each driver.
Via device manager. This method is easier than using command line, though not quite as easy as third-party software for those who are inexperienced computer users. With your computer’s device manager, you can see all of your computer’s components, such as processors and disk drives. From here, you can click on and expand a category to see individual peripherals, then view their properties to view driver install dates and version numbers. This method automates some of the process, as it can automatically search for up-to-date driver software then provide you with a wizard to take you step by step through the installation process. Using the device manager yields the same result as a Windows Update but gives you slightly more granular control over individual components than third-party software would.
How to verify your update was successful
For most people, it’s easy enough to ensure that your latest driver update was successful. Once the update finishes, simply try to use the associated peripheral or component. If it is working correctly then, and especially the few days following the update, you’re most likely good to go.
But for advanced users, it only takes a minute or two to actually verify that the device update was a success. Click Start and search for the device manager. From the list provided, look for the category the device falls under, and once you’ve located the specific driver, right-click on its name. Then, from the small pop-up that appears, click on properties. A new window should open. Select the driver tab, and here you should see all relevant details pertaining to the driver, including the driver’s latest version and date, which is what you’ll be looking for. Verify with the original equipment manufacturer source that everything matches and is up to date.
Though it is time-consuming, this is the best way to verify that your driver updates installed correctly. The only downside to this method is that you’ll have to know the name of each individual driver and where to look for it off the top of your head. But otherwise, it is what we recommend doing for every driver update you perform.
From that same window, you can also further manage the driver. There is an option to roll back a specific driver update, which is convenient if the update fails or otherwise causes problems for your computer. You can also manually update, disable or uninstall a driver, should you wish.

How to copy drivers to another PC
Transferring a driver from an old computer to a new computer requires some knowledge, but you can master the chore with the right information. It's useful to know how to copy drivers in case an update doesn’t work or doesn’t provide the functionality you need. However, usually only advanced users need to copy drivers.
It isn't difficult to copy drivers and shouldn’t take too long, unless you are copying a huge bundle of them. First, you open your Windows File Explorer and go to the driver repository (C drive > DriverStore > FileRepository). Then, once you find the folder containing your desired driver, copy it to an attached external hard drive.
Keep the external drive connected to this computer until all the drivers you wish to copy have been successfully transferred to it, then safely remove it and connect it to your new computer. Open the drive on the new computer, and drag your driver files or the folder you stored them in to the computer’s desktop. Next, open your device manager, and locate the driver you want to install. After that, go to its Properties option with a right click, then tell it to browse your computer for driver software. Once you find the desired driver on your desktop, select it and follow any instructions to install it.

