So you digitized your old slides and photos… what next?
Converting your old pictures to digital is just the first step in the process - here is what comes next.

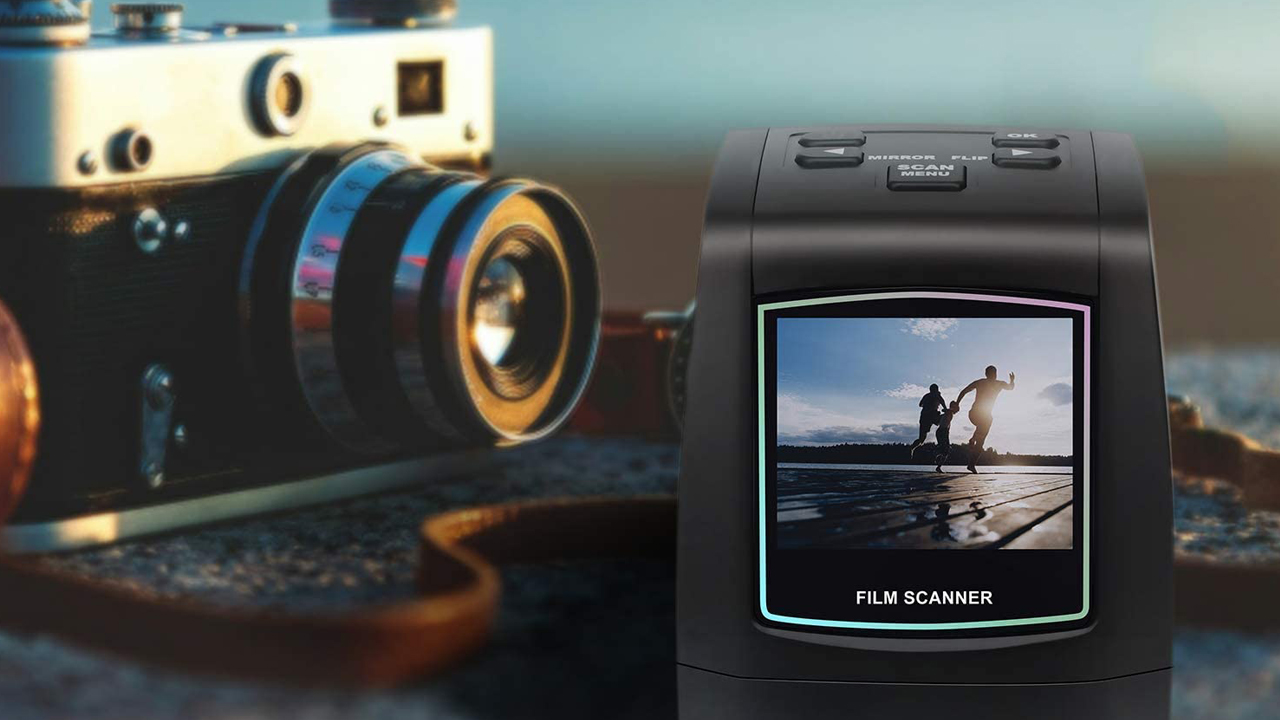
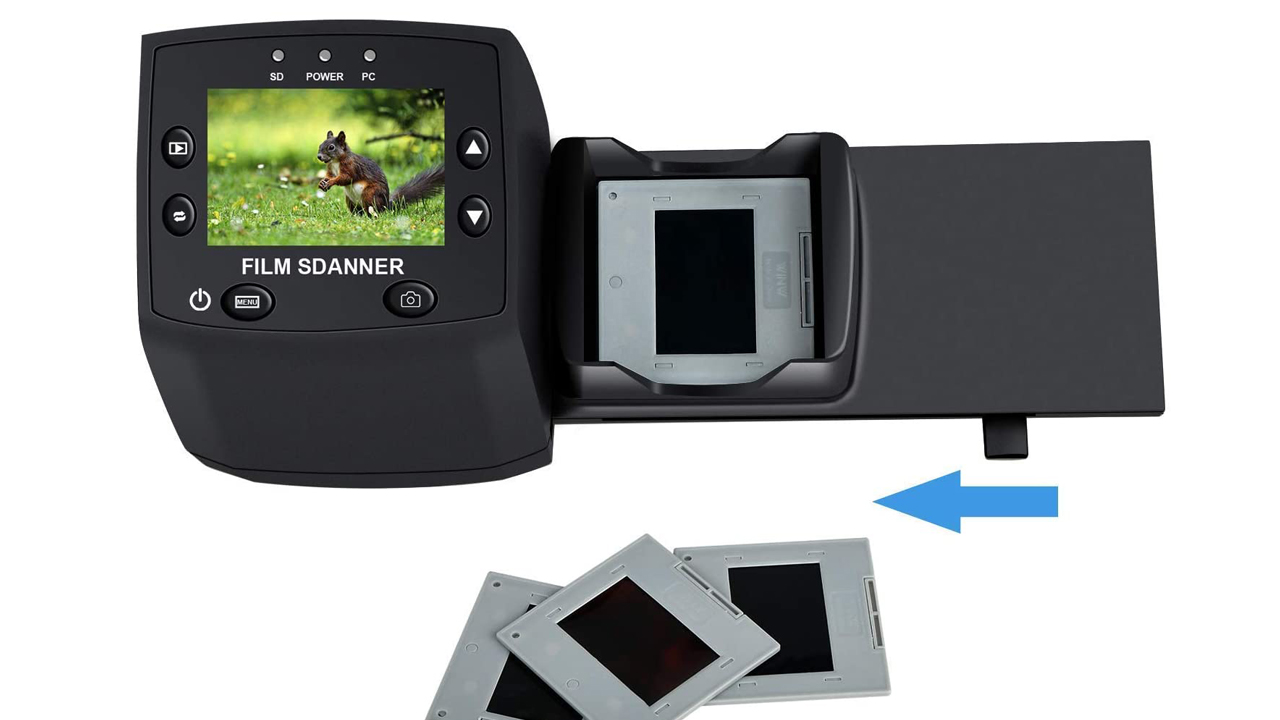
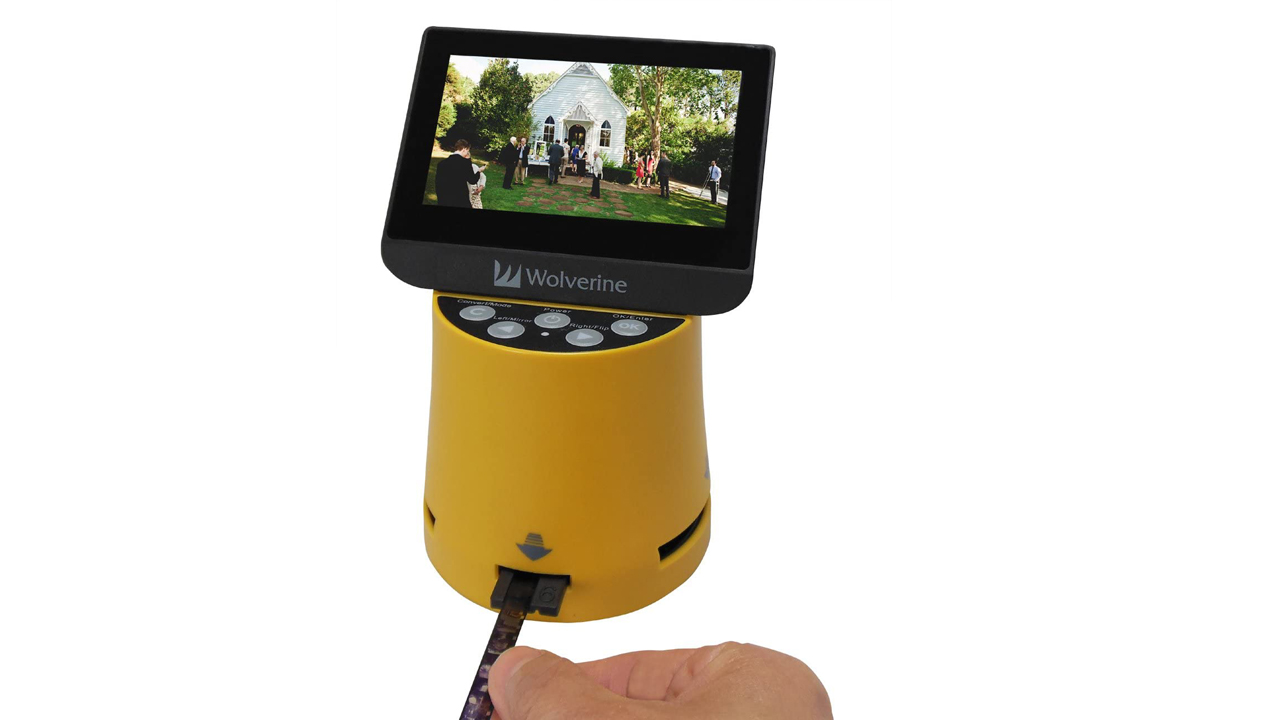
Whether you like it or not, all those slides, photos, and outdated film types in your attic or basement aren’t getting any younger. You really should be using a slide to digital image converter to safeguard all those precious memories for the future, by digitizing them. Sure, it take a bit of time, but being able to display your old pictures online, share them with family, or just have them without relying on outdated equipment to actually see them at all, well it is well worth the effort. While everyone is at home more, now is the perfect time to do it, but what happens after you’ve converted your pictures?
Once you get your classic media all polished and converted, you’ll need somewhere to store your digital photos. It’s also good practice to make a copy of your photos as a backup. Most slide to digital image converters initially save your digitized photos to an SD card, and from there you can transfer them to a computer. Keeping them on your computer works well enough, but we recommend storing them on an external hard drive in case your computer crashes. You can also display a few of your favorite images on a digital photo frame, but be aware that this isn’t a valid form of back-up.
There is also the option to store your digitized images online. If you’re already a dedicated Google or Apple customer, both companies have photo storage services you can take advantage of. You can also opt for a third-party cloud service like Flickr, Photobucket or Dropbox, among others. These services provide low-cost or free hosting for unlimited images.

You can also store your images on social media. Sites like Instagram, Tumblr or Pinterest are designed to showcase photos over other types of media, and are free to use. There are also social media sites dedicated to photographers - Behance and 500px, for example. Or if you’re wanting an online portfolio, you can create a website that can host your images for little to no cost through sites like Squarespace or Wix.
What else can you do with the digital versions?
Once you’ve digitized your old photos, you may still want or need to touch them up a bit before saving or sharing them. And although many of the slide to digital converters in our guide have basic exposure and color adjustment options built into them, those basic options may not be enough. Some of the converters come with photo editing software whose tools and capabilities are more than sufficient for the majority of users.
However, for users who want to polish their digitized image collection beyond what these converters can offer, we recommend using Adobe Photoshop after digitizing your files, to get the best results. With this type of program, you have much more control over colorization, exposure and spot correction, as well as other tools to edit and enhance your cherished memories. Those experienced in using these kinds of applications can even perform much more advanced edits, such as removing unsightly background objects in the photo, as well as spots and other blemishes.
If your images need extensive editing and you don’t own or know how to use photo editing software, there are a variety of services online that you can use. Typically, these services can clean up your images and even apply artistic touches if desired.
Sign up to receive the latest news, reviews, buying guides and deals direct to your inbox

And how should you store your original slides?
If you don’t store your physical media properly, they can become damaged or deteriorate over time and ultimately become difficult or impossible to see. While you may have already digitized them, you may also want to keep the originals in as good a state as possible, so you can get that nostalgic feeling by looking at the originals from time to time.
Many people store old media in basements, attics or garages, not knowing that these environments can actually be dangerous for physical print media due to a lack of climate control and other factors. Ideally, you want to store photos, negatives and slides somewhere that is consistently cool and dry. You want to avoid basements, garages and attics because temperatures are likely to flux, as are both humidity and light in these spaces. They may also get damp or mold, and if you’re concerned about the environment you’re storing them in, get one of the best mold test kits to check for spores.
In addition to providing a stable storage location for your physical media, there is still more you can do to ensure they are stored and handled safely. Due to the chemical nature of slides, negatives and prints, they are susceptible to damage when they touch each other and when you touch them. We recommend storing photos with sheets of acid-free paper between them to prevent color changes, fades or worse – photos that are stuck together. You can also store photos individually in archival-grade plastic sleeves and containers that are designed with high levels of alkalinity to slow or prevent disintegration.
When physically handling your media, we recommend washing your hands before doing so, or wearing cotton gloves so as to limit the amount of damaging dirt and natural oils touching your photos.
This is the staff profile for the Top Ten Reviews team. If you see this author, you're looking at an article that was created as a collaborative effort from the TTR editorial team. This profile denotes an actual member of staff, and not any of the contractors used by Top Ten Reviews. You'll find their work under Top Ten Reviews contributor.

