
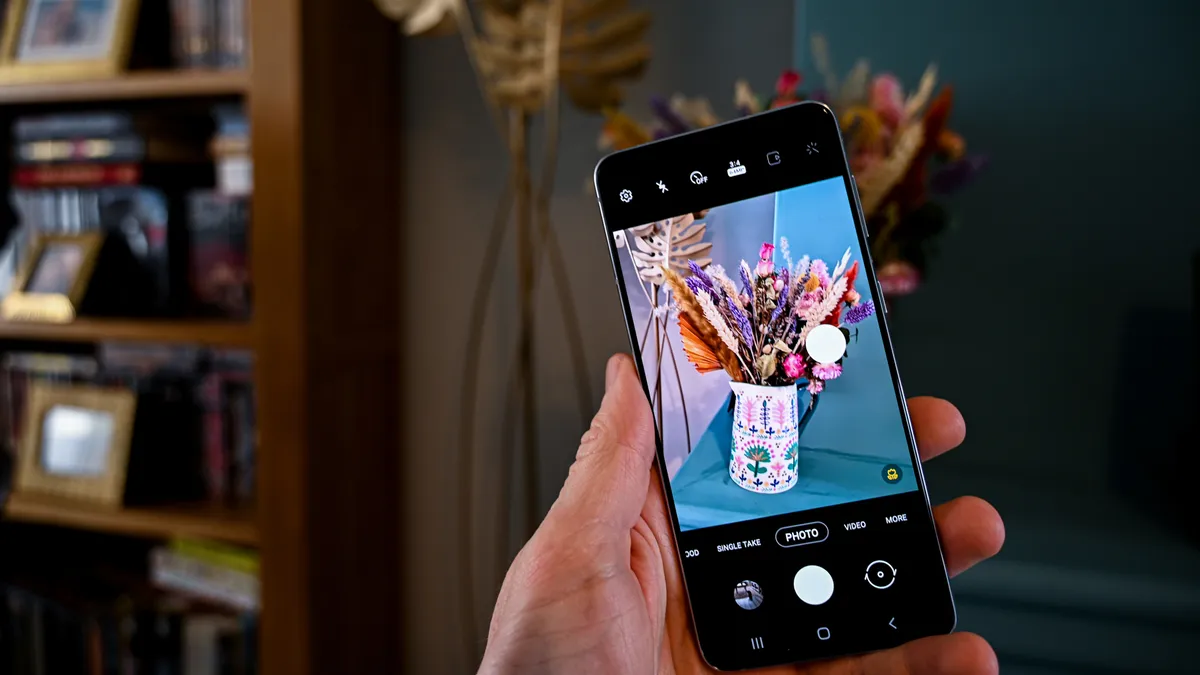
Learning how to take better smartphone pictures is an important task if you want to make sure you get the most out of your smartphone. Especially if you've paid out for one of the latest iPhone or Android smartphones.
While smartphone cameras are smarter and more automated than ever before, you can still get more out of your shots if you know how to best use that snapper. Whether you're taking photos of landscapes, Instagramming pictures your meal, or taking stunning night mode photos, there are different ways to improve all your images.
Of course the smartphone isn't everything and getting a good photo from an older device is also possible when you know what you're doing. So whether you're looking to enhance your skills, find a new photography tip or just get the most out of your phone, this guide aims to help you take better smartphone pictures.

The truth about camera quality
1. Resolution in smartphone pictures isn't everything
One common misconception about smartphone cameras is that the megapixel count is the most, or a very, important part. In reality we've reached a tipping point where even the most budget smartphone will have more than enough megapixels. The higher the count, the bigger you can blow up an image. But even if you're bothering to output images to a 4K 65-inch TV, you'll still have plenty of resolution to spare.
The one case where this varies is with zoom. On some phones, like the Samsung Galaxy S21 Ultra, with a 108MP camera, digital zoom can get go as high as 100x. In that case the megapixel count is important as you can zoom in further and still see actual detail, but this is still combined with other lenses and software smarts to get the best results.
2. Optical zoom is important
To stick on the topic of zoom, optical is what you want over digital. While digital will essentially just zoom in on the megapixels you have available to you, make it look grainy and soft after a short distance, optical is different. Optical zoom actually brings the image closer to the camera sensor so you lose no quality. Since this requires a physically large lens, optical zoom is very limited on smartphones.
There are third-party add-on devices that offer more optical zoom so these could be worth considering if you're into your long-range nature photography, for example.
3. Aperture is key
Since smartphone cameras have small lenses, they can only let in a certain amount of light. As a result low-light photography has been a challenge. Sure, it's gotten a lot better in recent years but you're still limited. That's why it's important to check out the aperture rating when buying a smartphone. This is the f/2.0 number for example. The lower the number the more light can be let in meaning better low light shots and also less blur as the lens only needs to "open" for a short time to let in light.
Going into manual mode on your phone and playing with the aperture can be a great way to find a balance between night shots and well lit action shots. Set up on a tripod and leave the camera lens open pointed up at night and you could get yourself a superb stars shot, for example.
Take photos like a pro
4. Light is everything
A well lit scene can mean a brilliant photo. It takes a lot of the work out of it for you, but using lighting correctly is important. Rule number one is to never shoot into the light. Point the phone at someone who is standing with the sun at their back looking at you and all you're likely to see is a silhouette.
Put the sun or other light source at your back and the subject your photographing will be lit by it resulting in richer colors, better contrast, and a more crisp finish to your photo.
5. Use Portrait Mode
Most smartphones now come with Portrait Mode, or something similar. Many phones will turn this on when in auto mode, but this is a little unreliable and it doesn't always come on when you want it too. By turning it on you can get a professional finish when snapping a person's face. This will create a bokeh effect, blurring out the background, which makes the face appear more in focus and far more vibrant. Essentially this makes a smartphone photo look more like it was taken on a DSLR camera.
When using Portrait Mode be sure the little square on screen is around the person's face so you know it has a lock and will make them look clearly distinguished from the background. It also pays to shoot somewhere with a little depth behind the person, for the best finish.
6. Get group shots using selfie mode
Take a group shot using selfie mode. This lets you see on screen that everyone is in shot before taking. On some phones you can pair with a remote to take the shot or, in many cases, you can use your voice to tell the phone to take the shot. Either way be sure the phone is securely balanced and still so it doesn't wobble, or worse, fall to the ground.

7. Turn off the flash and stay still
The best photos are the most natural, which is why the flash is very, very rarely going to improve a picture - even at night. You'd be better served by keeping your phone as still as possible, perhaps by using a tripod or stand, and then letting in more light by extending the aperture, or shooting in Night Mode.
Use more kit
8. Use a tripod
If in doubt throw more kit at the issue. This rarely fails in terms of tech and smartphone photography is no different. If you've not used a tripod you're likely going to be impressed with the quality variation when you do – especially at night.
A tripod can be an inexpensive tool that's packs down for easy carrying. It makes the camera super steady meaning you can end up with a more sharp and detailed image. At night, when the lens needs to let in more light which can cause blur, this is a really invaluable tool to have. It's also great for setting up selfies or perfectly angled time lapse videos.

9. Bring the light
Natural light looks great and if you get extremely lucky it can be perfect, but you can't always rely on it. In most cases you will likely benefit from bringing a bit of your own light though. A rotolight, for example, is a great option as this clips to your smartphone and creates an even yet bright light. This dispels shadows and can allow for greater contrast in the end result.
Just keep in mind that a light can be too weak, if its a clip-on unit, which may work like a flash losing you some depth. For selfies, where the subject is close, this is a really useful tool. It's also great for video chat, making it well worth the investment.
10. Use a specific lens
Third party lens manufacturers like Olloclip offer clip-on lenses which can enhance your phone's photo taking abilities. From a macro lens to get better close up shots to a telephoto lens to capture far off subjects like animals, there are plenty of options.
You can go for a single system that has a few lenses built-in, which is easy to carry in your pocket. Or you can get the specific lens, like a large 36x telephoto lens which is more bulky but does a better job of that specific zoom task.

