Top Ten Reviews Verdict
Kodak's Scanza produces decent film scans, but is let down its fiddly adapters, clunky interface and lack of dust covers that mean it needs to be cleaned more often than we’d have liked
Pros
- +
HDMI & composite TV outputs
- +
Film compatibility
- +
Fast scan times
- +
Tiltable display
Cons
- -
Lots of fiddly plastic adapter trays
- -
Expensive
- -
Feels a little plastic-y
- -
No dust covers
- -
Quite big
Why you can trust Top Ten Reviews
Got boxes of old film just sat gathering dust? A film scanner such as Kodak’s Scanza, can be ideal for digitizing your old film or family photos and breathe new life into them.
Price: $149.99/£149.99
Max resolution: 14MP (4320x2880)
Interpolation: Up to 22MP (5728x3824)
Compatible film: 35mm, 126, 110, Super 8 and 8mm
Display: 3.5” tiltable color TFT
Card slot: Up to 128GB SD/SDHC
Power: Micro USB
Output: HDMI mini and 3.5mm jack composite
Dimensions: 4.7x4.7x5”
Weight: 16.2oz
The best slide to digital image converters should turn your old analogue film into a quality and high resolution digital file, giving you plenty of options for how you want to process and share your newly converted digital images.
The Scanza is made by Kodak and has a respectable maximum resolution of 14MP (can be interpolated up to 22MP) and is compatible with a wide range of films, such as 35mm, 126, 110, Super 8 and 8mm negatives.
In this review we dusted off some old 50mm color slides, 135 B&W film and 110 color negatives to put the Scanza through its paces to see how it performed and if you should buy one if you’re looking to digitize your old film and slides.
Kodak Scanza: Design & features
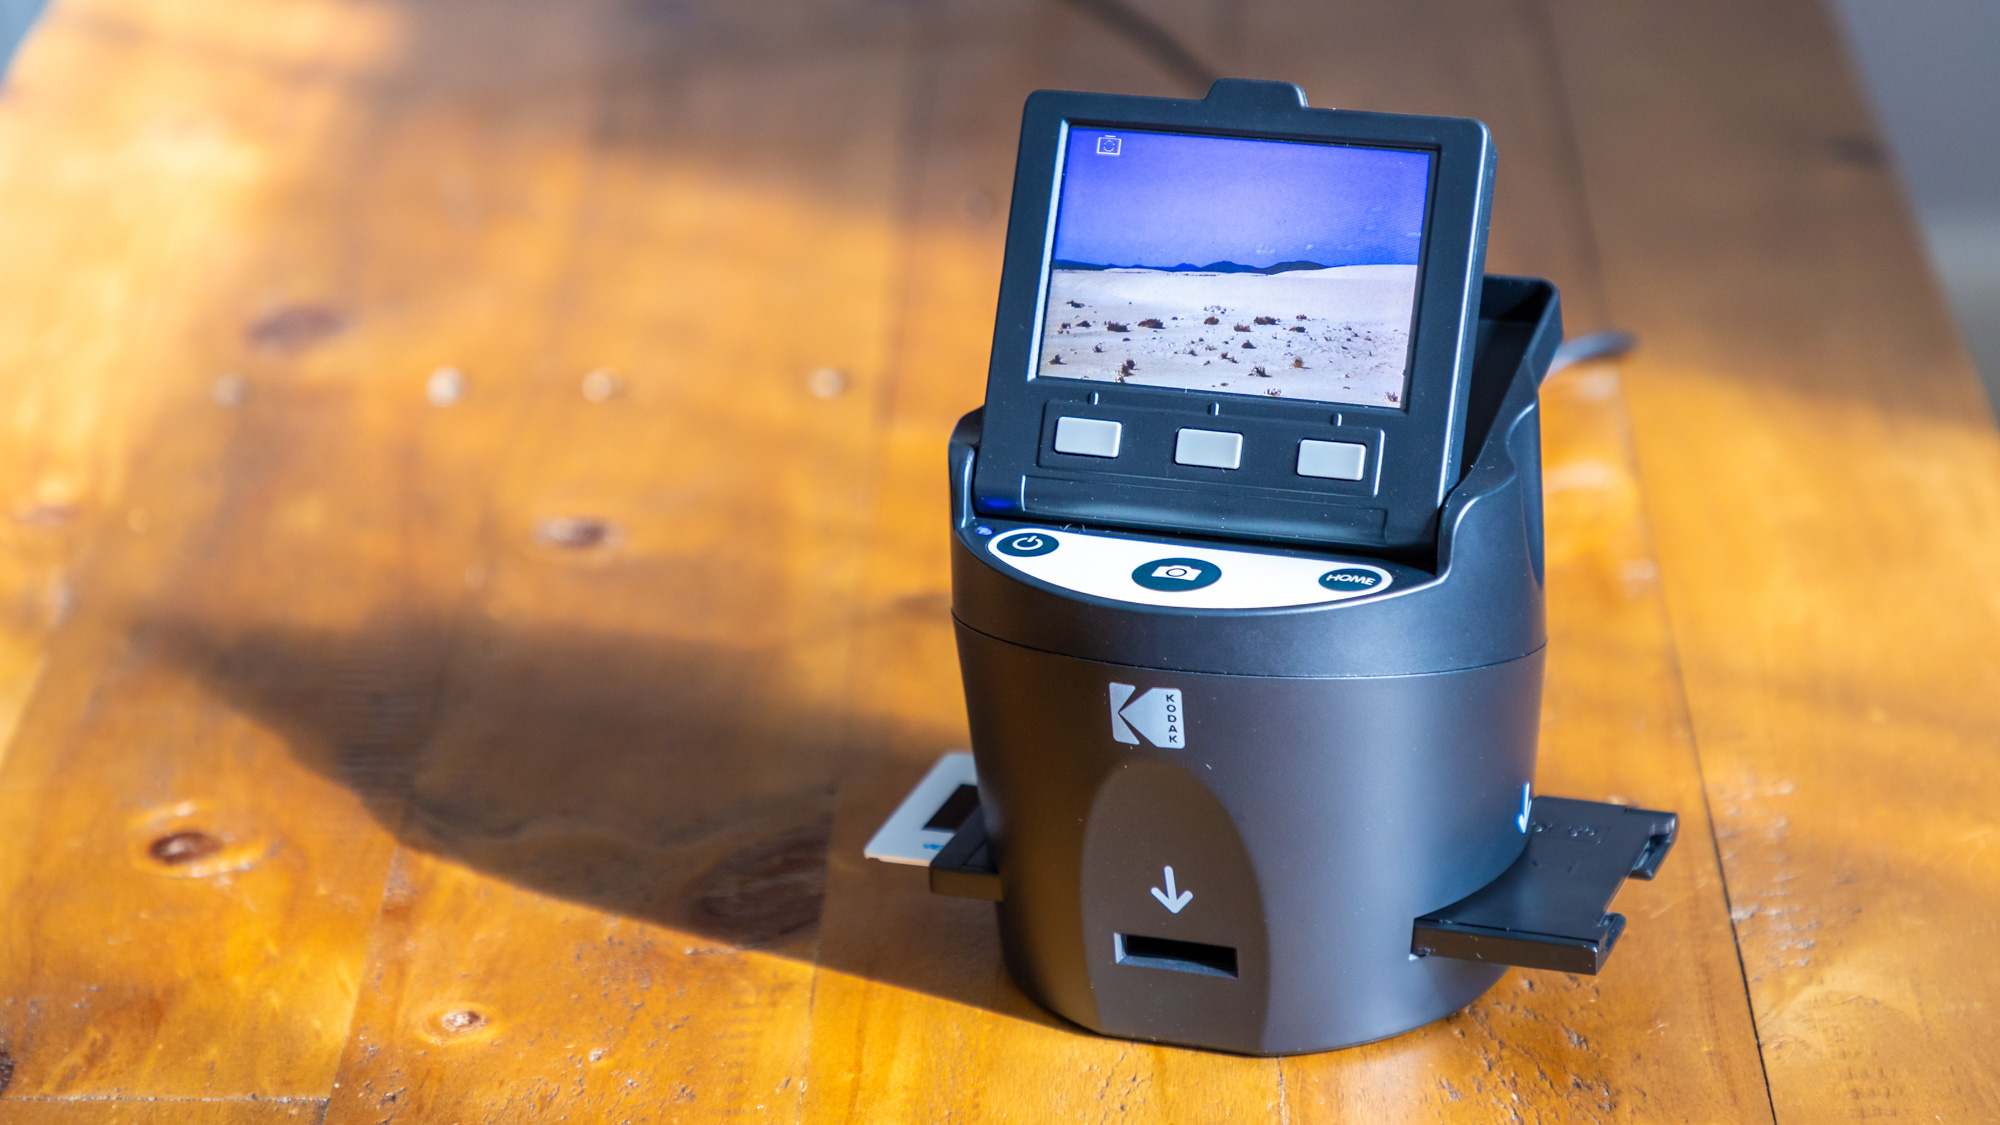
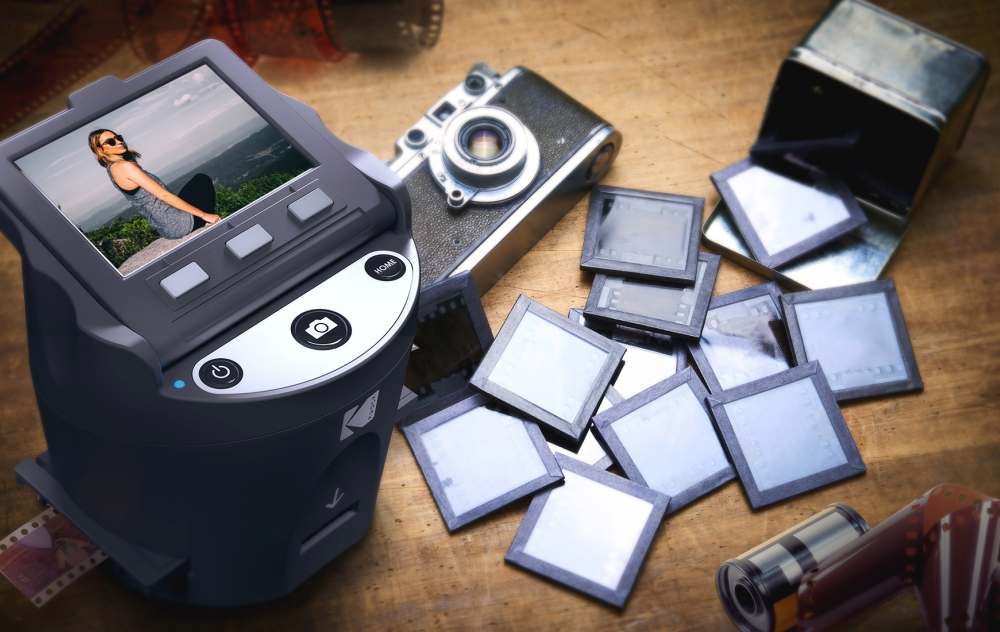
Kodak’s Scanza has dimensions of 4.7x4.7x5” and is about the same size and shape as a small flowerpot. While it’s not the smallest digital scanner we’ve reviewed (Kenro’s KNSC201 was just 3.4x3.4x4”) the Kodak Scanza boasts a wider compatibility of film and has an articulating screen too.
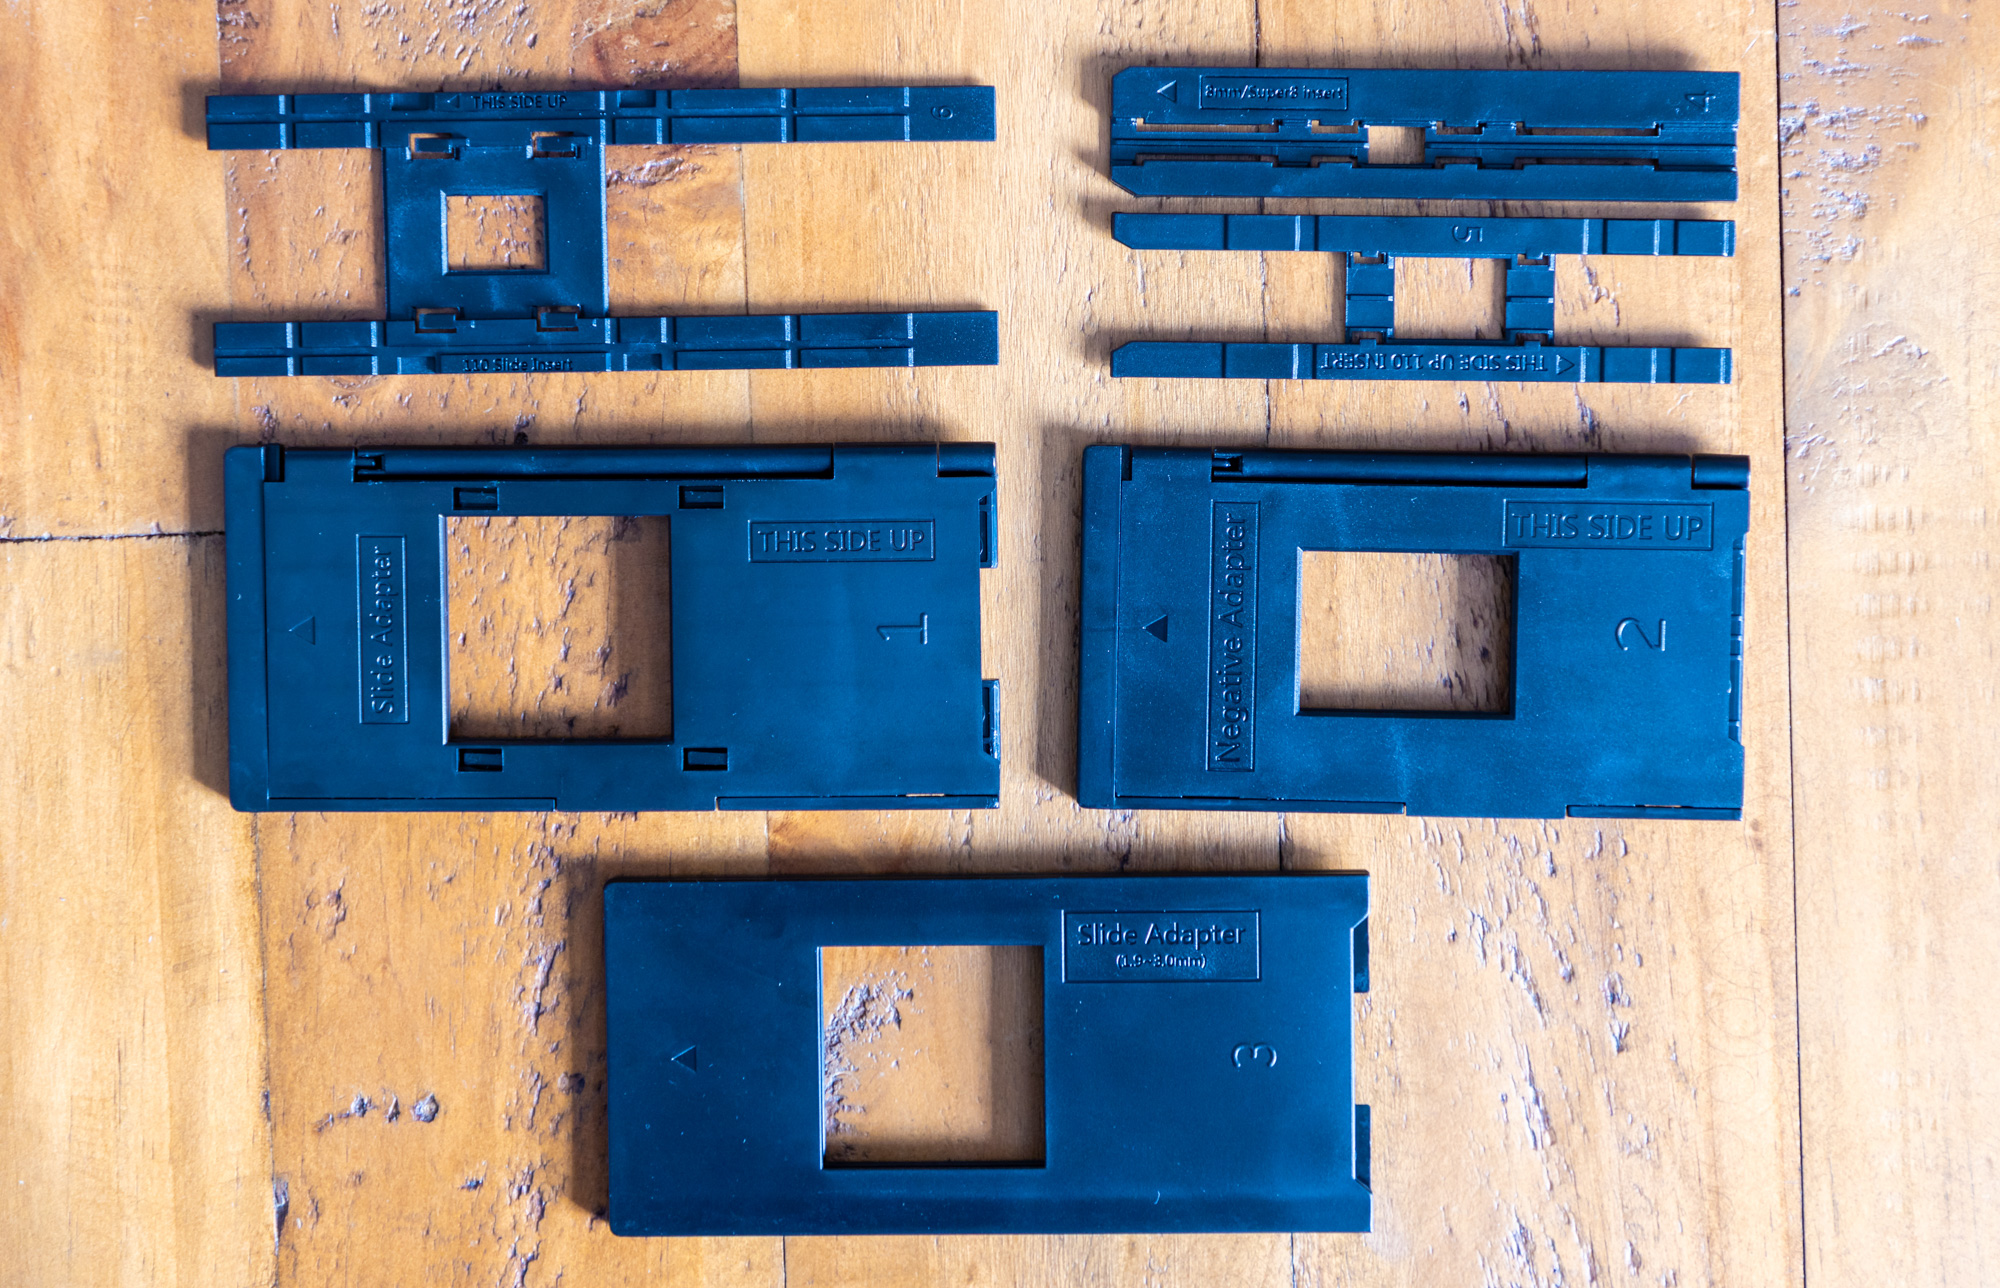
It comes boxed with no less than three adapter trays and three additional inserts, making the Scanza perfectly equipped to deal with 35mm, 126, 110, Super 8 and 8mm negatives. While it's great to be able to scan such a wide breadth of film varieties, the adapter system does mean you end up with lots of plastic loading trays that you need to store somewhere safe when not in use, so you'd have to be careful not to misplace or break them.
All of the film adapter trays slot into the device at the side, that is with the exception of the 8mm/Super 8 insert which slots into the front, this seems like a bit of an odd design choice as on scanners like the Kenro KNSC201 even the tiny Super 8 film adapter is shared with the others like 135 and 110. This also means you have four openings into the main scanning bay which allow dust to get in.
Sign up to receive the latest news, reviews, buying guides and deals direct to your inbox
Unlike the recently reviewed Kenro KNSC201 or Kodak Slide N Scan , the Kodak Scanza features doesn't feature any dust guards or flaps to prevent dust from getting in, and with twice as many openings as a conventional film scanner, that became a problem as dust and debris ended up on the backlight which then showed up in our scans unless cleaned meticulously beforehand.
Apart from the aforementioned dust issue, the overall construction of the Scanza felt good and durable despite being made from plastic. The articulating 3.5” TFT display also felt sturdy too. The main weak point is likely to be the six plastic adapters and inserts which could be easily be broken if for example stepped on. It also means you have six small plastic accessories that could be misplaced.
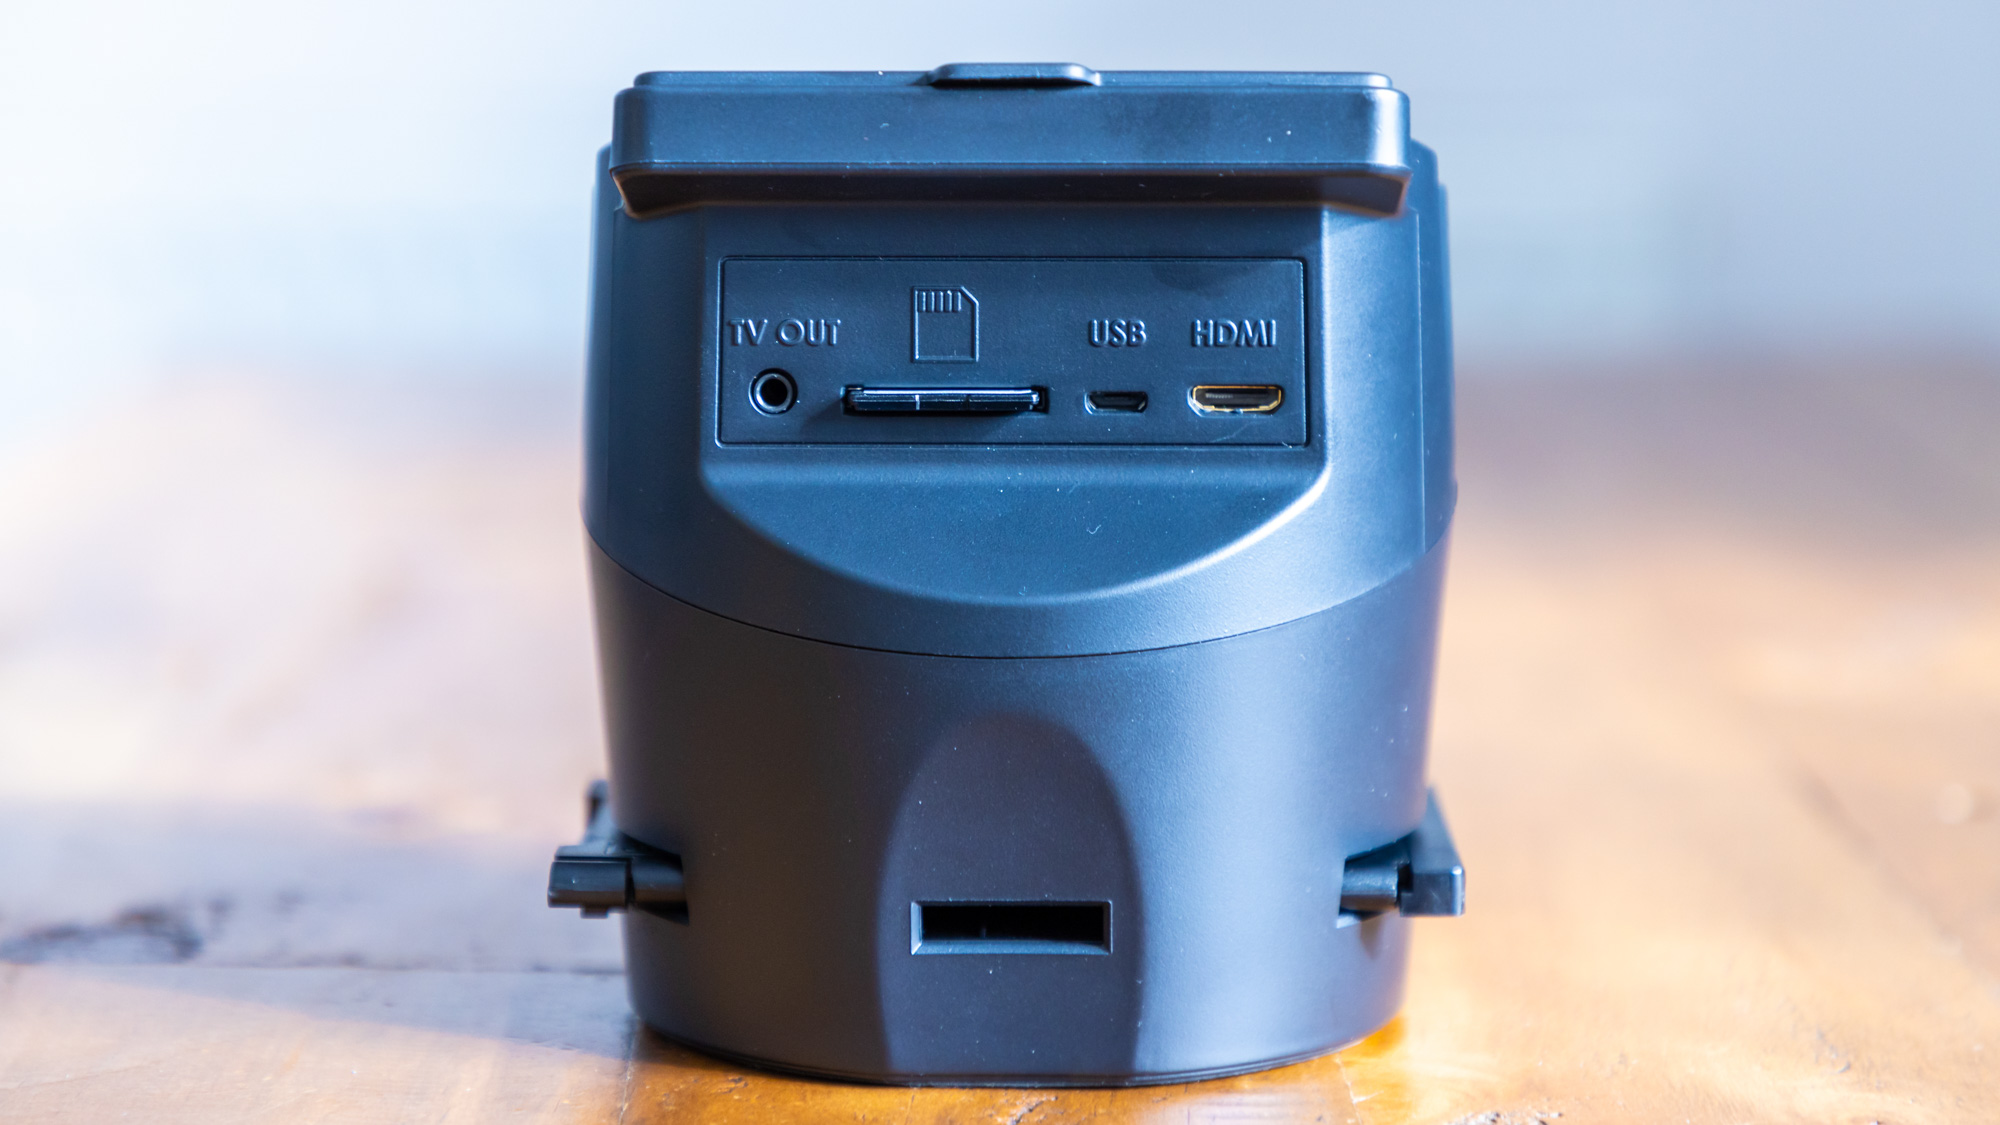
On the back you’ll find the Micro USB port which powers the Scanza by a computer’s USB port, or with one of the UK, Europe or US wall adapters that come in the box.
One disadvantage with some other film scanners we’ve looked at is the output options can be limited. Thankfully the Scanza features both a 3.5mm output for composite as well as a HDMI Mini that can be plugged into more modern TVs with a HDMI port using the included cables. Frankly, having both seems a bit unnecessary but we'd rather have them than not. The 3.5" display is quite small so it's good to be able to see what you're doing on a larger monitor, or share a slideshow of your scans with friends and family on a TV.
The Scanza doesn’t feature any built-in memory so you’ll need a memory card to save your scans to. It’s compatible with SD or SDHC cards up to 128GB in size and it's worth noting that SDXC cards aren't supported.
Kodak Scanza: Performance

Image quality was good with the film adapter trays doing a decent job of holding the film flat as it passed through so that there wasn’t any soft out of focus spots where the film might bend or warp.
You have the option of shooting at the native maximum resolution of 14MP or boosting the resolution artificially with a high resolution mode that allows you to print or view images at up to 57% larger. Interpolation is the process of artificially adding extra pixels to an image so that it can be viewed or printed at larger sizes, but this can be detrimental to image quality.
When scanning 35mm film you can scan at the native 4320x2880px or interpolate it up to 5728x3824px. Impressively, the smaller film formats only dropped slightly in resolution, with 110 scanning natively at 3808x2856px or 4320x3240px with the interpolation. 126KPK scanned at 3232x3232 natively or 4080x4080 with interpolation activated and Super 8 scanned at 4320x2880px or 5488x3664px with the interpolation.
There’s also the option to scan 8mm negatives at 3808x2856px natively or 4320x3240px with interpolation. It was impressive to see the tiny film formats like Super 8 and 8mm still produce large usable file sizes even before any interpolation.
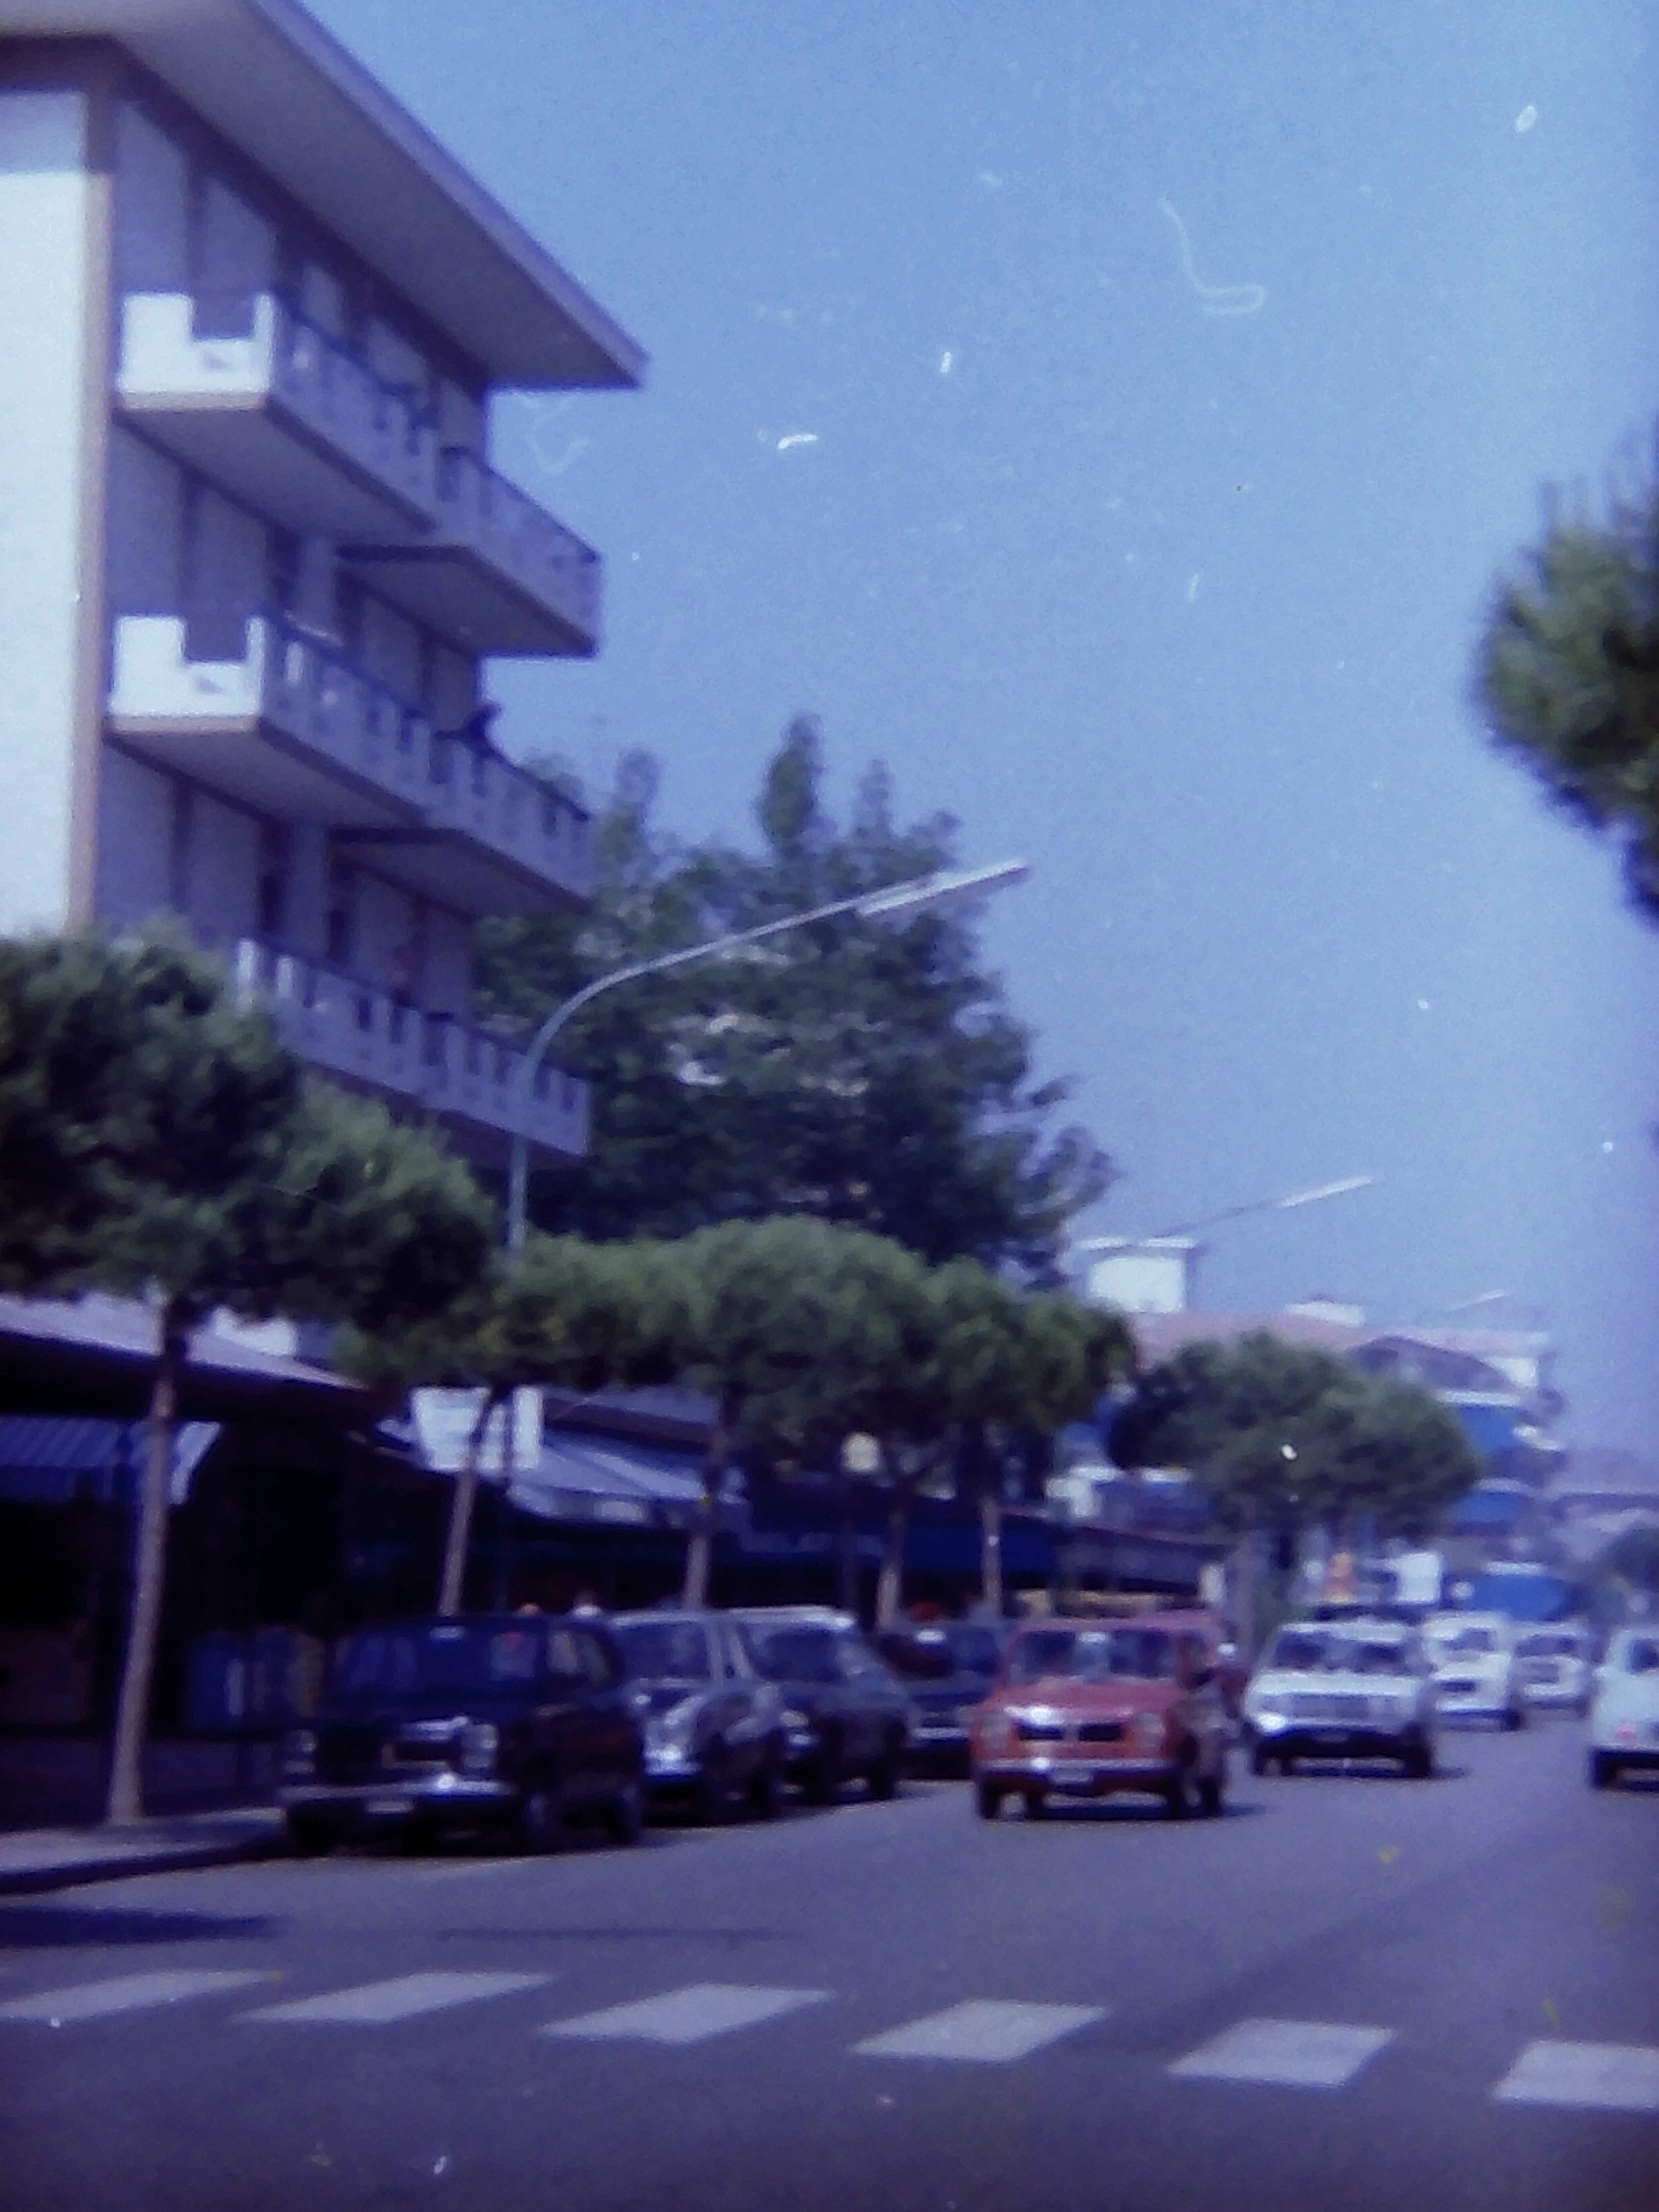
There isn't a film scanner on the market capable of turning a bad photo into a good one, so to get good results with any scanner you need film that is in sharp focus and correctly exposed to begin with. It's also worth taking into consideration the time you may need to spend editing or removing dust and scratches that film tends to accumulate over time.
Dust had a habit of accumulating on the backlight of the Scanza because there are no dust guards to stop the ingress of debris, this means you'll need to clean it more frequently or spend more time at your computer editing out these little blemishes.
Although called a ‘scanner’, the Scanza, much like many of its competitors actually uses a small camera and lens to take a photo of your film with a backlight behind it, unlike a true scanner which uses different technology to scan a photo or document from one side to the other, gradually building up the image.
We were impressed with the Scanza’s scanning speed which took about 1.5 sec on average for a 35mm slide at its highest native resolution of 4320x2880. With interpolation enabled the scanning times were also respectable, with these taking around 2 secs to produce the upscaled 5728x3824 version that can be viewed and printed larger.
What did however slow down proceedings was the interface that was a little clunky, with just six buttons to operate the Scanza. The six different plastic adapters and trays that you need to take a bit of time setting up and finding the right combination that will work with the film or slides you wish to scan.
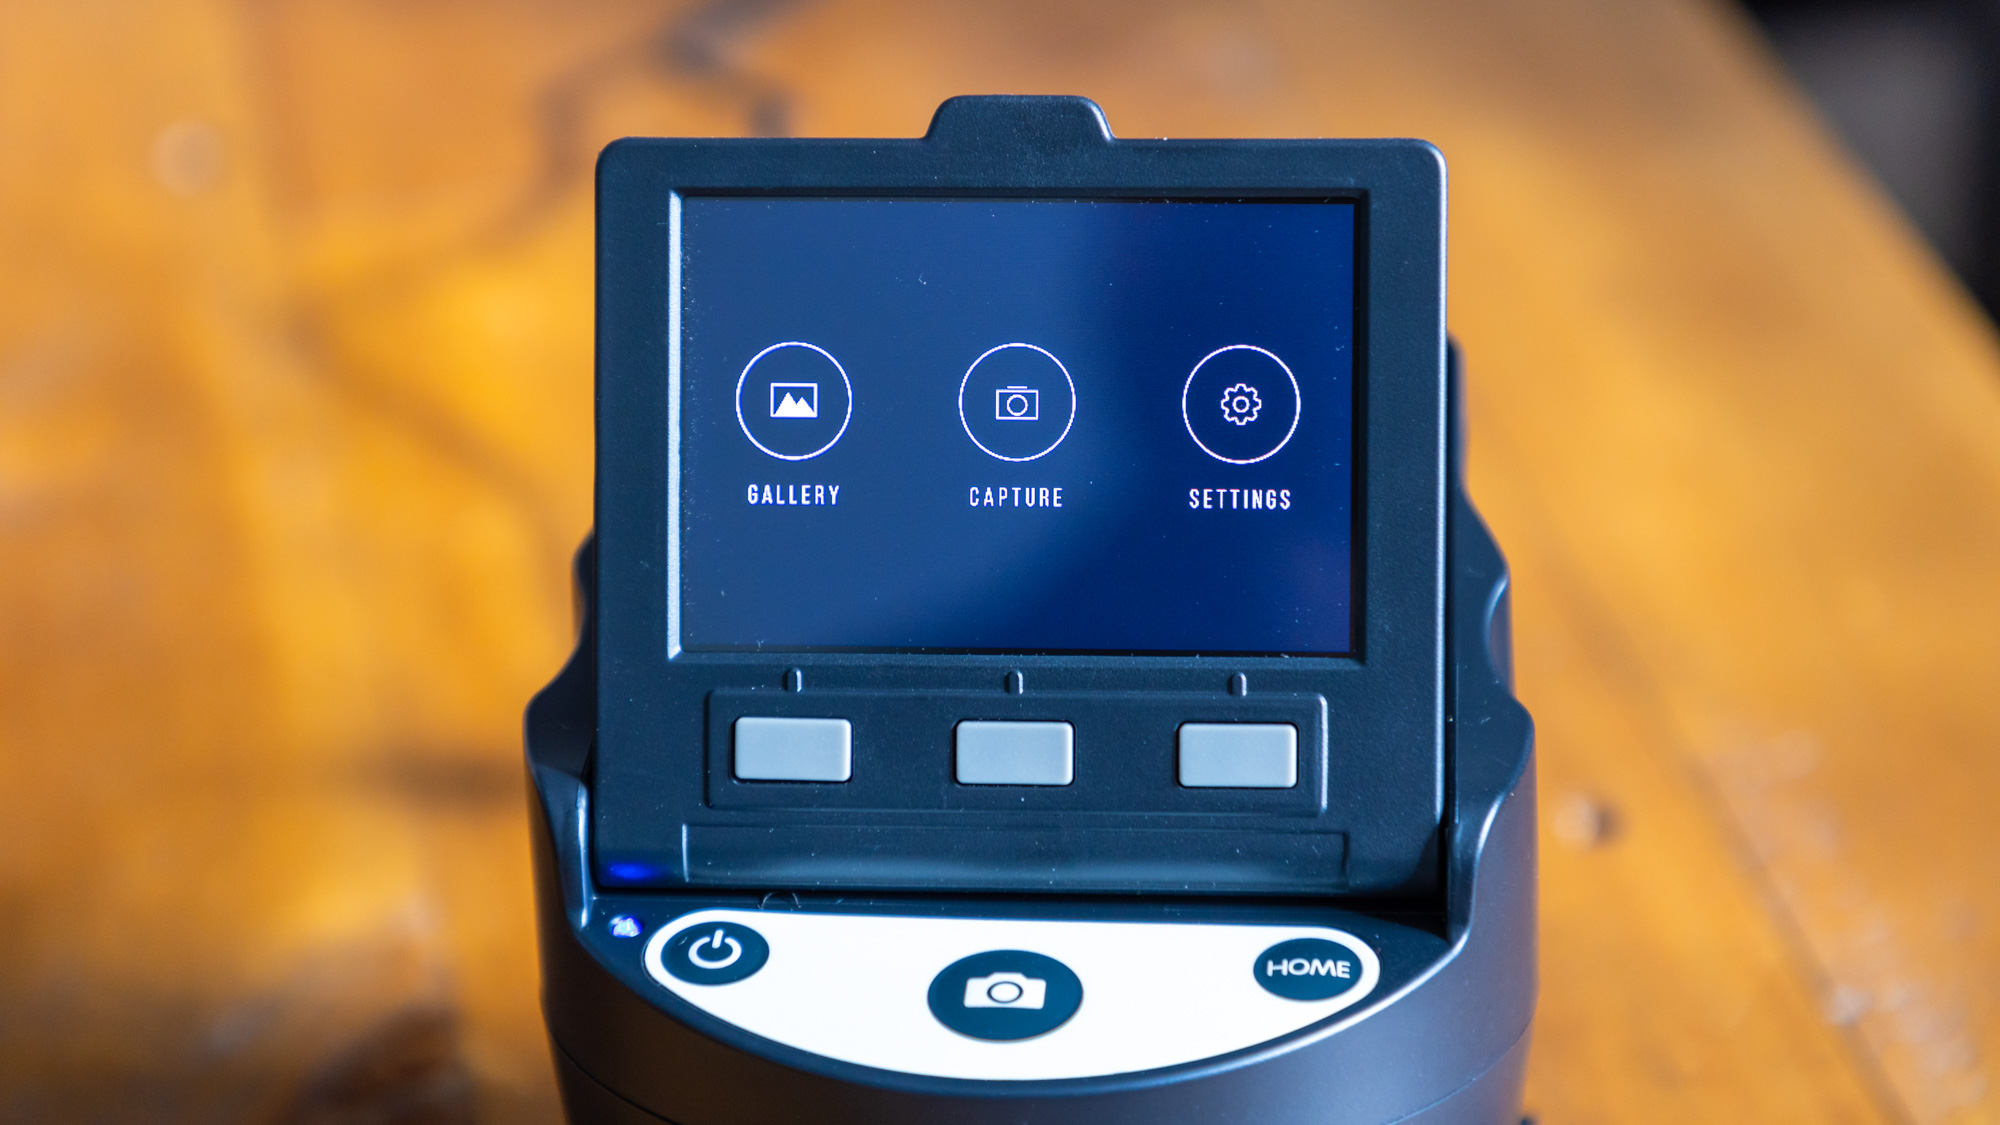
The interface has been kept fairly simple with Power, Capture and Home buttons, as well as three unassigned buttons that are multifunctional and relate to functions shown on the display.
The interface has been divided up into three main sections; Gallery for viewing, rotating or deleting scans as well as starting a slideshow.
Then there’s the Capture mode where you can see the live feed from the camera so you can carefully place your film into the exact position, you can also set the Brightness and RGB adjustments here too.
Lastly, there’s the Settings menu where you’ll set the Film Type, Resolution LCD Brightness and also go into USB Upload mode so you can access the inserted memory card from a computer using the USB cable.
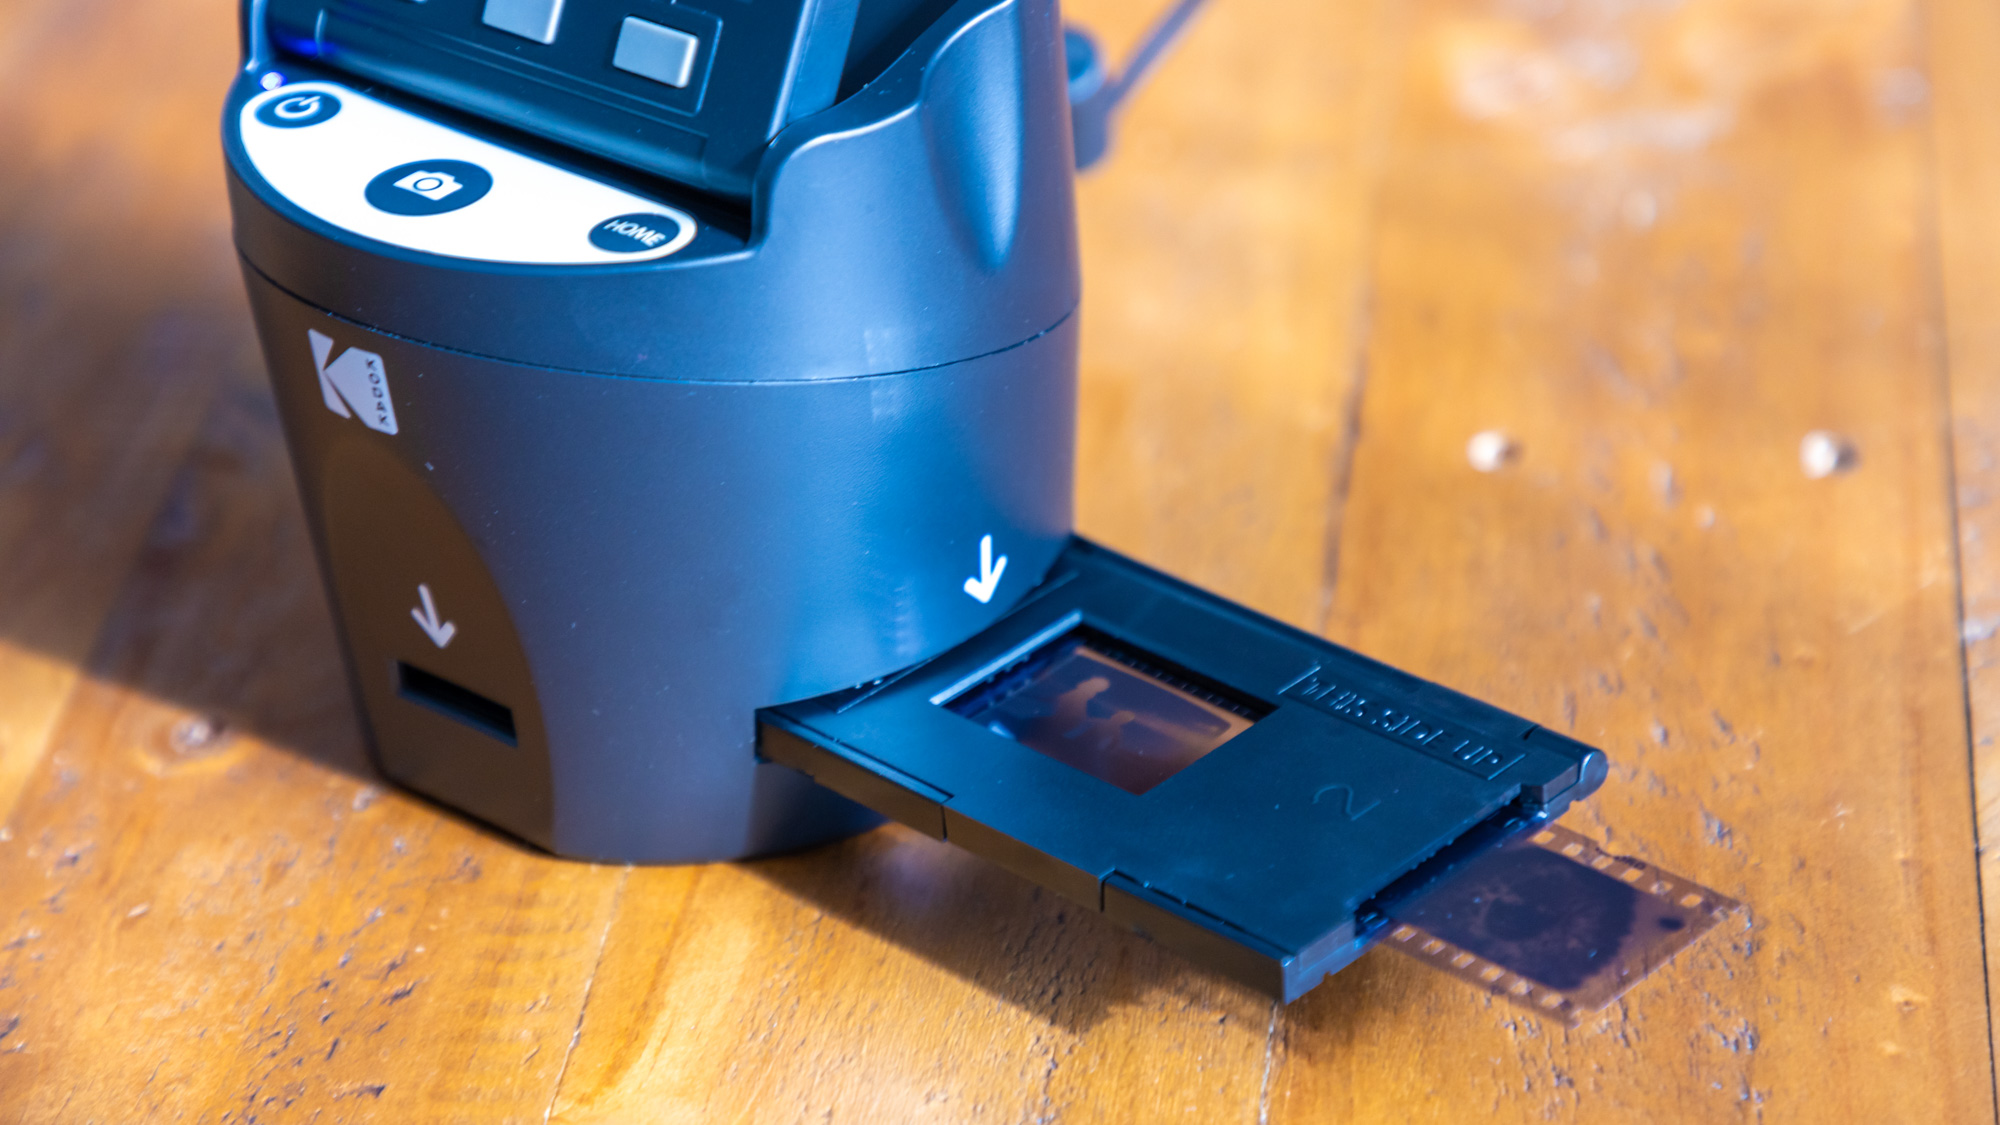
The tolerances for the film adapters were good and did a nice job of keeping film reels flat. We did on occasion find it a little bit too tight to push our 35mm film through and at times had to pull the whole adapter out to manually set the film, which was slower than just being able to slide it along a slide at a time while it was still in the adapter. Some users even left feedback suggesting to cut a corner off the film so that it would feed in to the adapter more easily.
110 film went through fine with good tolerances but sometimes our film reels were a little too short to pass all the way through. This wasn't a problem we’d experienced with other film scanners like the Kenro KNSC201 which has a slightly shorter adapter tray making it easier to get hold of your piece of film and pull it through. Whether you experience this issue will largely depend on how your film reel has been cut up. If you still have one long uncut reel then you won't experience this problem, though ours had been chopped into chunks of four photos so these weren't particularly long and didn't pass all the way through for use to grab the other end on the other side.
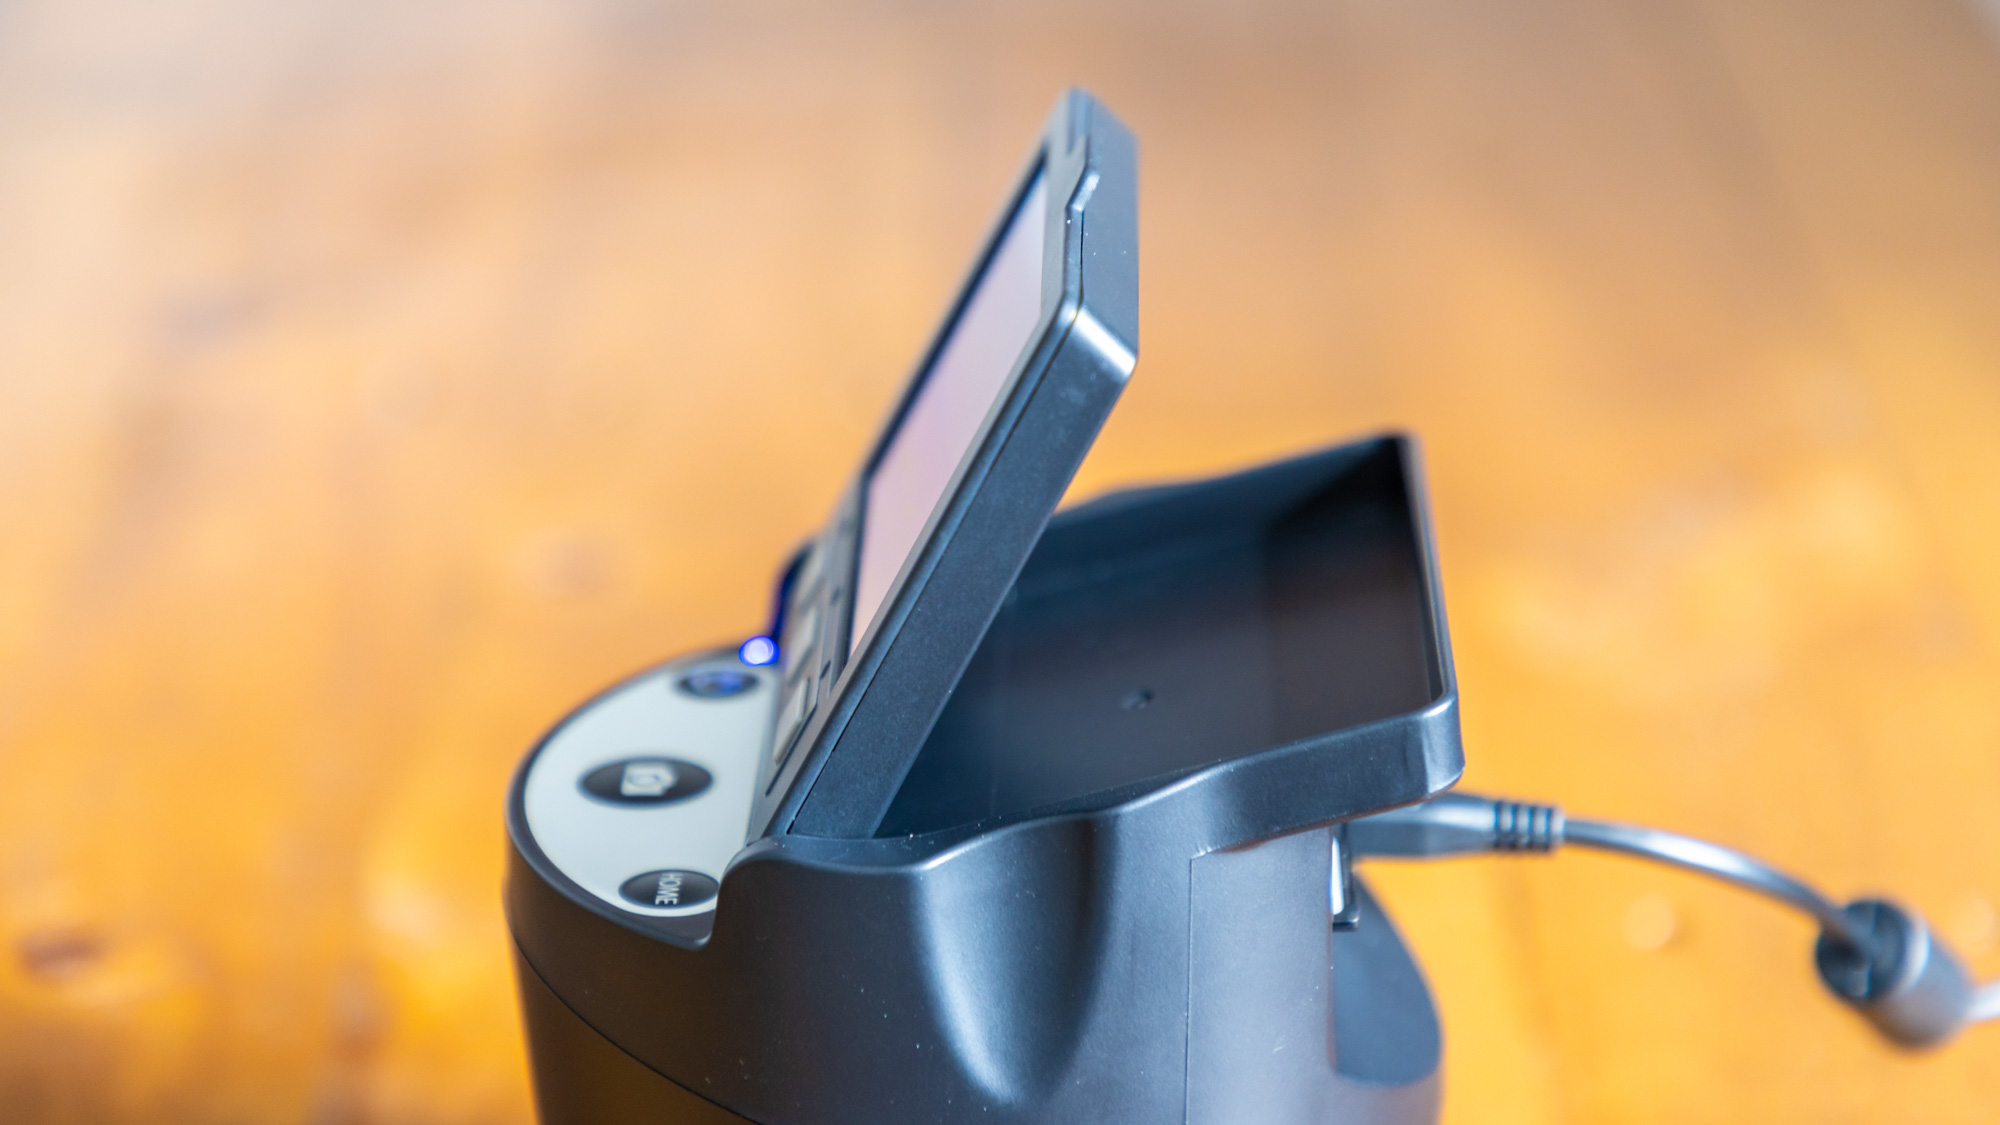
The screen is a decent size at 3.5”, making it a little larger than the 2.31” display on the recently reviewed Kenro KNSC201 but smaller than Kodak’s Slide N Scan which features a mammoth 5” display.
One trump card the Scanza does have though is the ability to tilt the display forwards a little. This makes it a little easier to use when looking directly down at it or from an angle such as when you’d be sat down with it placed on a desk. The viewing angle of the display isn't particularly good, so the tiltability definitely helps you see the most accurate picture from different angles.
The Scanza's screen was a little dark and the colors didn’t seem totally accurate. There was a notable difference from the colors on-screen to when we were editing them back at our computer, so we found it best to leave the color adjustments until we were at the editing stage on a computer so we knew exactly what we were working with.
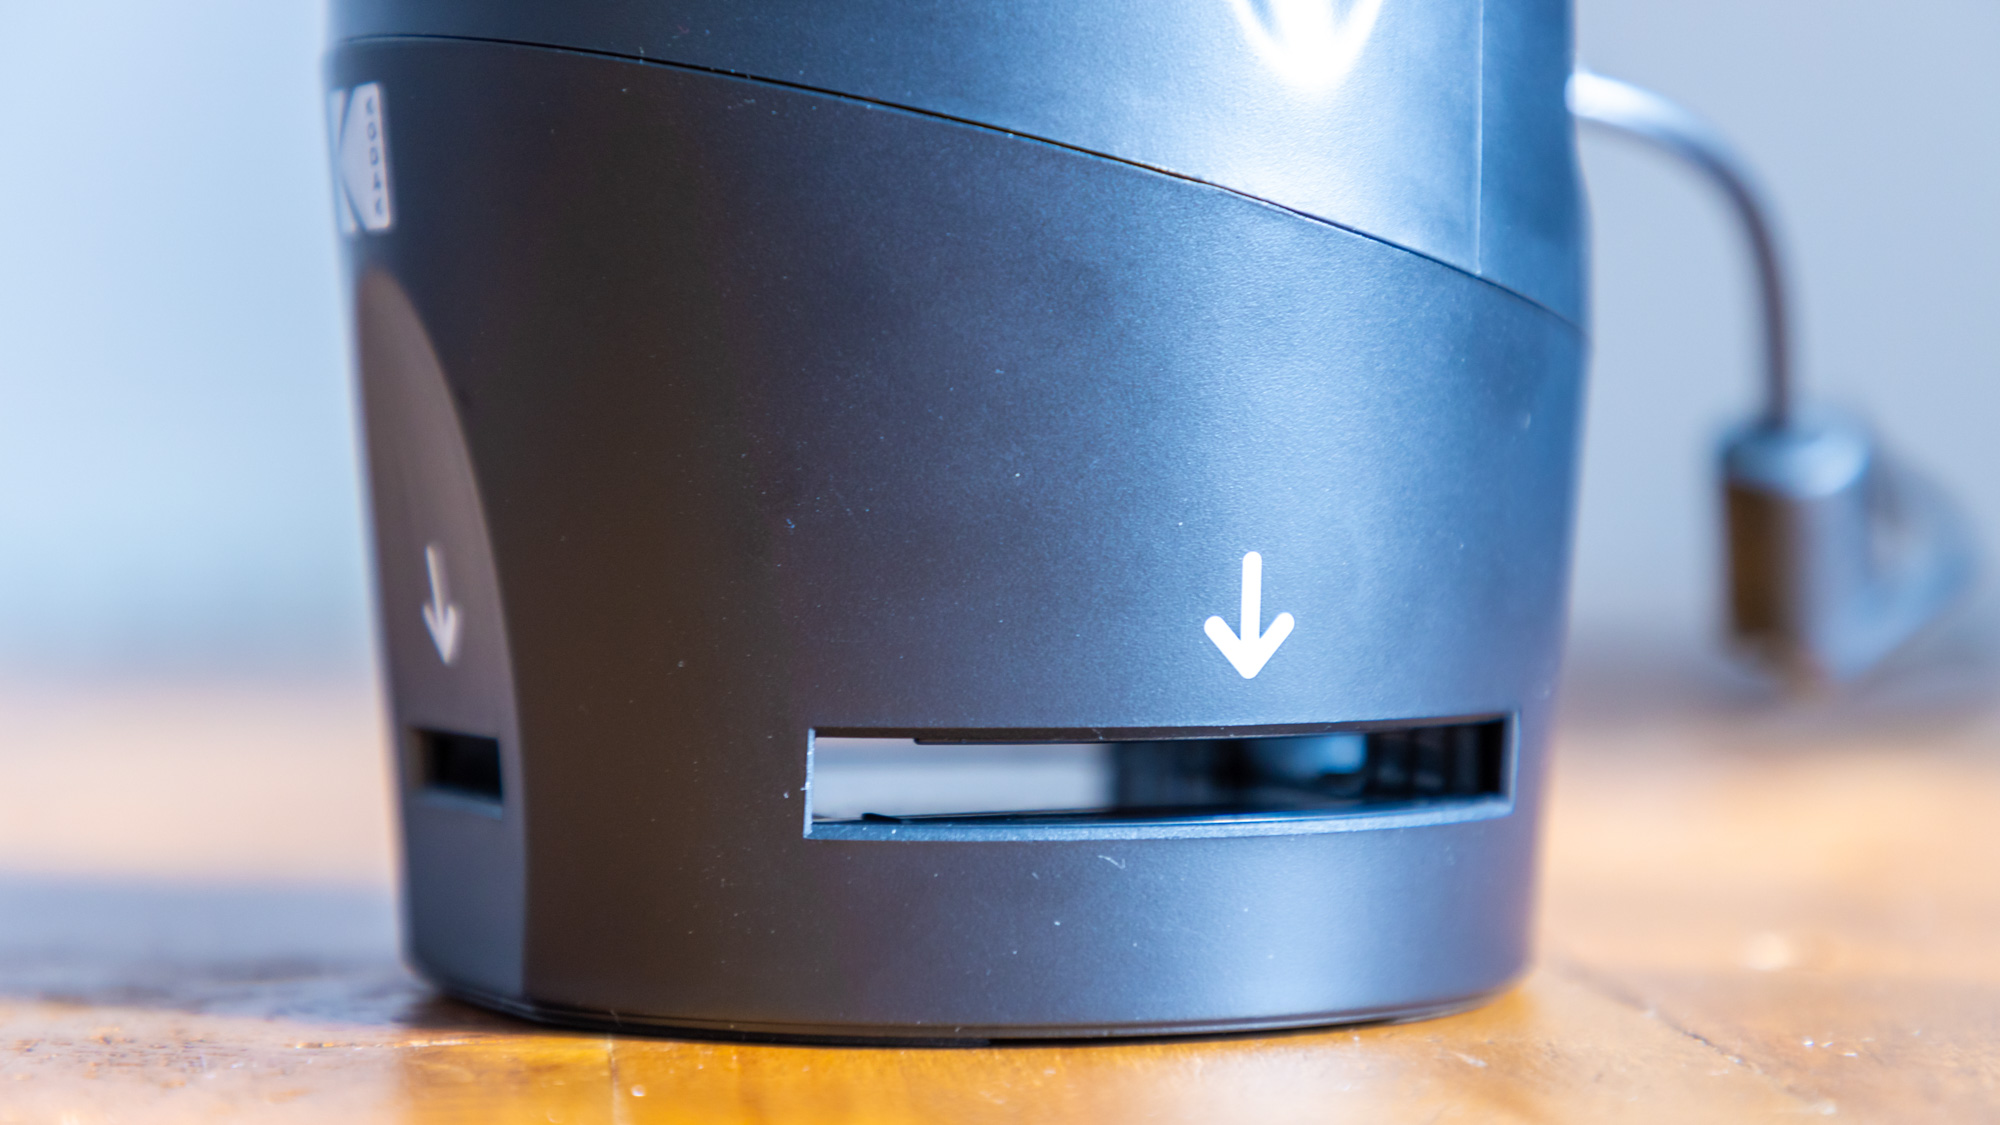
The backlight got dusty very easily so needed to be cleaned regularly. Fortunately, Kodak does supply a cleaning brush in the box. However, this wasn’t an issue we ran into when review the Scanza’s bigger brother, the Slide N Scan, as it featured spring-loaded flaps which close when an adapter isn’t inserted to help keep dust out. This was a feature sorely missed on the Scanza which freely lets in dust and regularly needed cleaning to prevent dust spots appearing in the finished scans.
Enhancement options have been kept simple with Brightness, Red, Green and Blue manual adjustments available. This is quite a slow process to dial these settings in and unfortunately there’s no auto enhancement options to speed things up. We found the best bet to use the Brightness control to make sure your scans were the correct exposure, and then fine-tune the colors back at your computer.
Kodak Scanza: User reviews
The Kodak Scanza has amassed over 9,000 ratings on Amazon with an impressive average score of 4.2 out of 5 stars. Here’s what some Scanza customers had to say about their purchase.
One five star review left by a customer on Amazon said, "Having used one of the rival scanning units and getting poor results I decided to up the ante and try this Kodak branded model. From having now used it for over two months and scanned around 4000 images, I have found this scanner to be versatile and producing good quality results, from media dating back to the early 1960s (B&W negatives).
"OK, it's twice the price of some of the better rivals but for the price paid, you get a great deal of versatility. Easy to use great connectivity, multiple formats, 35mm, 126, 110, 8mm & Super 8 - slides and negatives (no slides in 8/Super 8). Inbuilt menu options, gallery function, cast to TV ( via AV cable), direct export to PC (via USB cable) and more. There have been some bad reviews but don't be put off, this piece of kit works fine.
"Finally, one tip: don't be in a hurry to pass your media through. This scanner actually takes 1/15 sec and then saves. Moving the media through before the Saved message appears onscreen, can lead to blurred results - even if your original image was sharp! Best to let the scanner complete its job properly.”
While another left top marks for their purchase saying, “Helped me preserve my family memories from negatives that date back to the 1950s. Works best with 35mm negatives but the mounts for the smaller negatives are tricky to use (I had to snip the corner off the negative strips so that they would slide through the mounts more easily). Colour adjustment is quite basic but adequate as you can fine tune using a photo editor like Photoshop.”
Would I buy the Kodak Scanza?
After spending some time with the Kodak Scanza, and digitizing everything from 35mm negatives, to slides and 110 color negatives, we found the image quality to be decent and will likely be of good enough quality for what most casual users are looking to get out of a digital scanner.
Colors on the screen looked a little off, but were easily corrected in software like Photoshop CC. We found it was best to do most of the heavy lifting back at the computer as brightness and RGB options on the Scanza were limited. Dust spots from your film and also from the Scanza's dust-prone backlight will also need to be removed in post-production.
Though a little on the expensive side for what it offers, Kodak's Scanza would be a good one to consider if you have small batches of film or slides to scan.
If however, you have large quantities of old slides or reels of film negatives then it would be worth spending the extra on Kodak’s Slide N Scan which costs $179.99, but we think it's the better value proposition and gives a much more enjoyable scanning experience, especially if you have a lot of film to get through.
Dan is Technique Editor on PhotoPlus: The Canon Magazine magazine. With over a decade writing about all things tech he’s written for a variety of publications before joining Future in April 2019 in that time working across Top Ten Reviews, Digital Camera World, PhotoPlus, NPhoto, Digital Camera and Digital Photographer.
