
- Garden gloves: When it's time to pick up your leaves a decent pair of gardening gloves like these Pine Tree Tools Bamboo Garden Gloves for $11.99 on Amazon are ideal for protecting your hands and keeping them clean and dry.
- Leaf blower (optional): If leaves have blown across your deck, drive or anywhere where you don’t want them, one of the best leaf blowers, is a great way to quickly get them into a neat pile ready for mulching.
- Rake: If you don’t want to invest in a leaf blower, a garden rake like this OMNI Products USA Premium Adjustable Garden Leaf Steel Rake for $38.88 on Amazon is a perfect substitute, though you will have to put in a bit more work.
- Leaf scoops: Once you’ve got your leaves into a neat pile there’s a good chance you are going to want to move them. A pair of leaf scoops like these MEKKAPRO Leaf Scoops and Claws for $29.99 on Amazon will make it quick and convenient.
As the cold grip of winter approaches, learning how to mulch leaves will help to keep your yard in good health.
Leaf mulch, the layer of shredded leaves that is laid on top of soil, can bring a host of benefits for your lawn. It will help retain moisture, keep weeds at bay, add more nutrients to the soil and protect plant roots from extreme temperatures.
Leaf mulch is an essential for anyone wanting to keep their yard in tip top condition without breaking out the dollars. It is organic and environmentally friendly, and if you already have a load of leaves spread across your yard and one of the best lawn mowers, you're already halfway there to making your own leaf mulch.
Here we guide you through the process of mulching leaves, what tools you’ll need and answers to common questions. We also spoke with a couple of experts to make sure you have the full low-down.
Quick steps: How to mulch leaves
- Collect your leave with a rake or leaf blower
- Check your leaves for diseases and trash
- Store your leaves for later if needed
- Shred leaves into mulch with a lawnmower or specialist tool
- Use your mulch as soon as possible
Step-by-step guide: How to mulch leaves
1. Collect your leaves

Collect any leaves that you want to use that are strewn across your yard. For this you can use a rake, a leaf blower or even a leaf vacuum with a collector bag.
If you are using a rake, we recommend using a plastic rake, like the ORIENTOOLS Garden Leaf Rake for $27.19 on Amazon, as this will be gentler on the grass. Try to do this on a day where there is little or no wind as it'll be much easier to get your leaves into a pile.
2. Check leaves as you collect

As you collect the leaves, make sure that there is no hidden trash or diseased leaves in a pile. If you start mulching diseased leaves with good leaves you could end up spreading the problem across your yard and killing off the greenery you're trying to protect.
One tip is to check the trees, bushes and plants where the leaves are coming from to make sure everything looks healthy.
3. Store your leaves

There are two options once you have collected your leaves: you can start mulching straight away or store them. If you don't have time to mulch immediately, you can store in a bin or bag - but don’t leave them stored for too long as they may eventually rot down into compost. You can use this to add to your soil at a later date, but it will be no good as mulch.
4. Shred the leaves

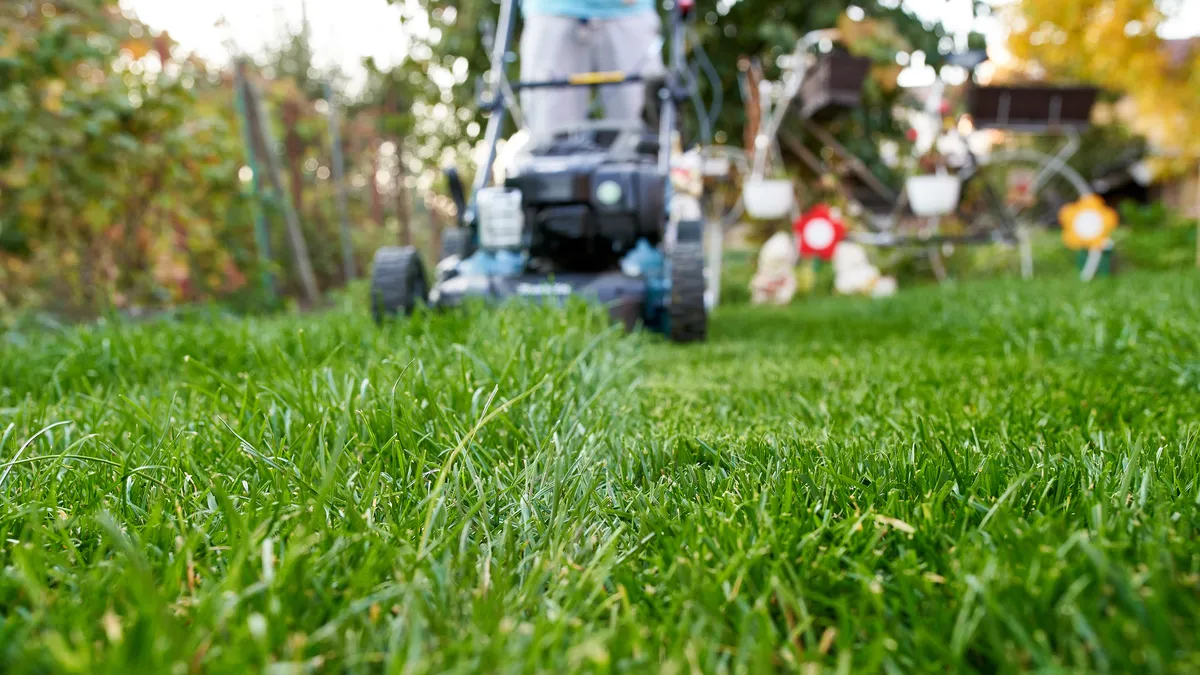
There are several options for shredding leaves to make mulch. If you already own a lawnmower with a collector this is a quick and cost effective way to create leaf mulch. Spread out your leaves so they are a couple of inches thick, lower the cutting height and run your lawn mower over the leaves until all have been collected.
Alternatively, you can put the leaves in a strong plastic or metal bin and use a grass trimmer to shred. Almost like blending the leaves in a food blender. Another option is to invest in a standalone leaf mulcher or multi use leaf blower like this WORX WG509 TRIVAC 3-in-1 Electric Leaf Blower for $74.99 on Amazon, which blows, vacuums and mulches.
5. Use your mulch

With your leaves neatly shredded you can store in a bin for a few days or head straight into action. Make sure that the area you are going to mulch is clear of unwanted debris and lay down the mulch around trees and bushes and across your soil.
Gardening expert Jack Sutcliffe, co-founder of Power Sheds, recommends that: “A layer of leaf mulch should be around 2 to 4 inches thick. This depth should provide sufficient coverage to offer insulation, moisture retention, and weed suppression but not so thick that it causes issues for the plants such as lack of airflow to the soil.”
The mulch should last for around 6-12 months and will eventually decay into compost which you can mix into the soil. And as winter approaches again you can add a new layer of mulch.

Launched in February 2019 by Jack Sutcliffe and Simon Hobson, Power Sheds was launched with the intention to become the online benchmark for quality and durability by offering a product with unparalleled simplicity through a brand you can trust.
FAQs: How to mulch leaves
Is it better to mulch leaves wet or dry?
You can shred wet or dry leaves but gardening aficionado Chris Bonnett, founder of Gardening Express explains which is better: “To make the mulching process as effective as possible, wait until the leaves are dry and crispy."
"If you try to mulch wet leaves they may not shred as easily and this can lead to a messy lawn and a clogged mower. Additionally, wet leaves are much heavier, so you may find it challenging to bag up your mulched leaves.”

Gardening Express is a leading online Plant & Garden Specialist based in the UK. The business was created by founder CEO Chris Bonnett, and has grown to be a thorn in the side of traditional rivals with its dynamic approach and new thinking.
What leaves should not be composted?
“Although most leaves can be composted, there are a few exceptions that you need to be aware of,” reveals Bonnett.. “You should avoid composting leaves from plants that have been treated with pesticides or those that are diseased”, he continues.
“Additionally, leaves that are high in lignin and low in nitrogen and calcium, such as oak leaves, holly, and sweet chestnut, should not be composted. Furthermore, it’s not recommended to compost rhododendrons, conifers, and other evergreens, as their leaves take a long time to break down in a regular compost heap due to their tough and water-resistant nature.”
When is the best time to put leaf mulch down for the winter?
This will depend to a certain degree where you live, but generally, “the best time is typically in the late fall, just before the ground freezes or when the trees have shed most of their leaves. This timing allows you to take advantage of the fallen leaves for mulching before the harsh winter weather sets in.” explains Jack Sutcliffe.
But you need to make sure that your mulch doesn’t go down too soon: “Applying leaf mulch too early might invite pests or prevent the soil from benefiting from the insulation and protection provided by the mulch during the coldest part of the winter.”
