Best cameras: DSLRs, mirrorless, and compacts for taking that perfect snap
With so many brands and models, picking the best camera can be daunting. Here are our top choices.
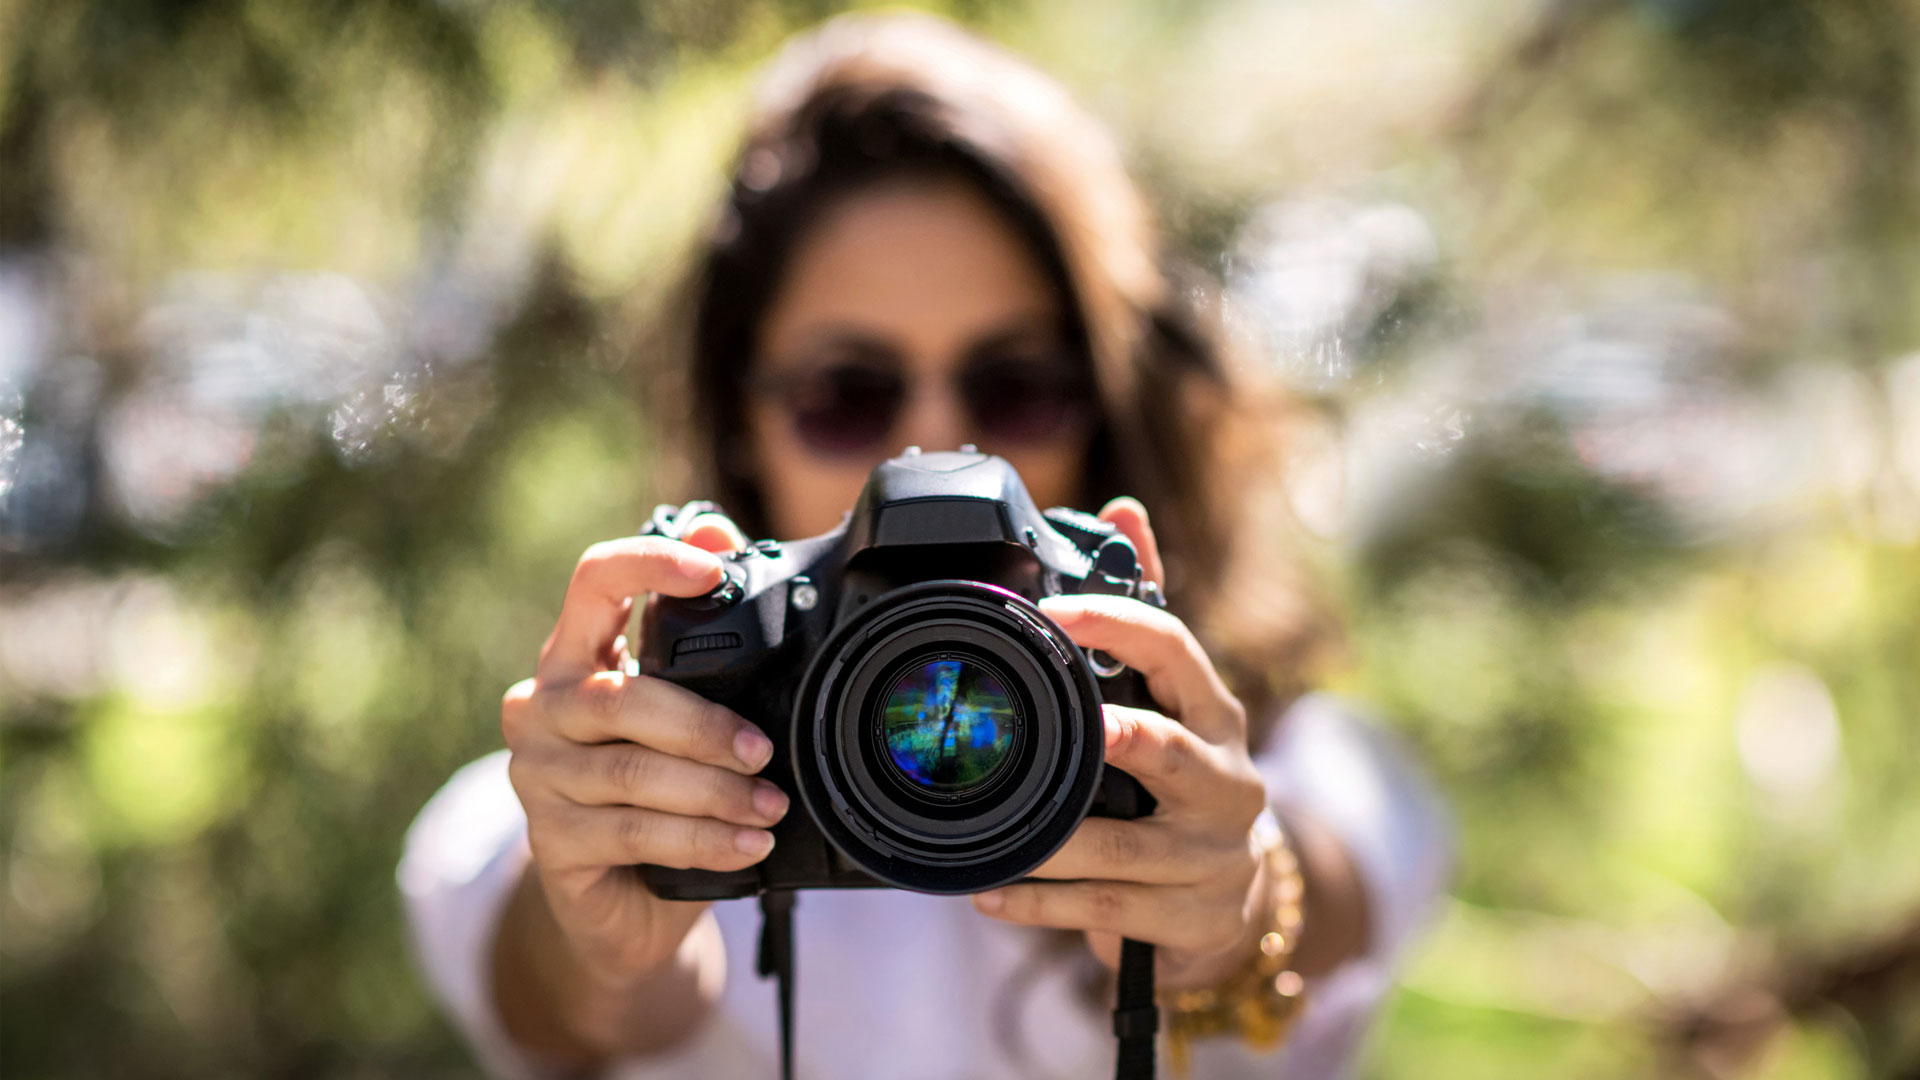
Having the best camera you can get your hands on helps you get the most from your photography, whether you're a professional or a keen amateur. The photography community is constantly growing, with many places to share your captured images, but you’ll still want to use the best camera you can afford.
That’s not always simple, though. While one shutterbug may be happy with their mobile phone’s integrated snapper, others may want something compact, and another may be looking for a top-of-the-range camera that also takes great video.
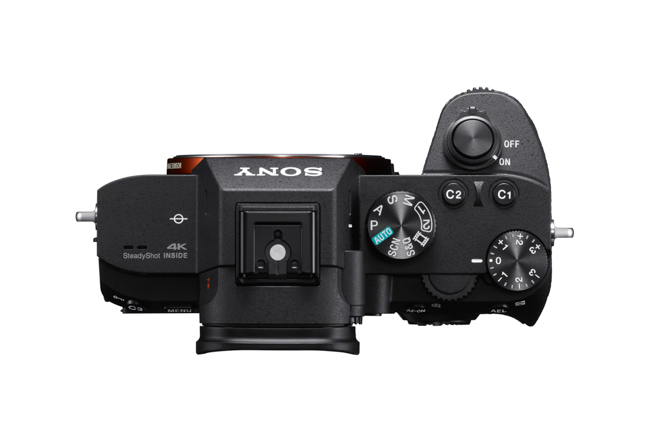
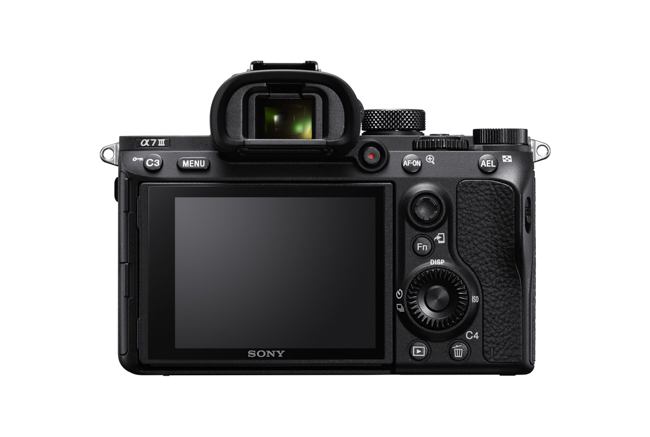
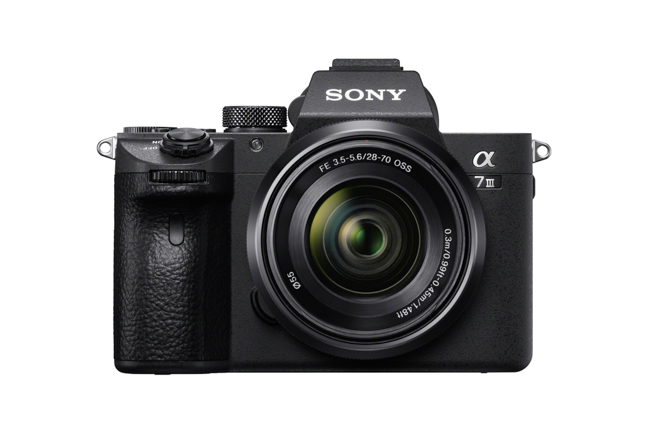
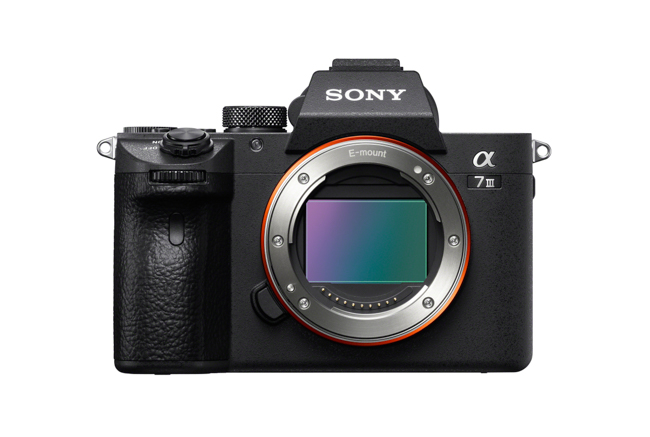
There are many makes and models, but our pick for the best pound-for-pound option remains the Sony Alpha A7 III for its versatility. Whether you’re taking wildlife photos, videos of landscapes, or anything in between, it’s small but mighty and can be improved further with the right lenses.
Every camera on this list has been tested, and we’ve affixed a user level to each, too. If you’re a relative newcomer, though, we’d recommend our list of the best cameras in 2022 for photography beginners.
The best camera for one person might not be the best for another, so if you're looking for your ideal shooter, you might consider switching to a professional mirrorless camera or one of the best DSLR cameras. Here, you will find all the best camera options, with their unique skills front and center, so you can pick the one you need.
The best cameras we recommend
Why you can trust Top Ten Reviews
Top Ten Reviews is on a mission to review everything we feature in our buyer's guides. Still, while we work hard to make this a reality—or where this isn't possible—some of our guides still feature rankings based on our team's considerable expertise and research.
While we haven't been able to test any of the units in this guide in person, we've instead honed in on top-rated brands and used our knowledge of the best features to help you make the right decision for your home, all for the best price.
The best camera overall
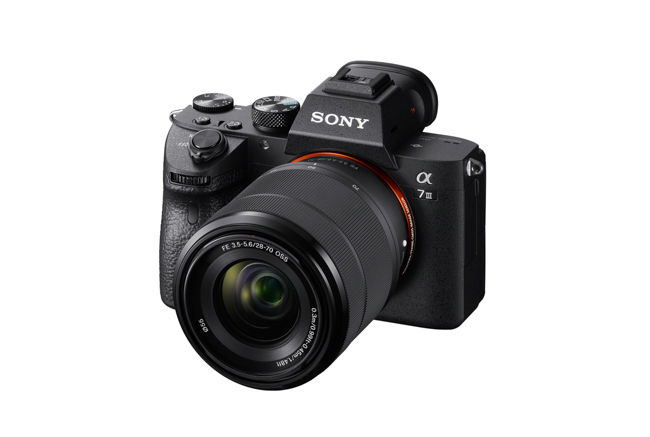
1. Sony Alpha A7 III
Specifications
Reasons to buy
Reasons to avoid
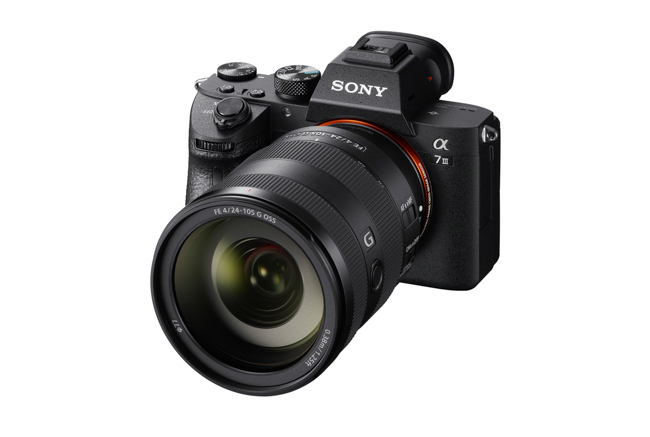
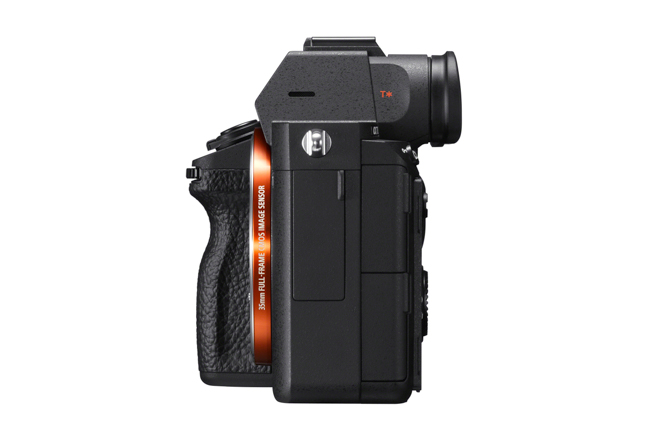
The Sony Alpha A7 III is the camera many DSLR users have switched to - it's that good. Aside from its headline features (above), it offers sensor-based image stabilization, a hybrid autofocus system that covers around 93 percent of the frame, and far better battery life than before. Sony has also been crafting some impressive lenses alongside and now has more than 50 native options available.
Sony offers a stunning 693-point autofocus system with a 15-stop dynamic range and 5-axis image stabilization. The result is that the 24.2MP full-frame back-illuminated CMOS sensor makes the most of any scene. All that means is that even in the hands of a novice, this camera will give any photo the potential to look the best it can be. But this is a camera with enough performance to suit even a pro. This also has the power to capture 4K video, and since this uses WiFi, all that video can be quickly uploaded directly to where you need it to go.
If you don’t quite have the budget for the body and one of these lenses, the older Alpha A7 II would be a good alternative, still offering plenty of power and performance.
The best mirrorless camera
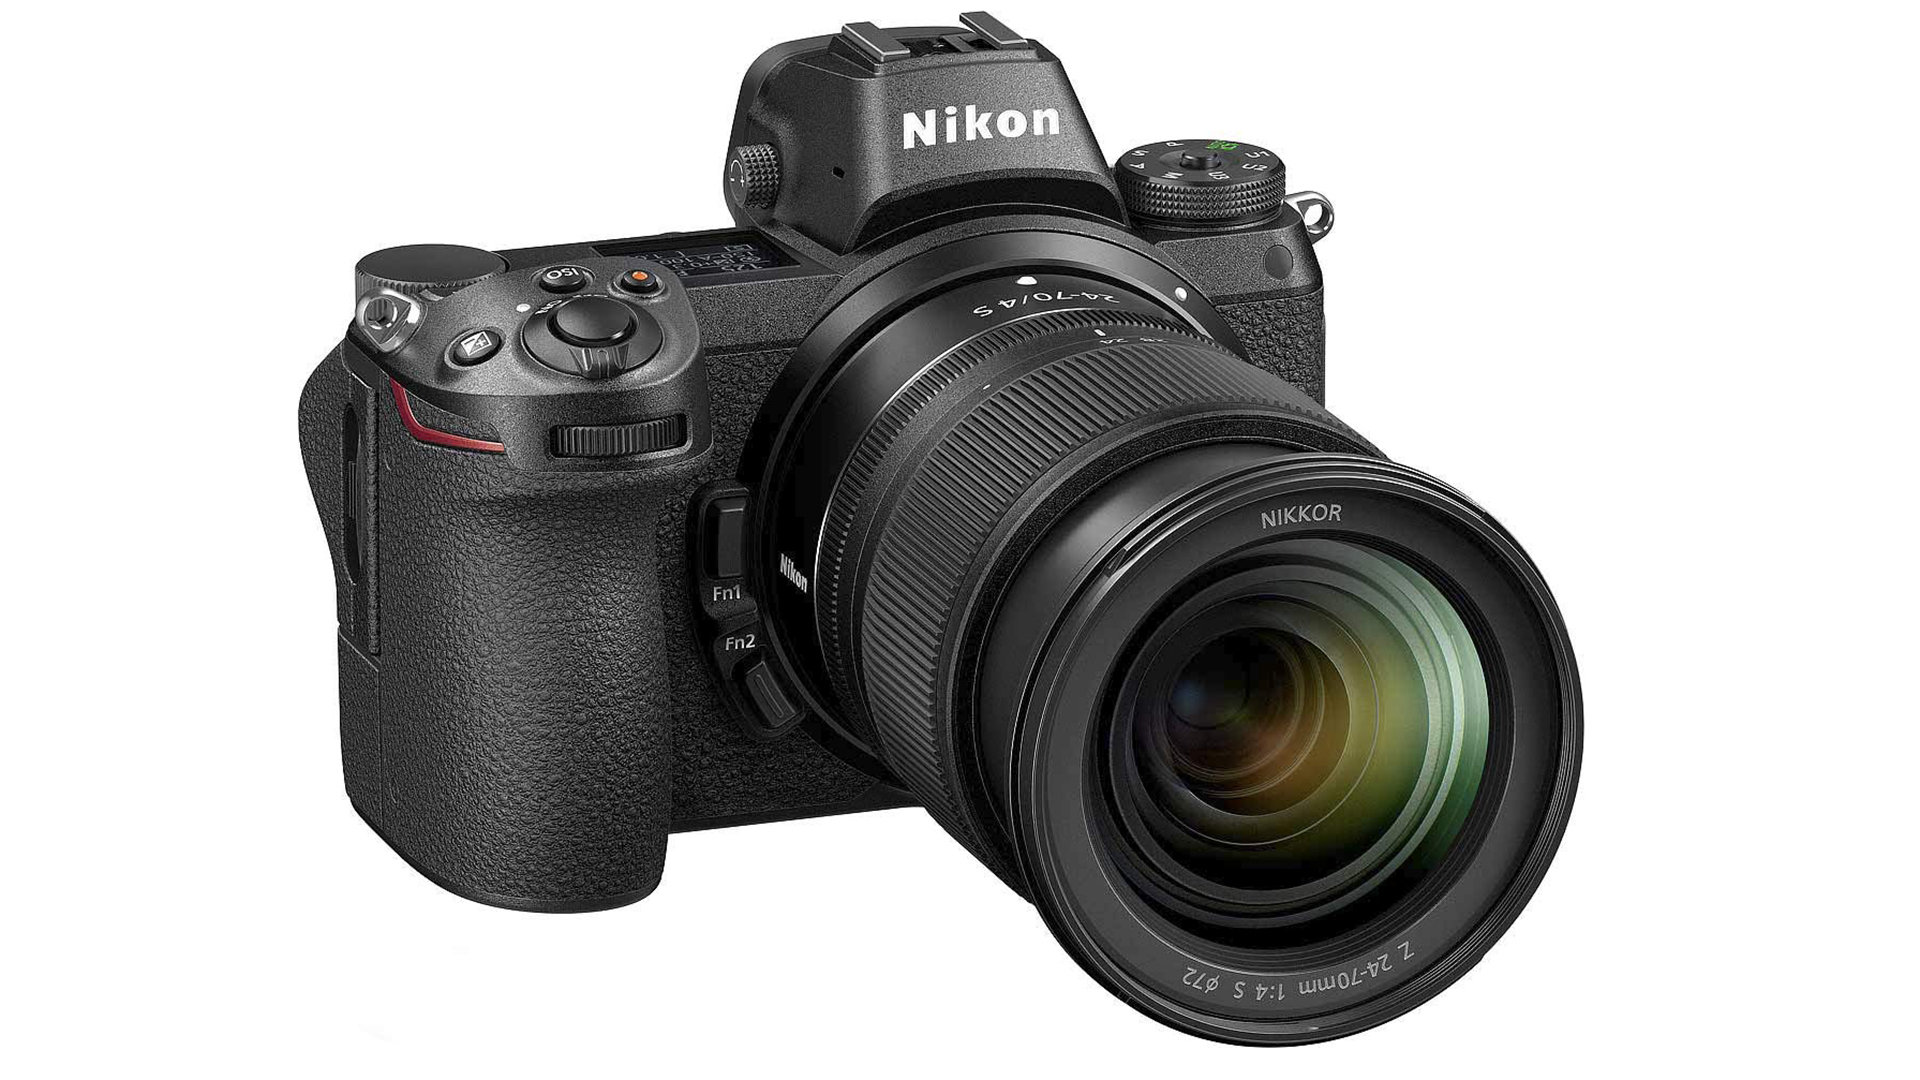
2. Nikon Z6
Specifications
Reasons to buy
Reasons to avoid
The Nikon Z6 is one of two cameras that kickstarted the company’s latest Z series, the Z7 being the other. It's the Z6 that offers slightly less power, saving you a grand or so. This blends an excellent 24.5MP full-frame sensor with 4K video recording at 30fps, a beautiful viewfinder, and excellent handling thanks to a generously proportioned grip.
Its mirrorless design makes this camera’s body lighter and more compact than the company’s equivalent DSLRs. The FTZ adapter allows it to be used with F-mount lenses, although partnering it with the NIKKOR Z 24–70mm f/2.8 S makes for a killer combination.
The 273 phase-detect AF pixels help with focusing but don't stand up to the Sony A7 III offering. This also doesn't offer NFC, but with Bluetooth and WiFi, that's more than enough wireless connectivity for most. For the pros, a 5-axis stabilization system built right into the camera – as opposed to the lens – is effective at five stops.
Want something similar but different? The Sony Alpha A7R III is perhaps its closest rival right now.
The best micro four thirds camera
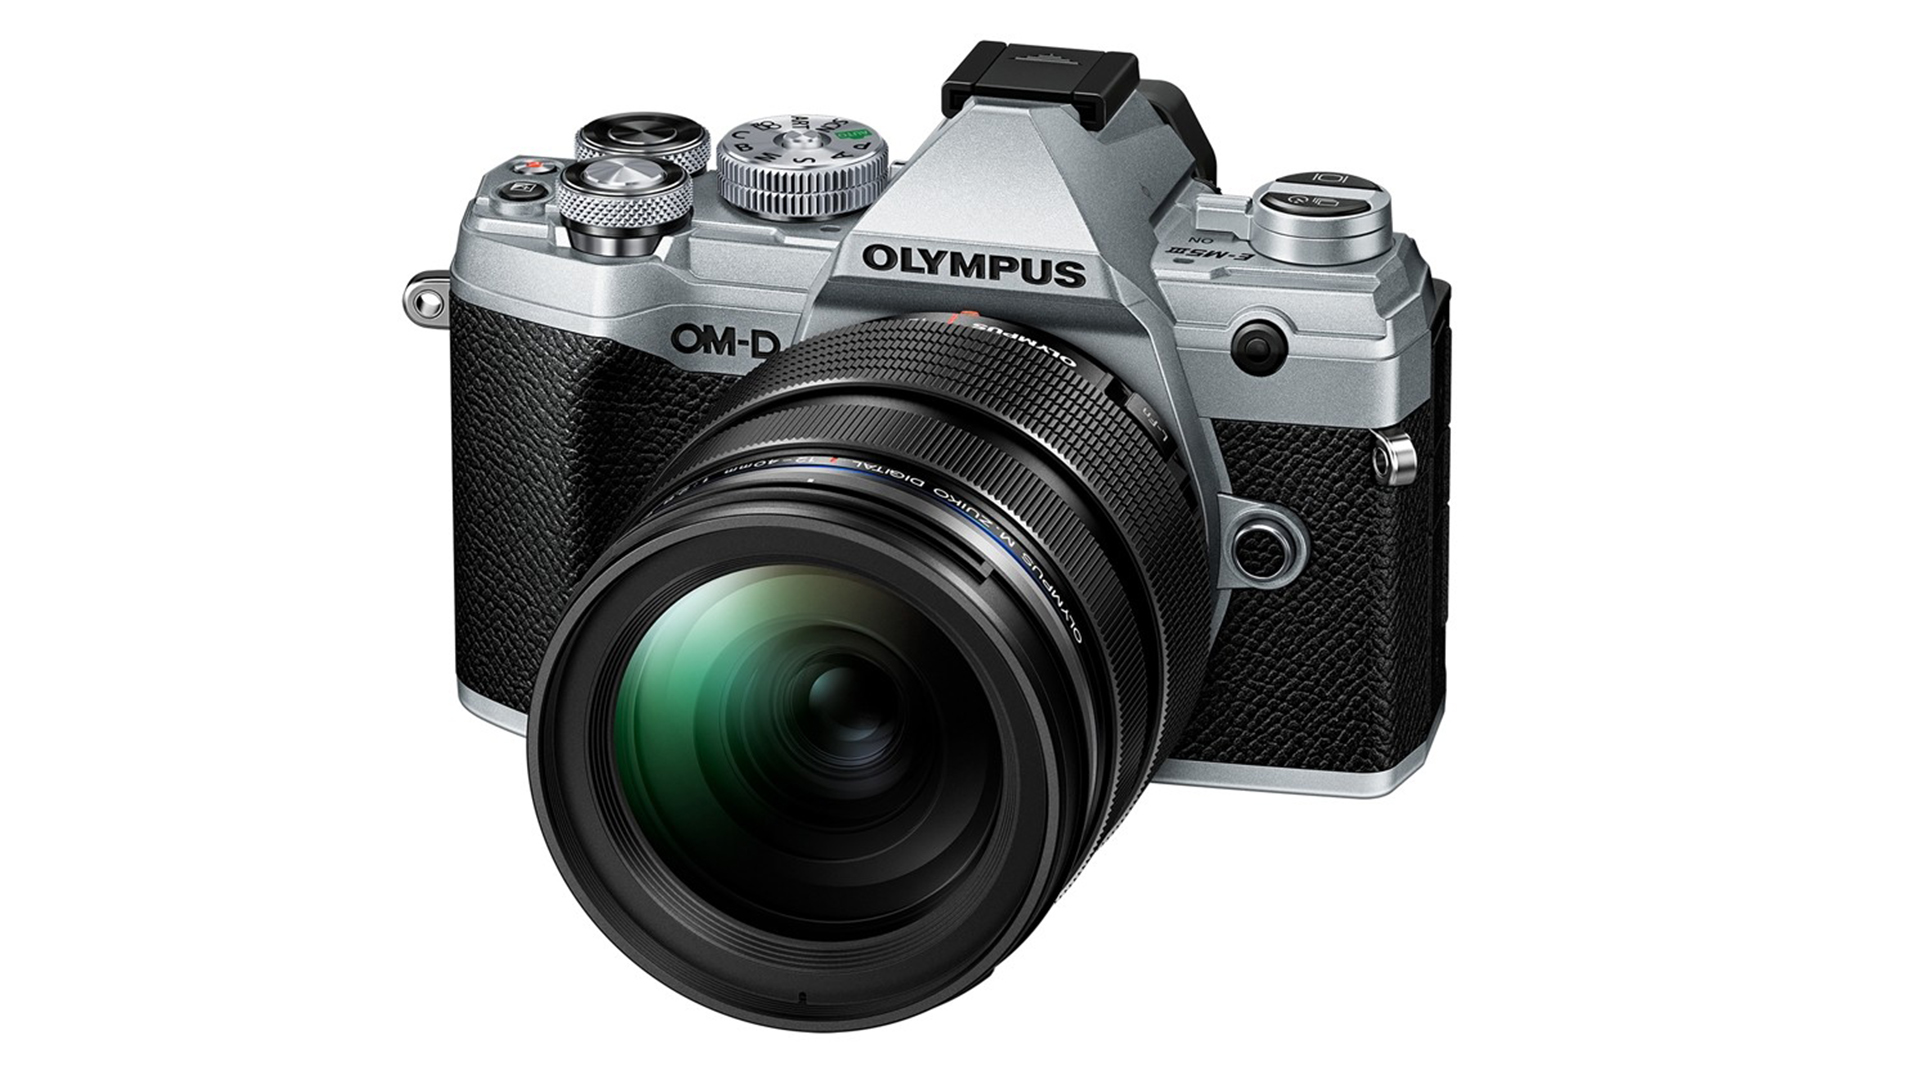
3. Olympus OM-D E-M5 Mark III
Specifications
Reasons to buy
Reasons to avoid
The Olympus OM-D E-M5 Mark III is a stylish and portable way to shoot without sacrificing power. This Micro Four Thirds shooter features the same 20.4MP sensor as the higher-level OM-D E-M1 Mark II. It's backed by some of the most impressive image stabilization and fantastic processing on any camera at this price point. The on-chip phase detection autofocus is a nice addition, helping to make even the most rushed shots look their best.
Video has also been upgraded here, with Cinema 4K recording (4096 x 2160) at 24fps and a 237Mbps bit rate. Impressive stuff. You can also go slow-motion with Full HD video at 120fps and plenty more settings between the two.
The compact form makes this portable, but the lack of the metallic frame of previous models and smaller hand grip than larger equivalents may be negative points for some users.
The best DSLR camera
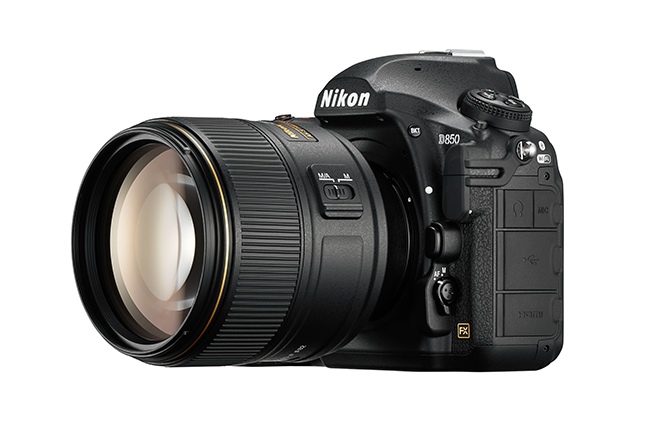
4. Nikon D850
Specifications
Reasons to buy
Reasons to avoid
Probably one of the most well-rounded, versatile DSLR options, the D850 caters to enthusiasts and professional photographers who need everything from speed and resolution to high-quality video.
The body is made of weather-resistant magnesium alloy, and features illuminated buttons for use in low light. The generous 153-point AF system has 99 cross-type points to help keep things extra sensitive.
Its age has meant it’s dropped quite some way in price, too, making it a cost-effective option for the landscape, wedding, sports, or nature photographer - but if you don’t own any optics already, the AF-S Nikkor 24-70mm f/2.8E ED VR would be a perfect partner. And if you need a full-frame Nikon DSLR but money won't stretch this far, check out the Nikon D750.
The best budget full-frame camera
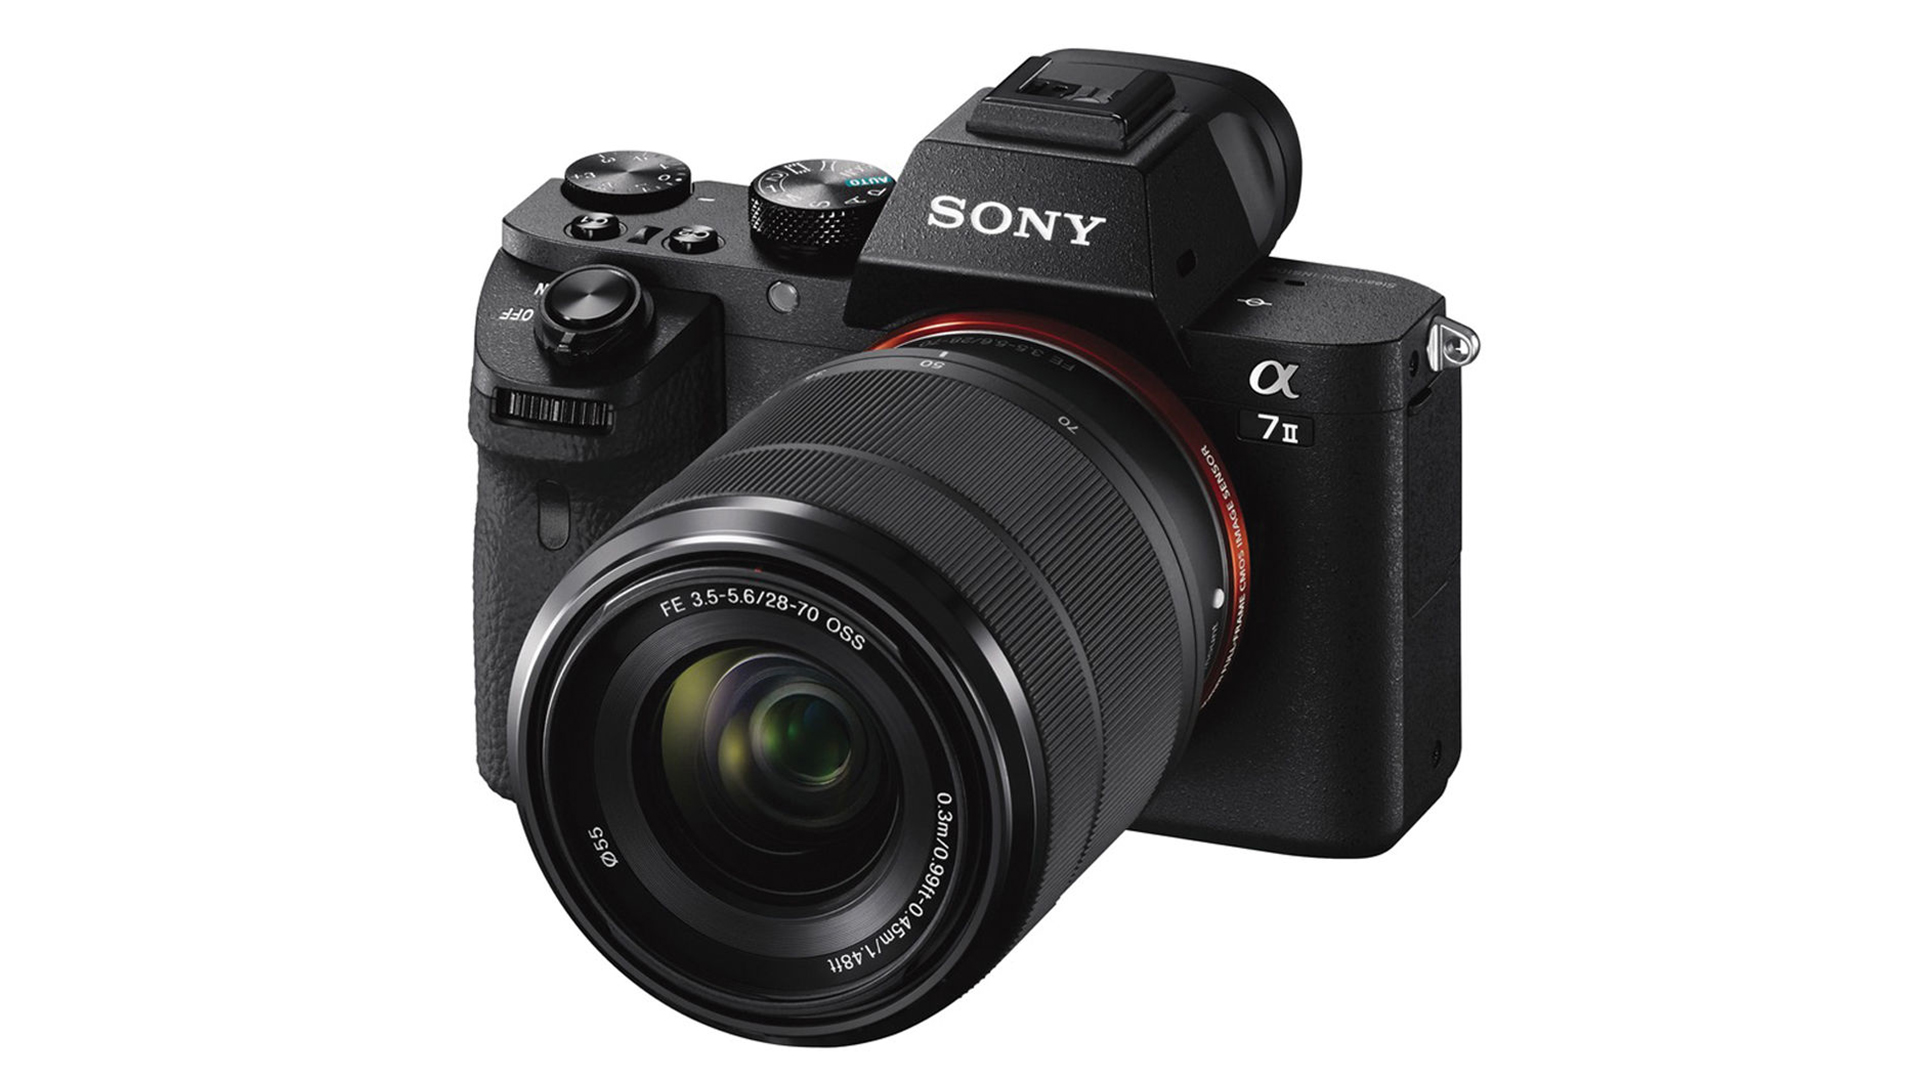
5. Sony Alpha A7 II
Specifications
Reasons to buy
Reasons to avoid
While Nikon’s Z6 may be a great, affordable full-frame camera that many users have switched to, Sony’s A7 II is a great all-around option for saving money without compromising on quality. It’s significantly cheaper now than the Z6 and offers the same features, such as a 24MP full-frame, a tilting LCD, and sensor-based image stabilization.
It doesn’t have 4K video, and its EVF isn’t as detailed by comparison, but in terms of value for money, you’re not finding a better full-frame option this cheap. The fact that it works with a healthy range of high-quality lenses from Sony and third parties also means that the case you save on the body can be put towards some tasty glass. We love it, but the A7 III (position 1) is a more substantial option if you can stretch to it.
The best cheap 4K video camera
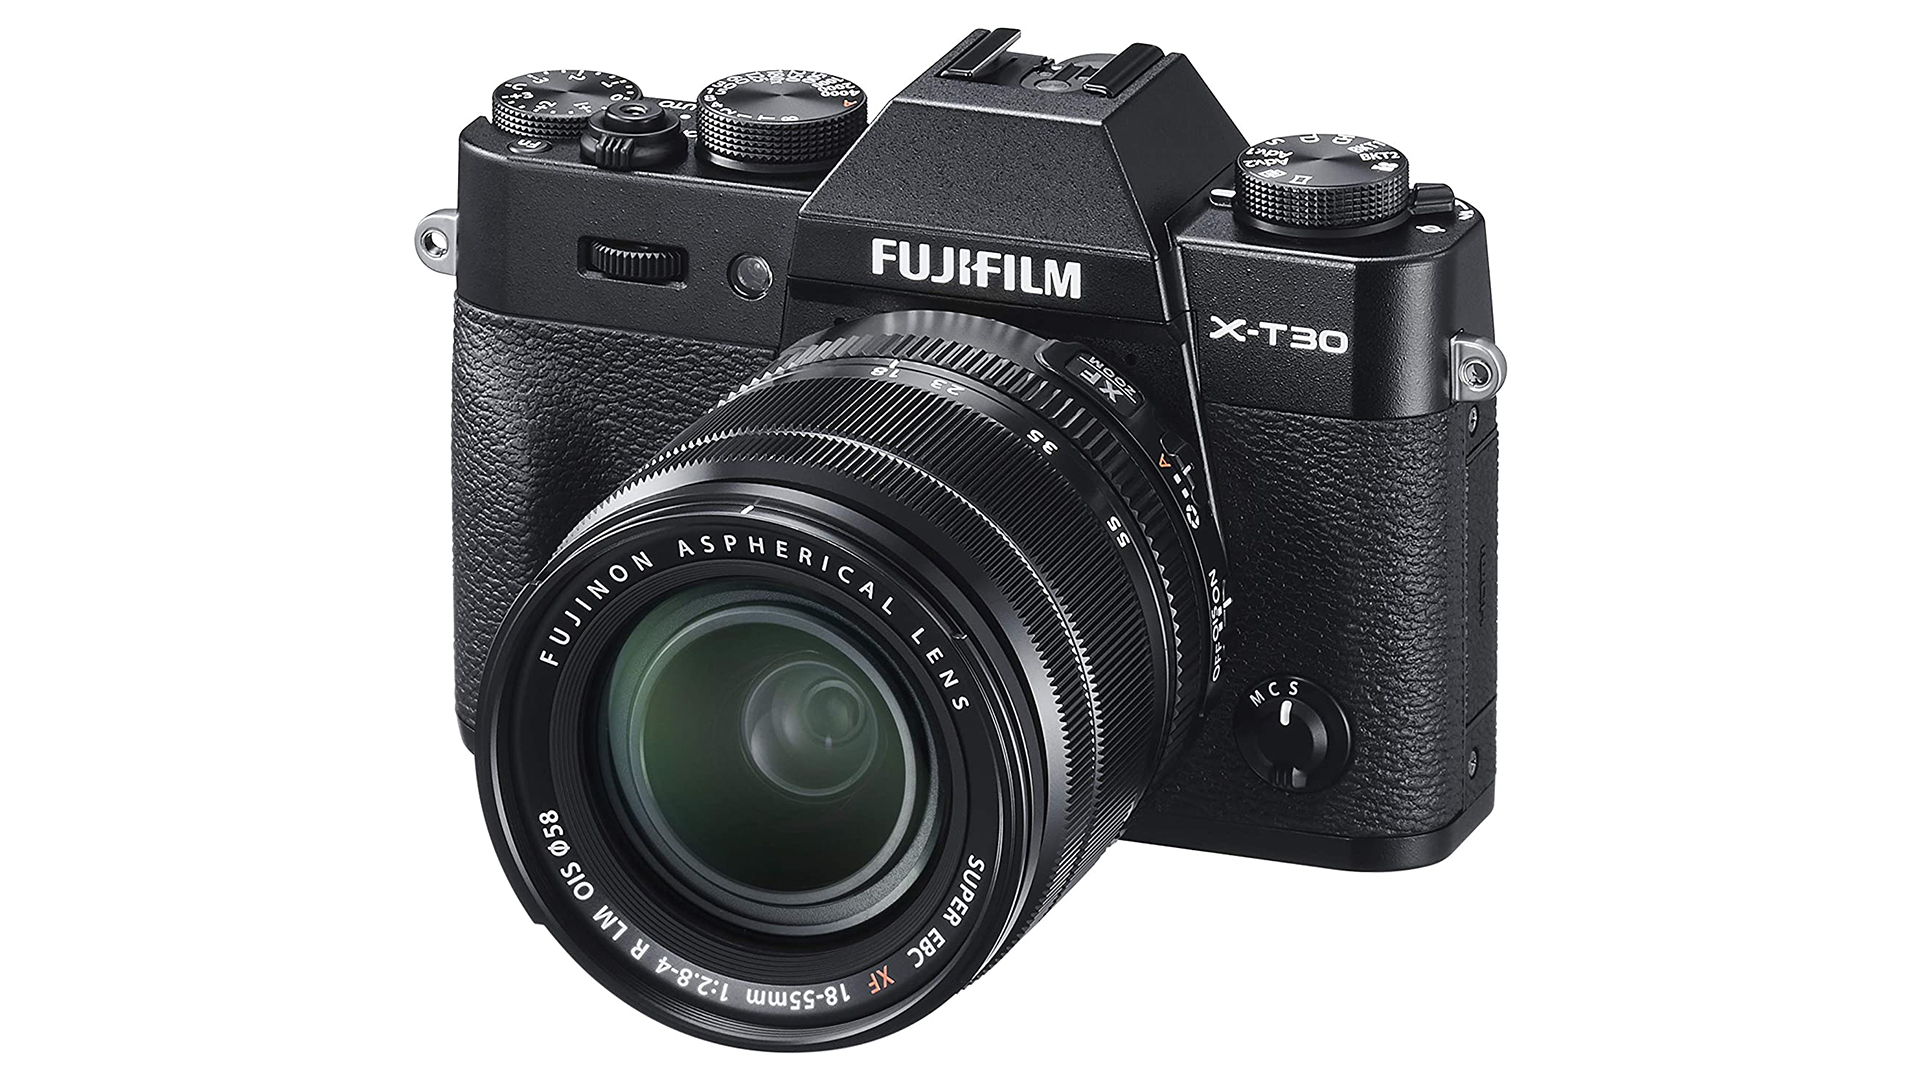
6. Fujifilm X-T30
Specifications
Reasons to buy
Reasons to avoid
The X-T30 packs the best bites from the excellent X-T3 into a learner and more affordable body. Indeed, it’s surprising how much you get from the more senior camera here, from the 26.1MP X-Trans APS-C sensor and X-Processor 4 engine though to 4K video recording and a collection of popular Film Simulation modes.
It’s nicely balanced with the XC 15-45mm F3.5-5.6 OIS PZ kit lens,, but if your budget is a bit stretched, the XF18-55 mm F2.8-4 R LM OIS would be recommended. If you need something more powerful, the X-T3 is where to turn, although you get far better value for money here.
The best camera for beginners
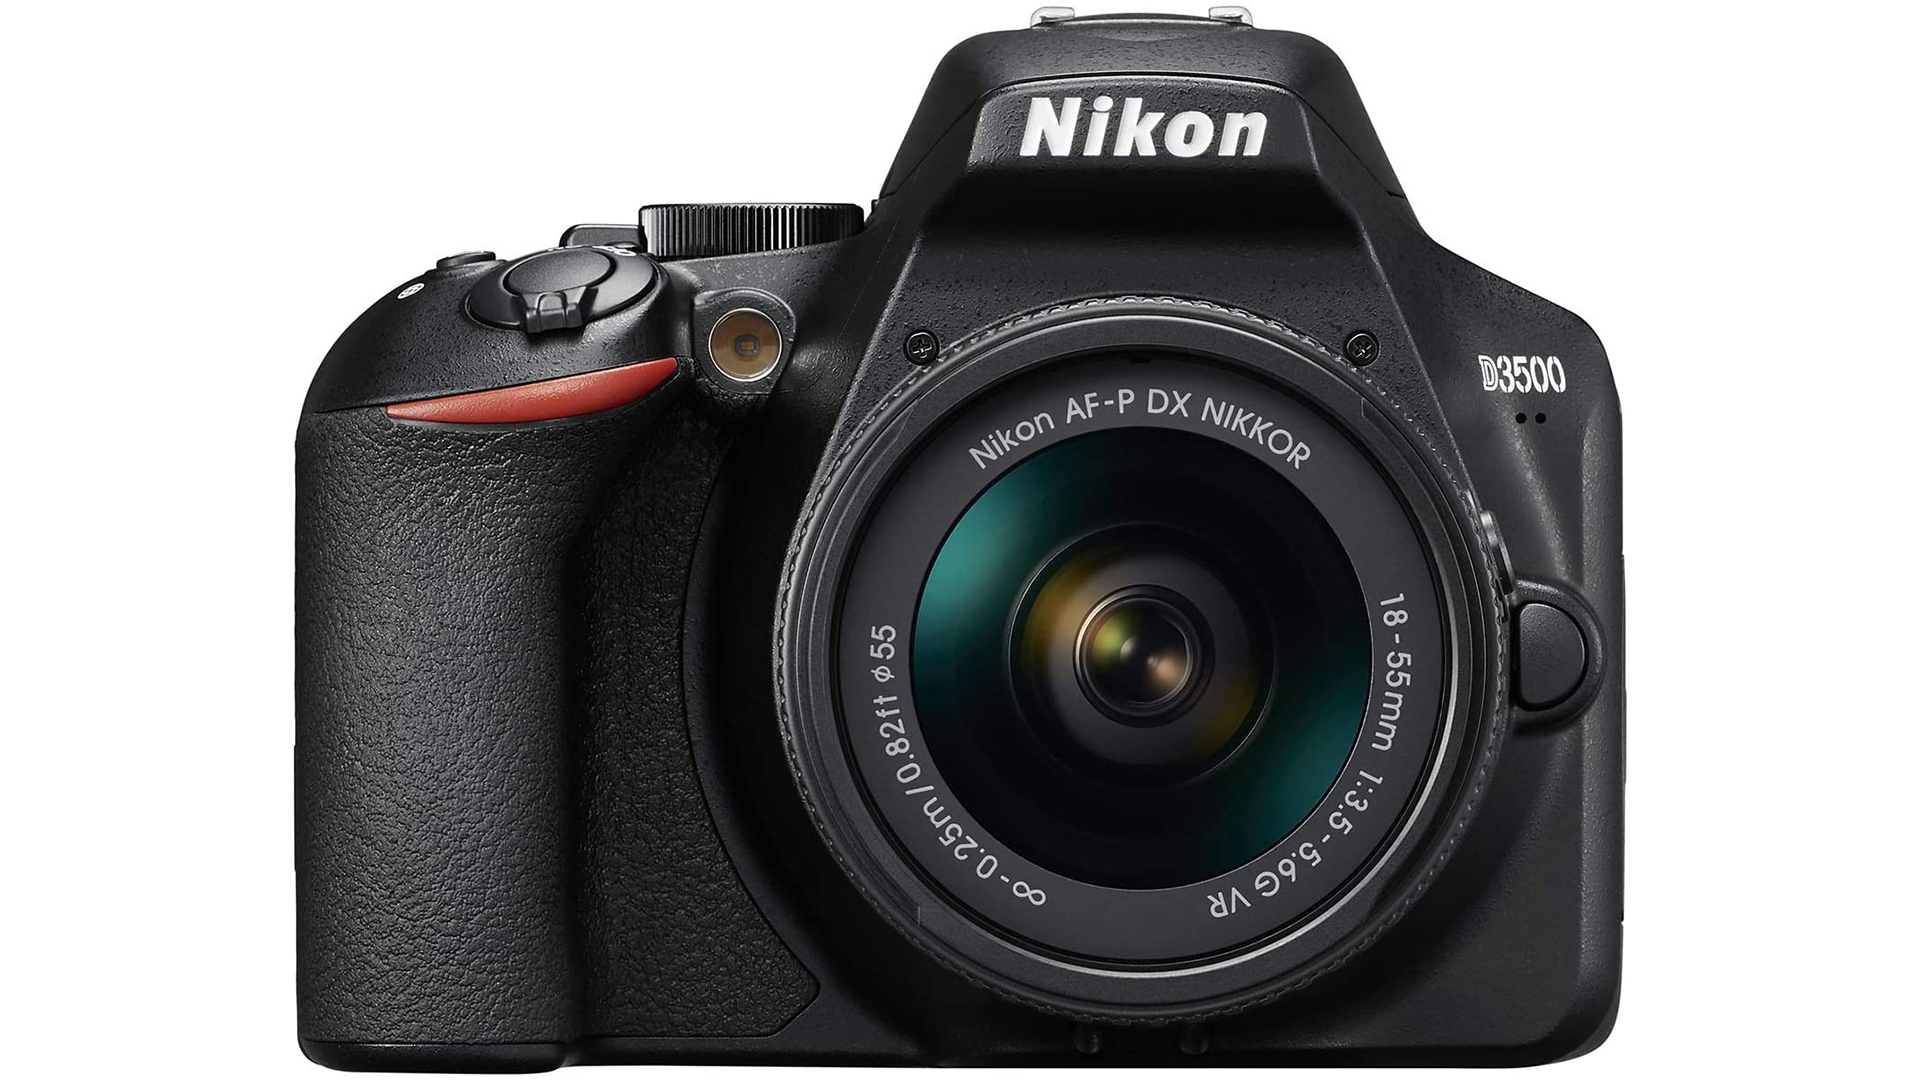
7. Nikon D3500
Specifications
Reasons to buy
Reasons to avoid
The Nikon 3500 is the company’s latest and greatest budget DSLR, and it’s a lovely camera for the price. It’s a relatively inexpensive body that supports the DX sensor system and is compatible with most of Nikon’s F lens systems. The F series has many compatible lenses available for new or - even better - secondhand, which is perfect for the beginner or someone with less money to invest in their photography.
We love the shape and handling of the D3500. Yes, it’s heavier than its mirrorless counterparts (although it’s light for a DSLR), but this offers more stability for handheld shooting, especially when combined with Nikon’s excellent VR lenses. The deep grip makes it easy to handle and carry, the control wheel is well-placed, and changing lenses on the go is extremely easy. The button layout is simple to navigate, and despite not being touch-compatible, the digital display on the camera's reverse is sharp and clear.
In terms of specs, it has an effective resolution of 24.2MP, which is plenty. For beginners, there is a range of pre-set shooting modes, including ‘Effects,’ which oversaturate images, make colors more vivid, and even offer selective-color shooting. These are in addition to Manual, Shutter Priority, Aperture Priority, and Exposure / Programed Auto mode, which you’ll find on most cameras. The autofocus is responsive, and you get decent 5fps shooting, which is excellent for budget DSLRs.
The D3500 has excellent features, but it lacks a few settings you may want to graduate to, like batch exposure. Battery life is average, at around 1500 shots per charge, and there’s a single SD card slot. The kit lens that comes with the camera - a 15-55mm VR AF-P lens - is excellent and versatile enough for newbies. For less than $500, you get a LOT of cameras here for your money and plenty of features to help newcomers get started.
The best vlogging camera
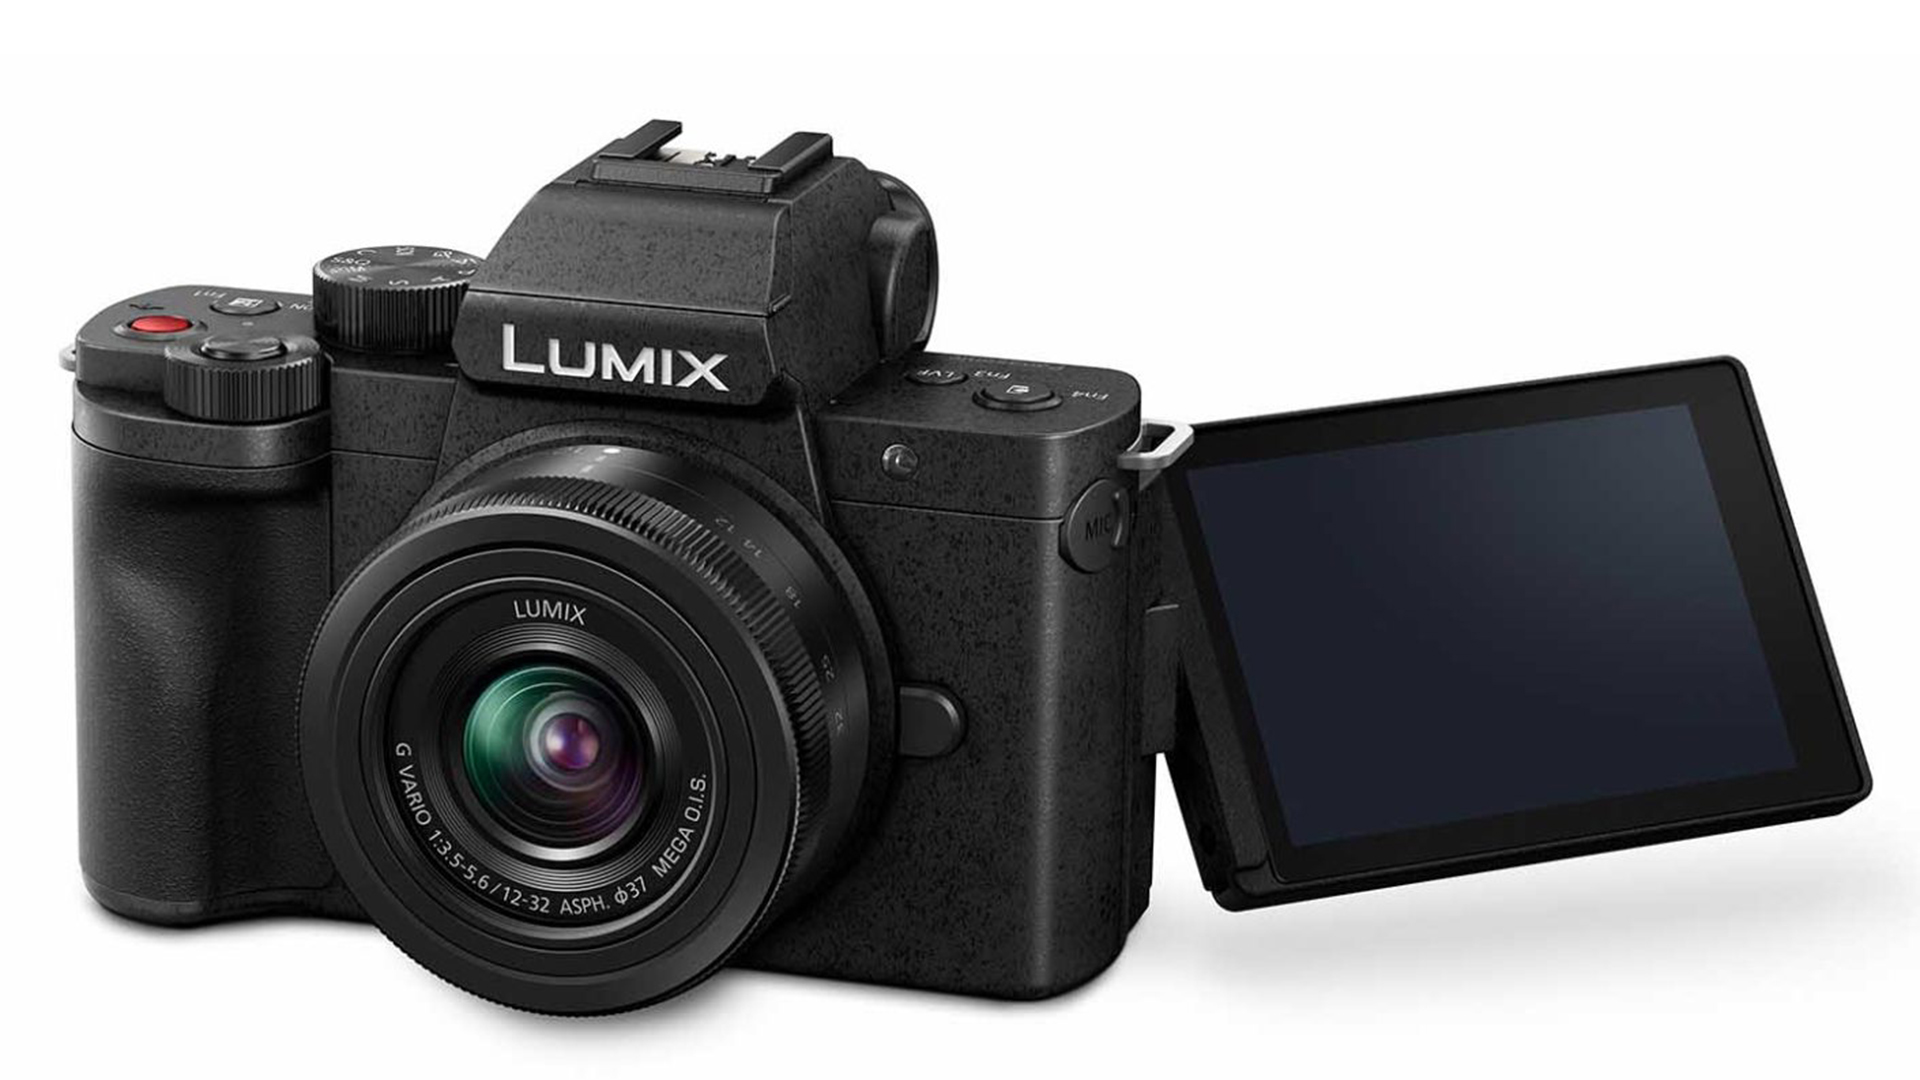
8. Panasonic Lumix G100
Specifications
Reasons to buy
Reasons to avoid
The Panasonic Lumix G100 is a mirrorless camera for vloggers and YouTubers. This is thanks to its ability to shoot in 4K at 30fps, albeit with a crop, and show yourself on the fully articulating screen. But it doesn't stop there; this also has a world first: a Micro Four Thirds camera crams in a Nokia Ozo audio-equipped microphone system. That means the three built-in microphones pick up sound from all directions and prioritize voice over background traffic or wind interference.
The 20.3MP MOS sensor is backed by 5-axis hybrid image stabilization and a great selection of lens options. As such, the colors are punchy, and the detail is excellent. It's only when you go into low-light situations that this doesn't perform as well as some other cameras on this list.
The compact size makes this ideally portable for bloggers, and the battery life of 45 minutes in the real world for 4K video recording isn't bad for that form factor. The fact that it can charge via USB is a big appeal, meaning a battery pack can keep you going as long as you need without stopping to find mains power.
Camera FAQs
What are the main camera types?
While analog and digital film cameras are still available, we will focus on digital options. These are even divided into categories, including DSLRs and mirrorless. They also come in sub-forms, including compacts and zooms.
Buying Guides
Best wireless security cameras: ensure peace of mind and safety
Best mirrorless cameras: modernize your set-up and shoot silently
Best DSLR cameras: Digital SLR cameras for all skill levels
Reviews
Arlo Essential Indoor Camera review
Arlo Pro 4 Spotlight Camera review
A DSLR uses mirrors to let in light, allowing you to see the scene through the viewfinder. The light makes a click sound as it enters the sensor. This means that DSLRs are some of the largest cameras out there.
A mirrorless camera is similar but uses a digital system to let in light directly. This means no noise but a bit more battery consumption. The actual positive here, though, is that mirrorless cameras can be far more compact.
While the quality between the two was once a point of debate, now mirrorless and DSLRs are accepted mainly as on par.
What types of camera lens are there?
While there are many types of camera lenses, it pays to know the lens mount your camera uses. This mounting system varies between brands, meaning you're usually limited to the lenses made by your camera manufacturer and some third-party options. There are various types.
Standard lenses
These can come bundled with new cameras and have a mid-range focal length between 35 and 85mm. This is similar to how the human eye sees, so they should produce lifelike images well. They are great for portrait, travel, and general documentary shots. The 50mm prime (fixed-length) lens is an excellent all-rounder for pros and amateurs.
Telephoto lenses
This is the lens you need if you want zoom. The focal length starts at 85mm and goes up depending on how big or expensive you want your lens. The higher the number, the further you can see. These lenses are great for nature and sports photography and can produce lovely portraits with extra depth for that blurry background finish.
Macro lenses
These lenses are ideal for close-ups in nature. Their focal length is between 35mm and 200mm, which can help with zoom. However, they only work on single objects, such as insects or birds, and they won't focus on broader areas like telephoto lenses.
Wide angle lenses
These lenses range from 14mm to 35mm and help take close-up shots thanks to their broad field of view. This is great for indoor photography, as it keeps everything sharply in focus.
Fish eye lenses
These are more built explicitly for specific needs since they go as low as 4mm and top at 14mm. This means you have a circular image that pulls in lots, again ideal for tiny spaces. But they can also create a fun and distinct style for creative shots.
Sign up to receive the latest news, reviews, buying guides and deals direct to your inbox
Matt Golowczynski is a London-based journalist and photographer. Matt has contributed to a variety of publications including What Digital Camera, Amateur Photographer and Stuff, and his work has also appeared extensively online, on the likes of Dpreview, TechRadar and Shortlist. His photography has appeared in the likes of Condé Nast Traveller, Time Out, The Independent and Kerrang!
