How to drain a washing machine: prevent bad smells and future problems
Learn how to drain a washing machine and prevent bad smells and future problems.

Sign up to receive the latest news, reviews, buying guides and deals direct to your inbox
You are now subscribed
Your newsletter sign-up was successful
Need to learn how to drain a washing machine so that you can diagnose a problem with your appliance? Whether it’s a long-running issue that you need to fix or a teething problem with a new machine, knowing how to stop the water flow in order to get in there for fixes is an invaluable skill and relatively easy to do. The upside? You’ll avoid a mess of water and get to the resolution you want more quickly.
Even the best washing machines can run into problems sometimes, so if your machine has given up mid-cycle, then your first problem is getting rid of all of that sitting water. Below, we will discuss exactly how to do that without needing to call in an expert to save you money. Remember that each washing machine may differ, especially if your model is a little older, so be sure to check your specific manual before you dive in.
How to drain a washing machine: Step-by-step guide
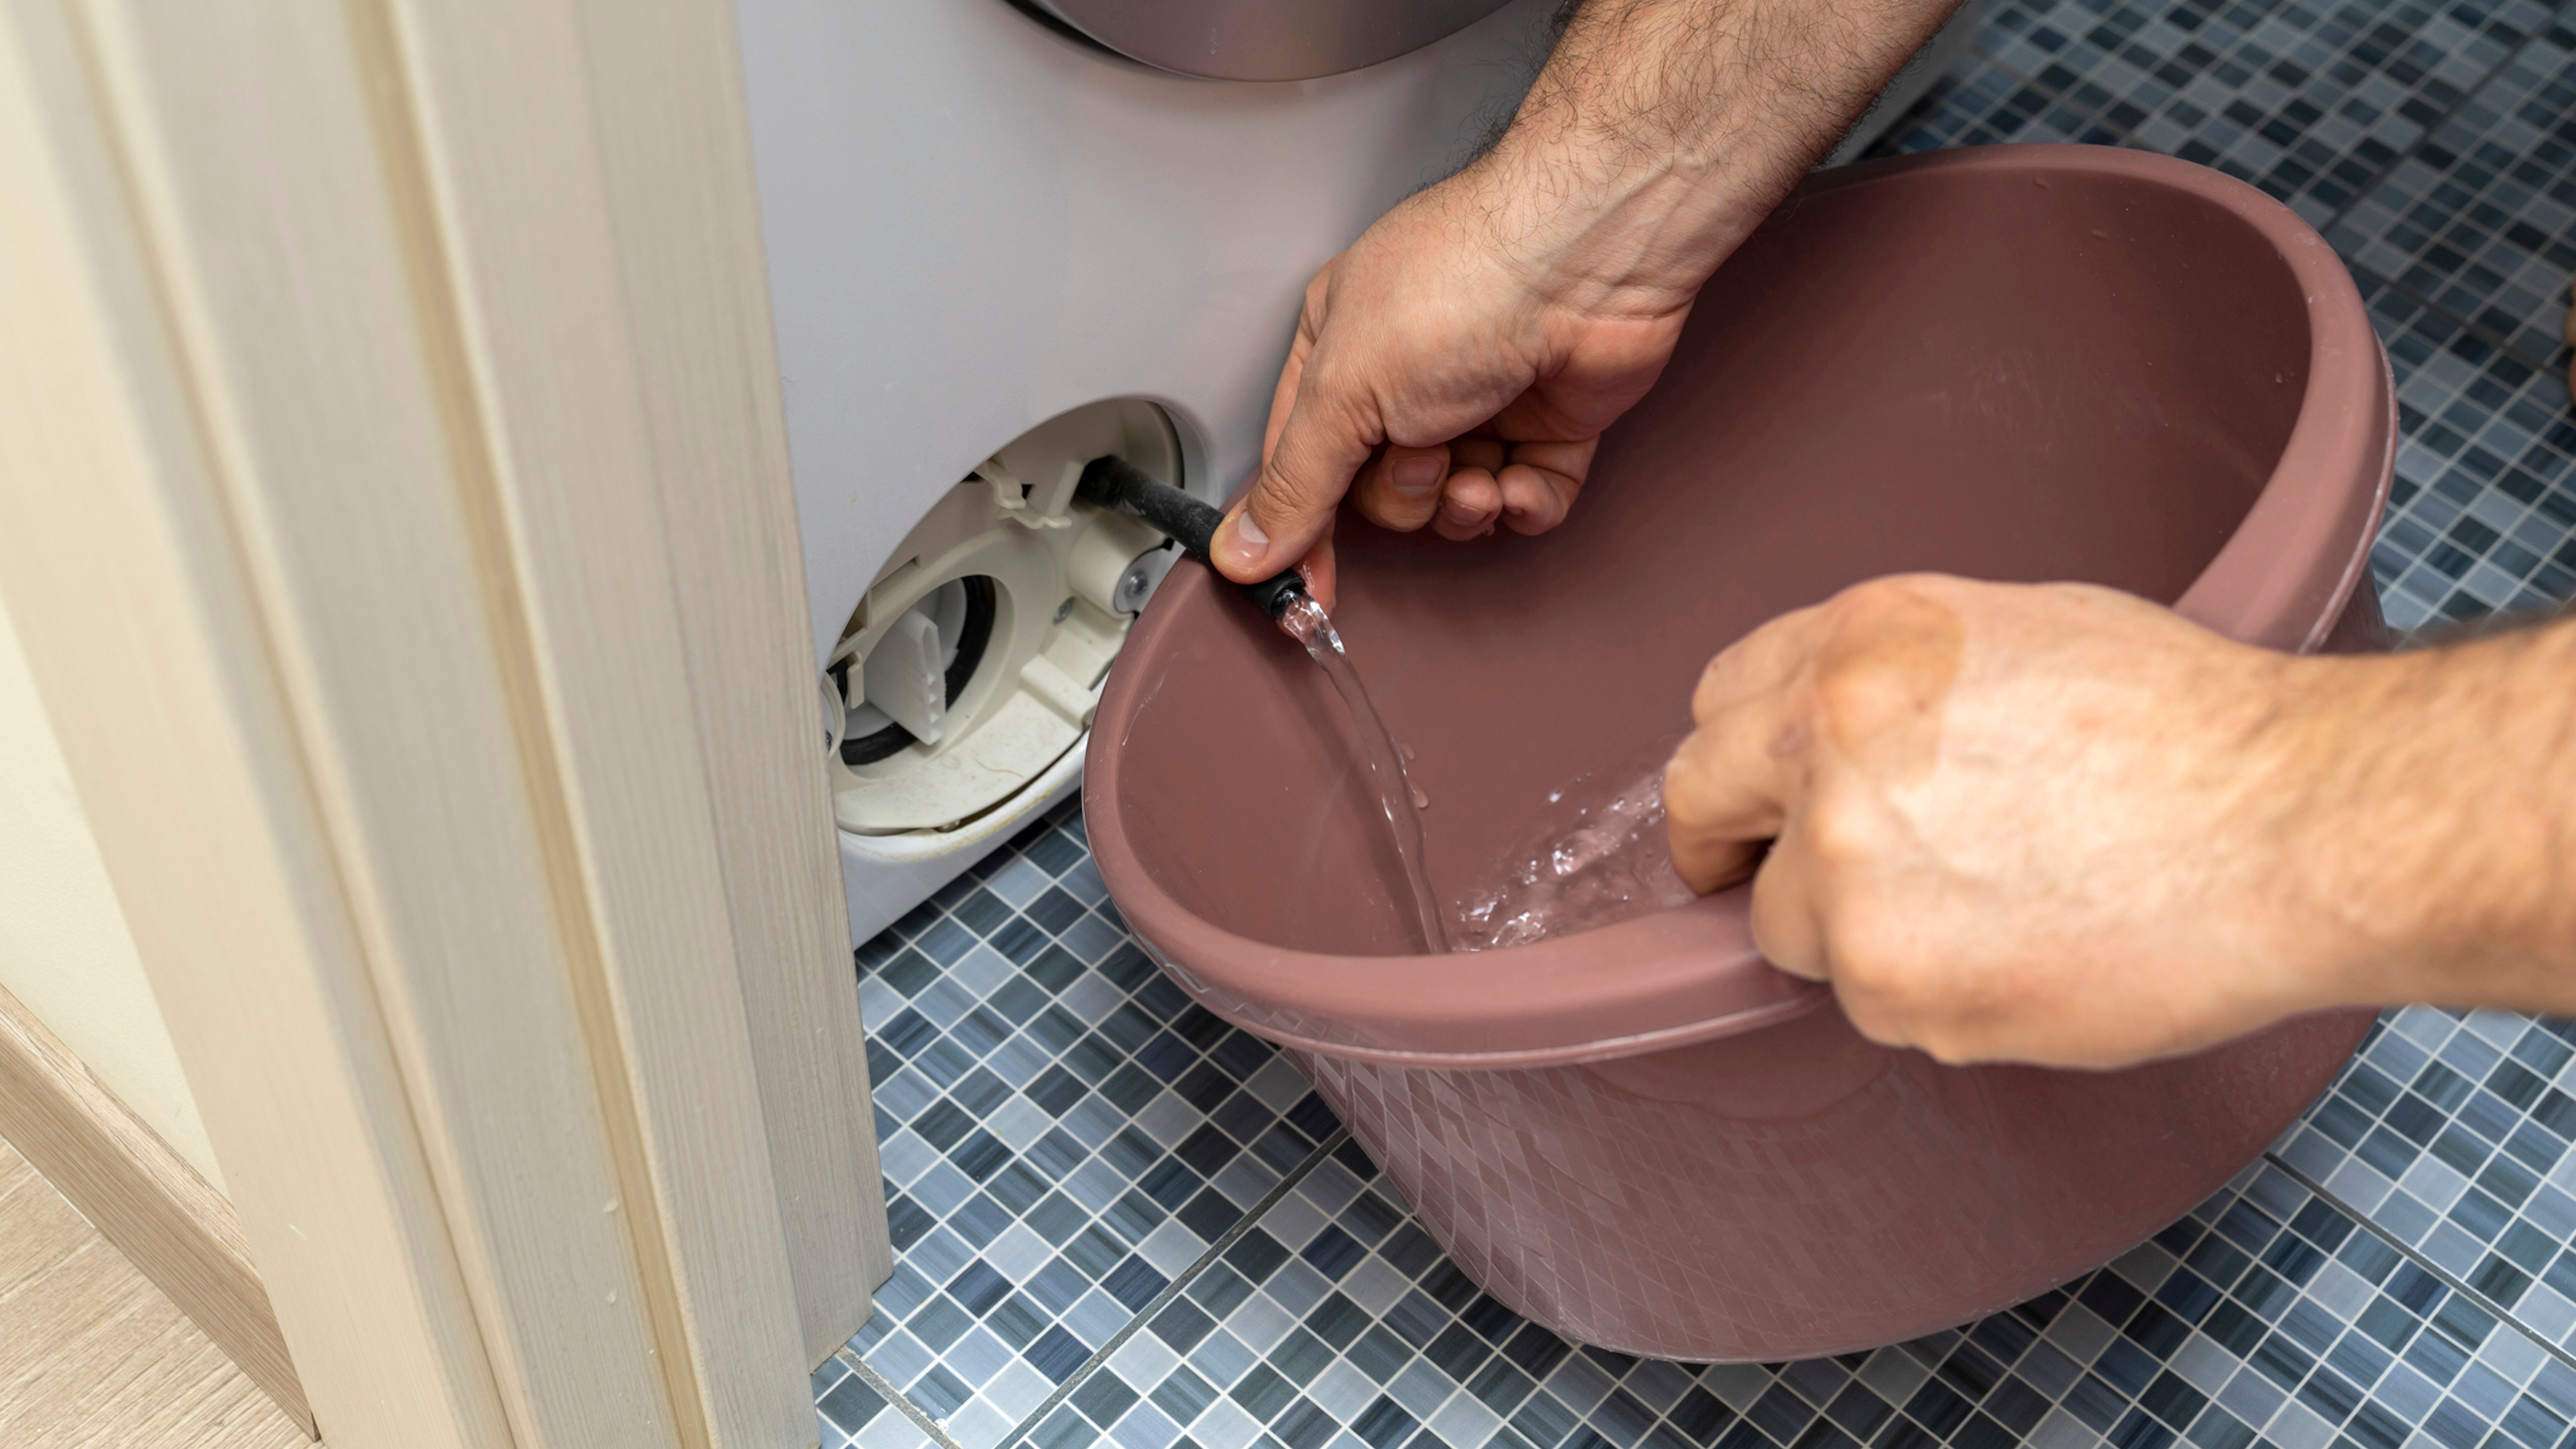
Be sure to have help on hand if you’re not confident moving your washer on your own. Also, be sure to have a bucket and a towel on hand to deal with sitting water inside the machine and to turn your water supply on and off.
1. Turn off your power and water
It might sound like a no-brainer, but it’s the most important step—turn off the power to your machine and check it’s properly stopped. You can also turn off the water if you’re dealing with a lot of sitting water in the machine to prevent even more water from getting stuck in there.
2. Get to the back of your machine
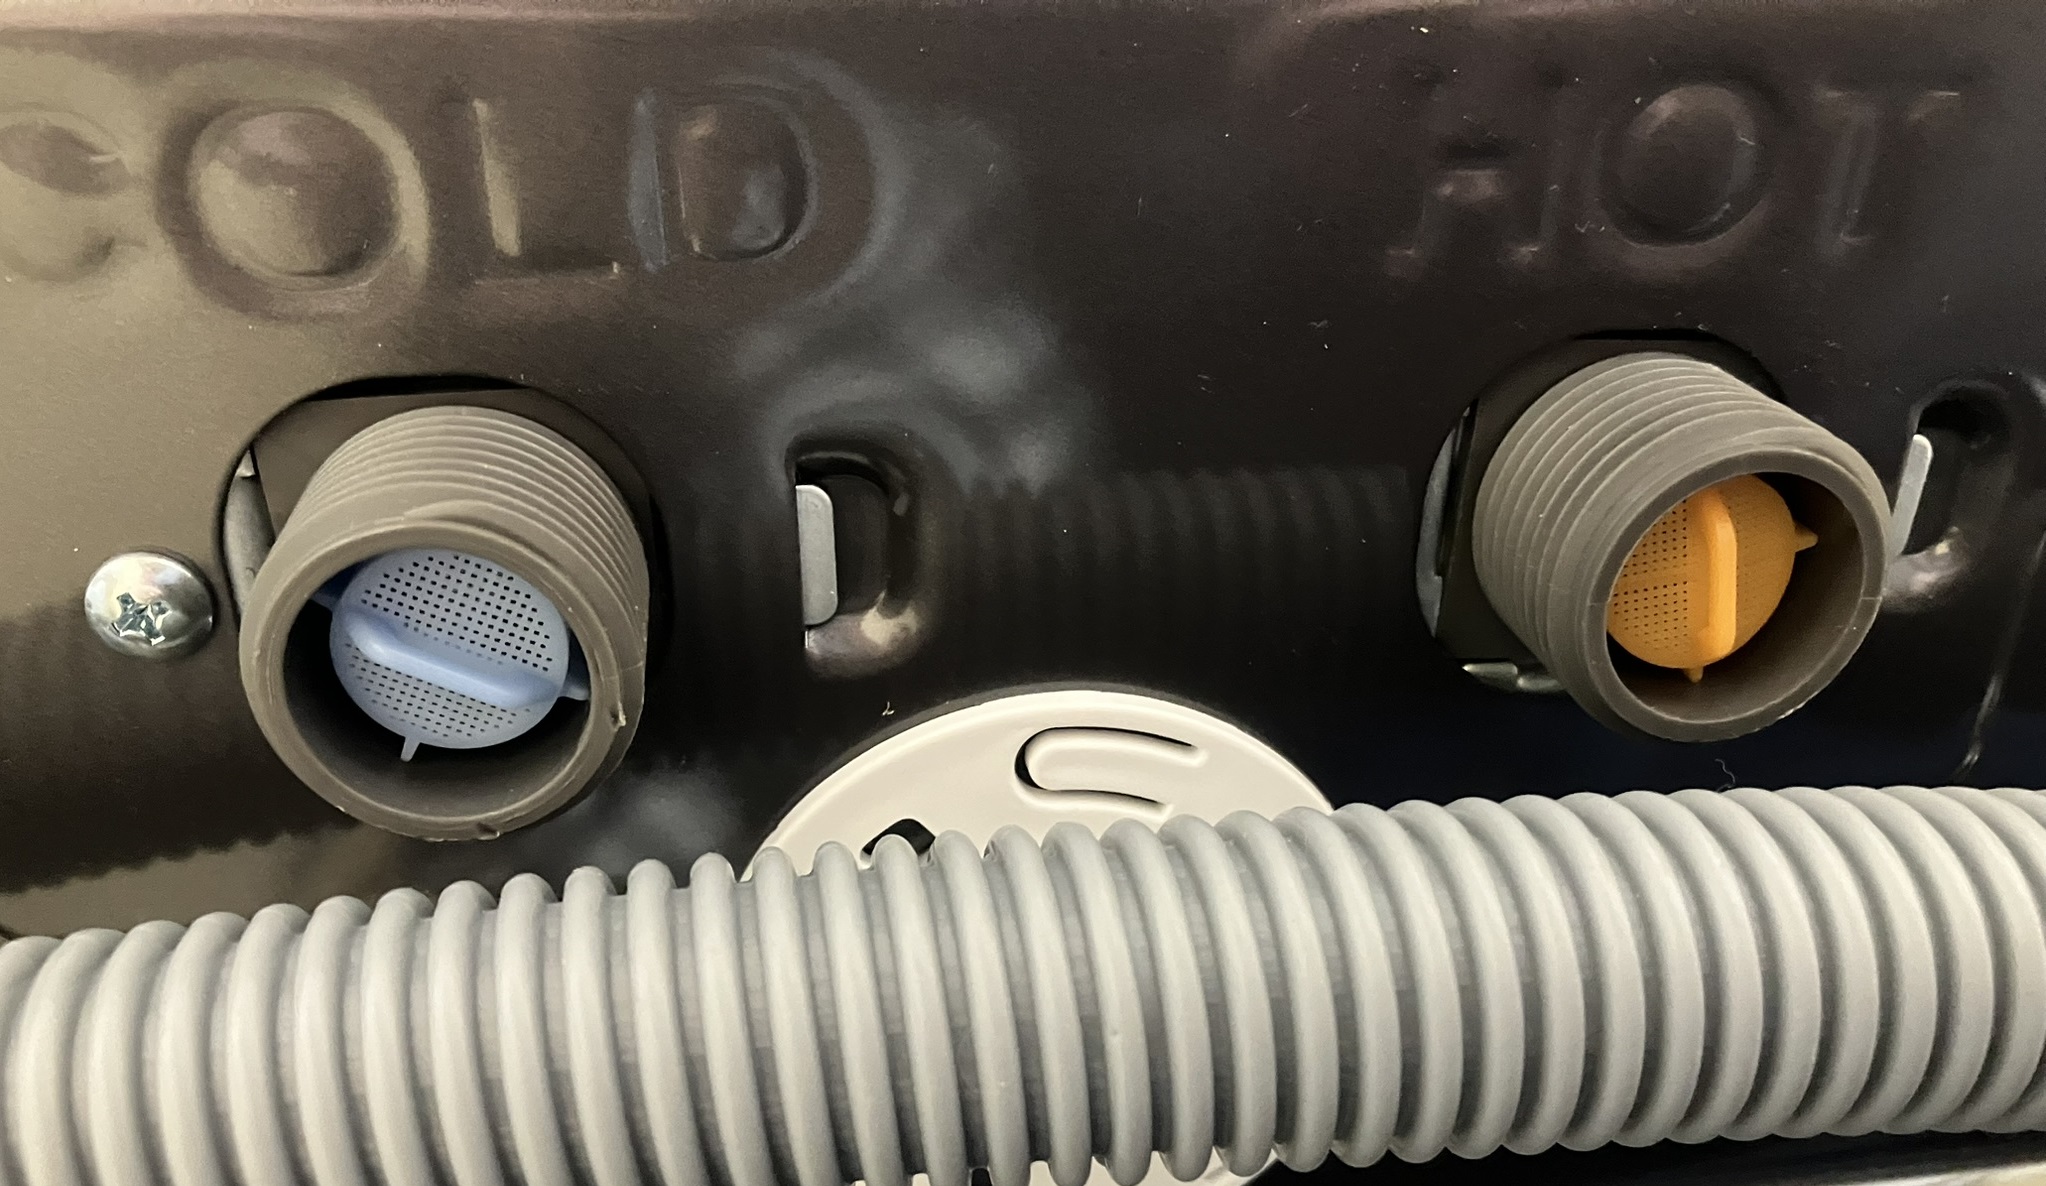
After unplugging, if necessary, pull your machine out into a space so that you have a better view of the mechanisms at the back. Then, get to grips with the hoses you’re working with; there should be one hose (the water hose) that delivers water for your cycle and another (the drain hose) that takes it away.
3. Disconnect the drain hose

The problem with your drainage might be the hose itself or a blockage inside. To diagnose the root cause, disconnect the hose, but be very careful as you do so, and have your bucket ready to catch the water as it feeds through the hose as you tip it downward.
4. Assess the hose and check for blockages
There might be an obvious problem that’s preventing drainage, such as a blockage or your hose not being screwed on correctly. If you find a blockage, clear it and assess whether your drainage hose is still in good shape or if you need a new one. If your machine uses a filter alongside the drainage hose, then be sure to clean your filter, too, where build-up could be causing troublesome issues.
5. Reconnect your hose and turn back on the power and water supply
If you’ve successfully solved your drainage issue, all you need to do is reconnect your machine to power and water. However, if you’re still having problems, be sure to check that your water supply is properly engaged and consider calling in a professional for a better prognosis of your machine’s problems.
How to drain a washing machine: FAQs
How do you know it's time to drain your washing machine?
For many people, the first sign of trouble is an error code flashing up on their washers as they try to start a cycle. Common problems in this case are that your machine is taking on too much or too little water; the latter could even be a sign of a blockage that needs to be cleared.
Another tell-tale sign is a pool of water leaking from your machine's door, which could indicate overflowing.
In a similar way, if you notice that your machine is not adequately draining at the end of a cycle - in other words, if there’s a level of water still showing as you look through the window of your machine, then there could be underlying issues that you need to fix by draining. How your machine sounds can also play an important role - if those usual gurgling noises are going on for longer or sounding more severe than usual, there could be an issue that needs to be diagnosed.
Though it’s less common, you may also experience other drains in your home overflowing due to issues with your washer—a sure sign that routinely draining your machine may be a smart move.
Sign up to receive the latest news, reviews, buying guides and deals direct to your inbox

“Error messages, loud noises, and pooling water are all signs that your washing machine may need to be drained. If you think your washing machine has drainage issues, the first thing to do is reset the spin cycle. Often, it’s a temporary clog that can be resolved simply by resetting your machine."
How often should you drain a washing machine?
While you should clean your washer every 30 washes or so, that tends to apply to cleaning the drum and the internal parts rather than pulling out your machine and draining it. If you’re struggling with damp and humidity problems, the frequency you want to drain your machine will most likely increase. That’s doubly true in the summer months if you live in a state with a hotter climate, where bad smells and issues with your washer may arise more frequently.
Reviews
Whirlpool 24" Stainless Steel AI Dishwasher Review
Napoleon TravelQ PRO285 Portable Gas Grill review
Dreame L40 Ultra Robot Vacuum Cleaner and Mop review: almost hands-free cleaning
GE Profile Smart Mixer with Auto Sense review: a powerful, thorough mixer
Echo eForce DPB-2500 review: a leaf blower as a snow removal tool?
DPAS-2100 + Pro Paddle Attachment review: a new way to remove snow this winter?
Midea MAD53109APK 5.5QT Air Fryer review: a small, simple, and highly effective option
Eureka J15 Pro Ultra Robot Vacuum review: hands-free cleaning for busy families
Stick to cleaning your washer every month and, as a general rule, explore draining and checking your draining system once every three months.
Dr Beckmann spokesperson Susan Fermor recommends, “It’s important to ensure your washing machine gets cleaned regularly, as debris can build up, leading to blockage. We recommend deep cleaning your machine every two months or every 30 washes to reduce the risk of a build-up; regular maintenance of your machine can help prolong and protect the lifespan of your appliance."
Molly is the Staff Writer for the Home Section at Top Ten Reviews, joining the team after finishing college. When she's not writing she enjoys baking and embroidery, as well as getting stuck into a good book. She now enjoys writing about kitchen appliances, gardening tools, and will even dip her toe into writing about fridges and ovens.

