Top Ten Reviews Verdict
The Anycubic Vyper offers great quality 3D printing at a reasonable cost. Setup is a breeze, and the auto levelling system eliminates a lot of the usual hassle that comes with a 3D printer. It's not flawless, with some unusual design choices that reveal where the corners were cut to get the price this low.
Pros
- +
Auto-levelling
- +
Great print quality
- +
Easy to use
- +
Affordable
Cons
- -
Spool holder is a bit flimsy
- -
Mechanical issue with extruder
Why you can trust Top Ten Reviews
3D printing might seem like a complicated hobby that’s just for the hardcore enthusiasts, but the Anycubic Vyper is here to change that notion. If you’re looking for the best 3D printer for beginners, then the Anycubic Vyper is a fantastic choice. It’s easy to set-up, simple to use, and it has auto bed levelling so you don’t need to worry about manually levelling your print bed - one of the most tedious and fiddly parts of using a traditional 3D printer.
The Anycubic Vyper is a Fused Deposition Modeling (FDM) 3D printer. This means it uses a roll of plastic filament and extrudes melted plastic out of the print head, building up layers one at a time. This is the type of device that most people think of when they think about 3D printers.
For the cost you’re paying, the Anycubic Vyper offers a lot. It has a huge print bed that allows you to print large models in a single piece, and it’s super easy to use. The print quality is great too, especially with the out of the box settings. Most 3D printers need many hours of dialing in specific settings to get great prints, and we just didn’t find that at all with the Anycubic Vyper.
If you’re looking to get into 3D printing, the Anycubic Vyper is a fantastic first choice, while still also offering plenty to experience printers.
Anycubic Vyper: Set up
- Easy to assemble and set up
- Auto levelling is huge quality of life feature
The Anycubic Vyper requires some assembly out of the box, but it’s much simpler than some 3D printers out there. This isn’t like a Prusa kit where you need to build it from scratch. You’ll need to mount the arch to the base using several deep screws - this isn’t difficult, but it might be easier with two people as you’ll need someone to hold everything in place while you install the screws.
All the tools you need to assemble the Vyper come included (they're stored in a sneaky little drawer on the front of the device... it took us longer than we'd care to admit to figure out this was a drawer).
Beyond that, you’ll also need to attach a few wires and cut off several zip ties. There are actually more of these than we were expecting, so be careful and double check that you’ve got them all. We actually missed the zip ties underneath the print bed on our first pass. The printer still worked, but there was an awful squeaking sound that led us to find the extra zip tie near the wheels of the print bed.
Sign up to receive the latest news, reviews, buying guides and deals direct to your inbox
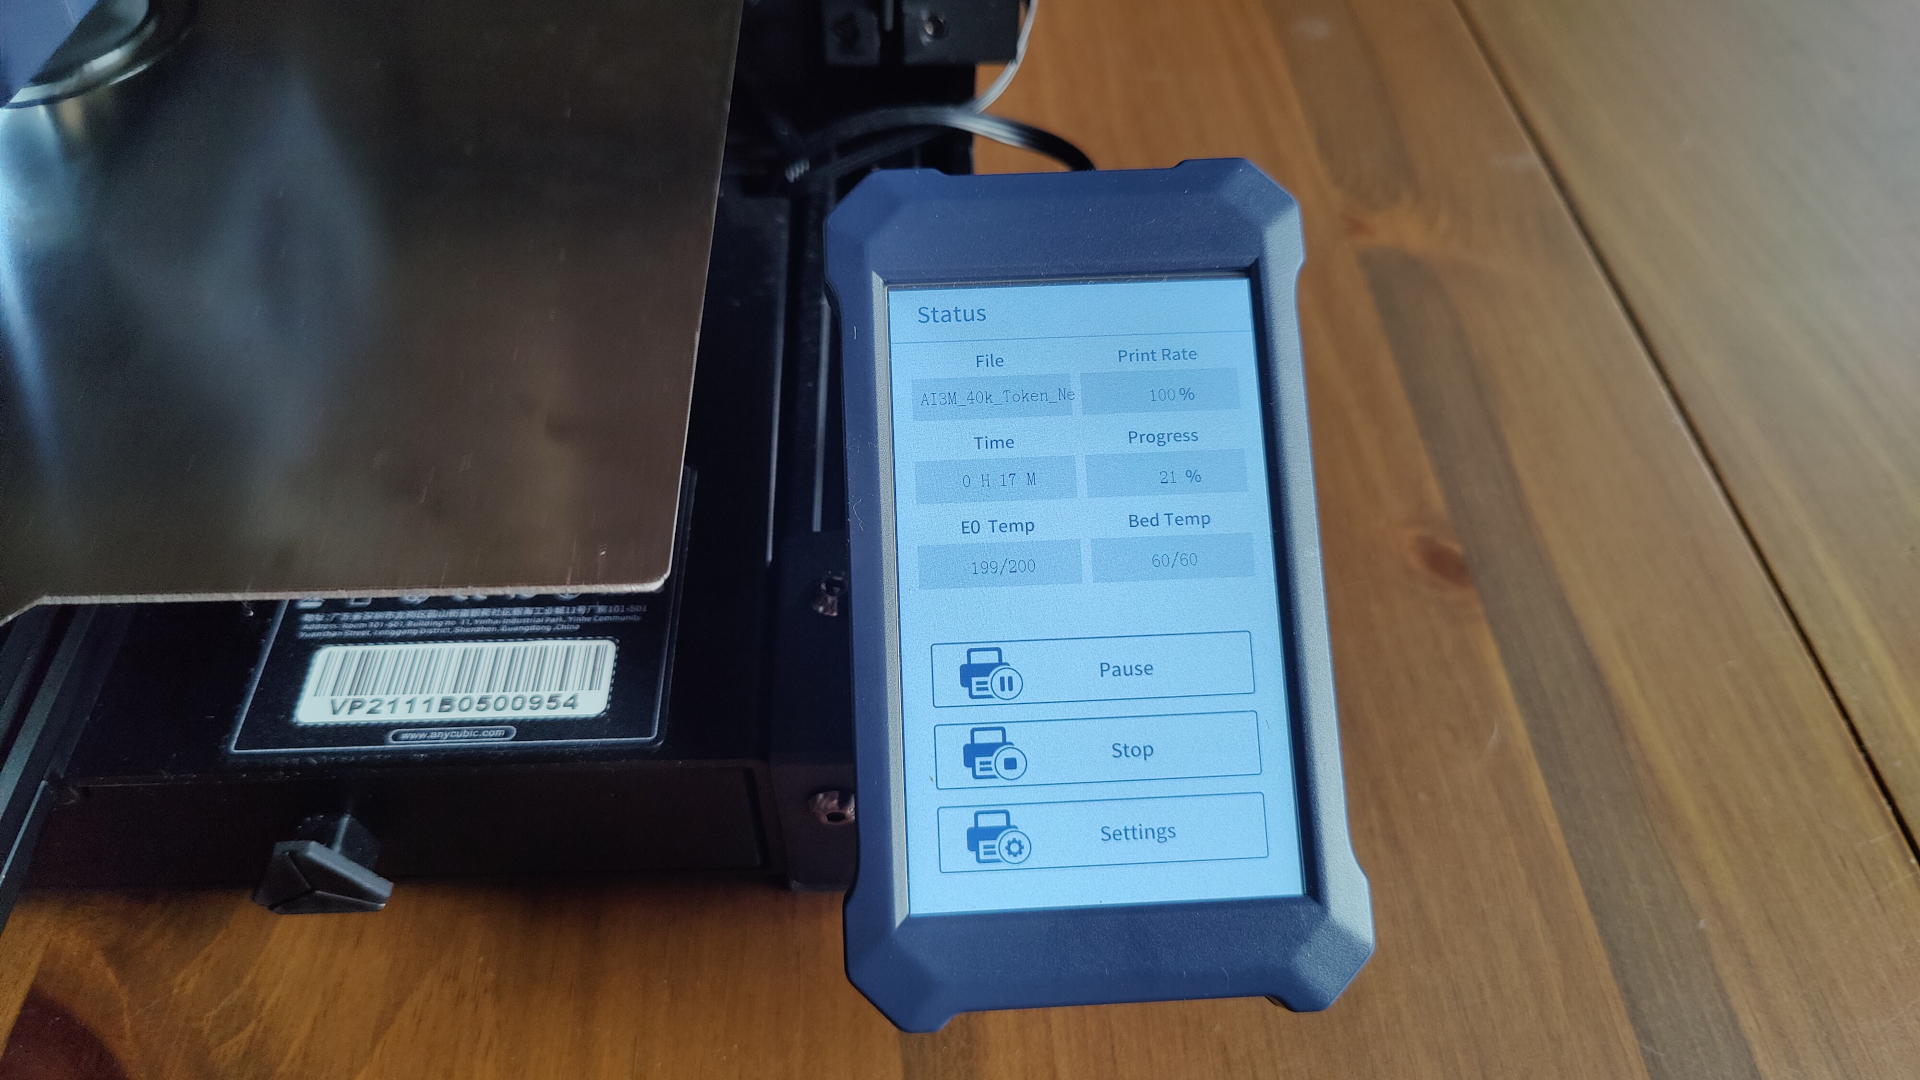
There is a touch screen attached to the front of the device that you can use to operate it. You can run set up and maintenance programs on it, or you can use it to set prints going. It’s easy to use, and the menus are all straightforward to navigate.
Once you’ve set everything up and got it plugged in, you’ll need to install the filament. The instructions that come with the Anycubic Vyper walk you through this stage clearly and simply, so you shouldn’t have any issues here. The default material that you’ll be printing with is PLA, which is sold in spools. The Anycubic Vyper has a spool holder, but it’s a bit basic, which is a shame. It does the job, but it's one of the few obvious signs that you're dealing with a cheaper 3D printer.
With that done, the only thing left to do before you start printing is to level the bed, which is where the Anycubic Vyper deploys its secret weapon - it has auto-bed levelling. Set the machine going and it will automatically test the print bed at 16 different points to make sure it’s level. You normally have to do this manually, using a sheet of paper and a bunch of adjustable knobs to raise and lower each corner of the print bed. Here, it’s all done automatically. Just set it going, come back in 5 minutes, and you’re ready to print.
Anycubic Vyper: Specs and features
- Large print bed
- Dual fans for cooling
- We had an issue with our extruder
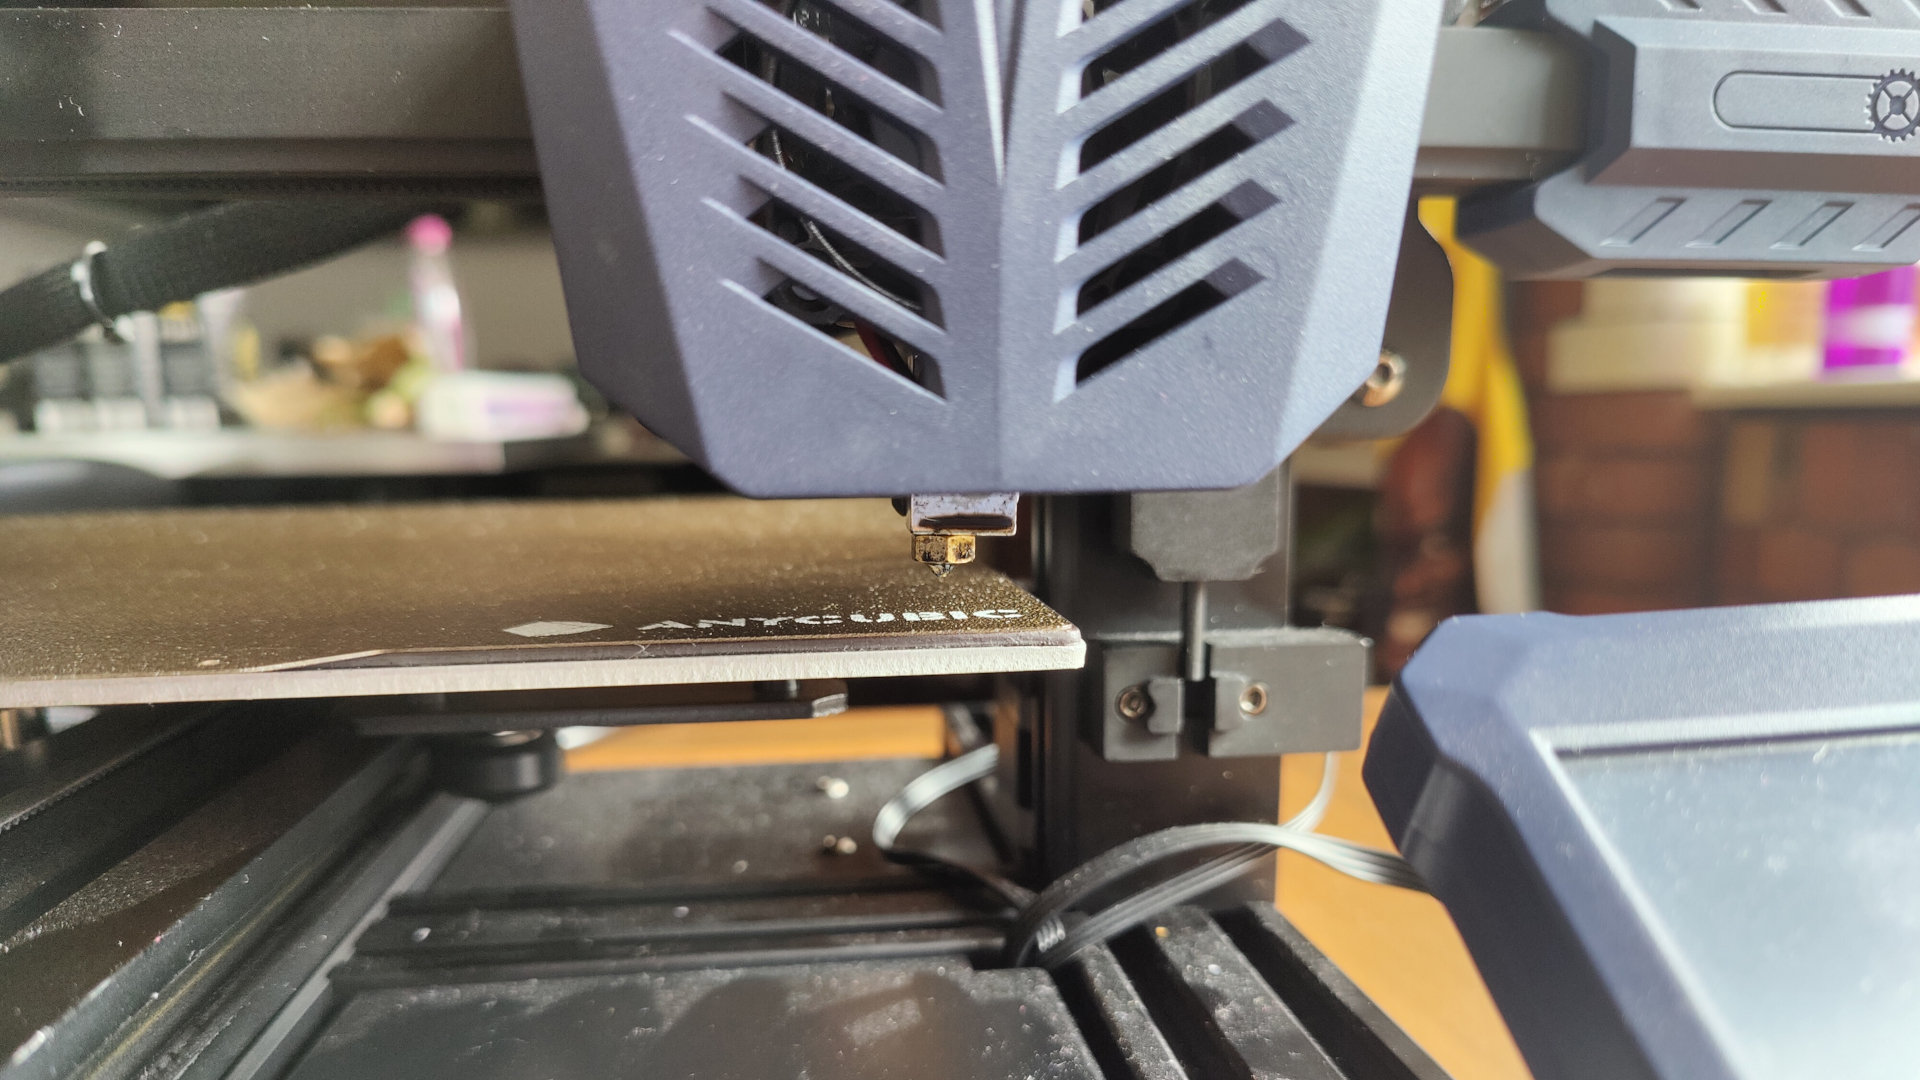
The Anycubic Vyper is pretty large, as FDM printers go, with a build volume of 245mm x 245mm x 260mm. That means you can print some fairly impressive single piece objects using this printer, so you won’t have to chop up your prints and glue them together later.
It has a maximum print speed of 180mm/s, with a recommended print speed of somewhere between 80-100ms. These are just ballpark figures though, and it really depends on what you’re printing. We’d basically never push this thing to its top speeds, and smaller, more detailed prints you’re going to want to dial things back even further - we printed almost all of our test prints at 55mm/s.
At a default, you’ll be printing at 0.2mm layer height. The Anycubic Vyper comes with a 0.4mm nozzle as standard, which means the lowest layer height you can realistically get away with is 0.1mm. We tested some prints at 0.1 mm and they came out great, though printing at this resolution does double the print time (twice as many layers, twice as long to print).
In terms of noise, the Anycubic Vyper is about as loud as a PC fan on high power, which is apt considering that the noise is coming from the cooling fans. The movements of the print head are surprisingly quiet. You probably wouldn't want this thing in the room while you're watching TV, but you'll struggle to here it from the next room over.
The Anycubic Vyper has a double-gear extrusion system that feeds the filament into the print head, and it’s a wonderfully designed system… for the most part. The casing is transparent, which means you can easily identify blockages and issues, and there is a tightening screw that lets you adjust how firmly the gears grab the filament.
However, during testing we had a failure in our original extruder and had to get a replacement shipped out by Anycubic. The issue comes from the gear system, which is entirely metal, except for one plastic piece, which ended up getting shredded. Now we think it is partially user error (the tightening screw may have been too tight), but it’s still a disappointing design flaw to have such a glaringly obvious failure point in the extruder. Anycubic were quick to help us replace the extruder though, and we’ve had no issues since.
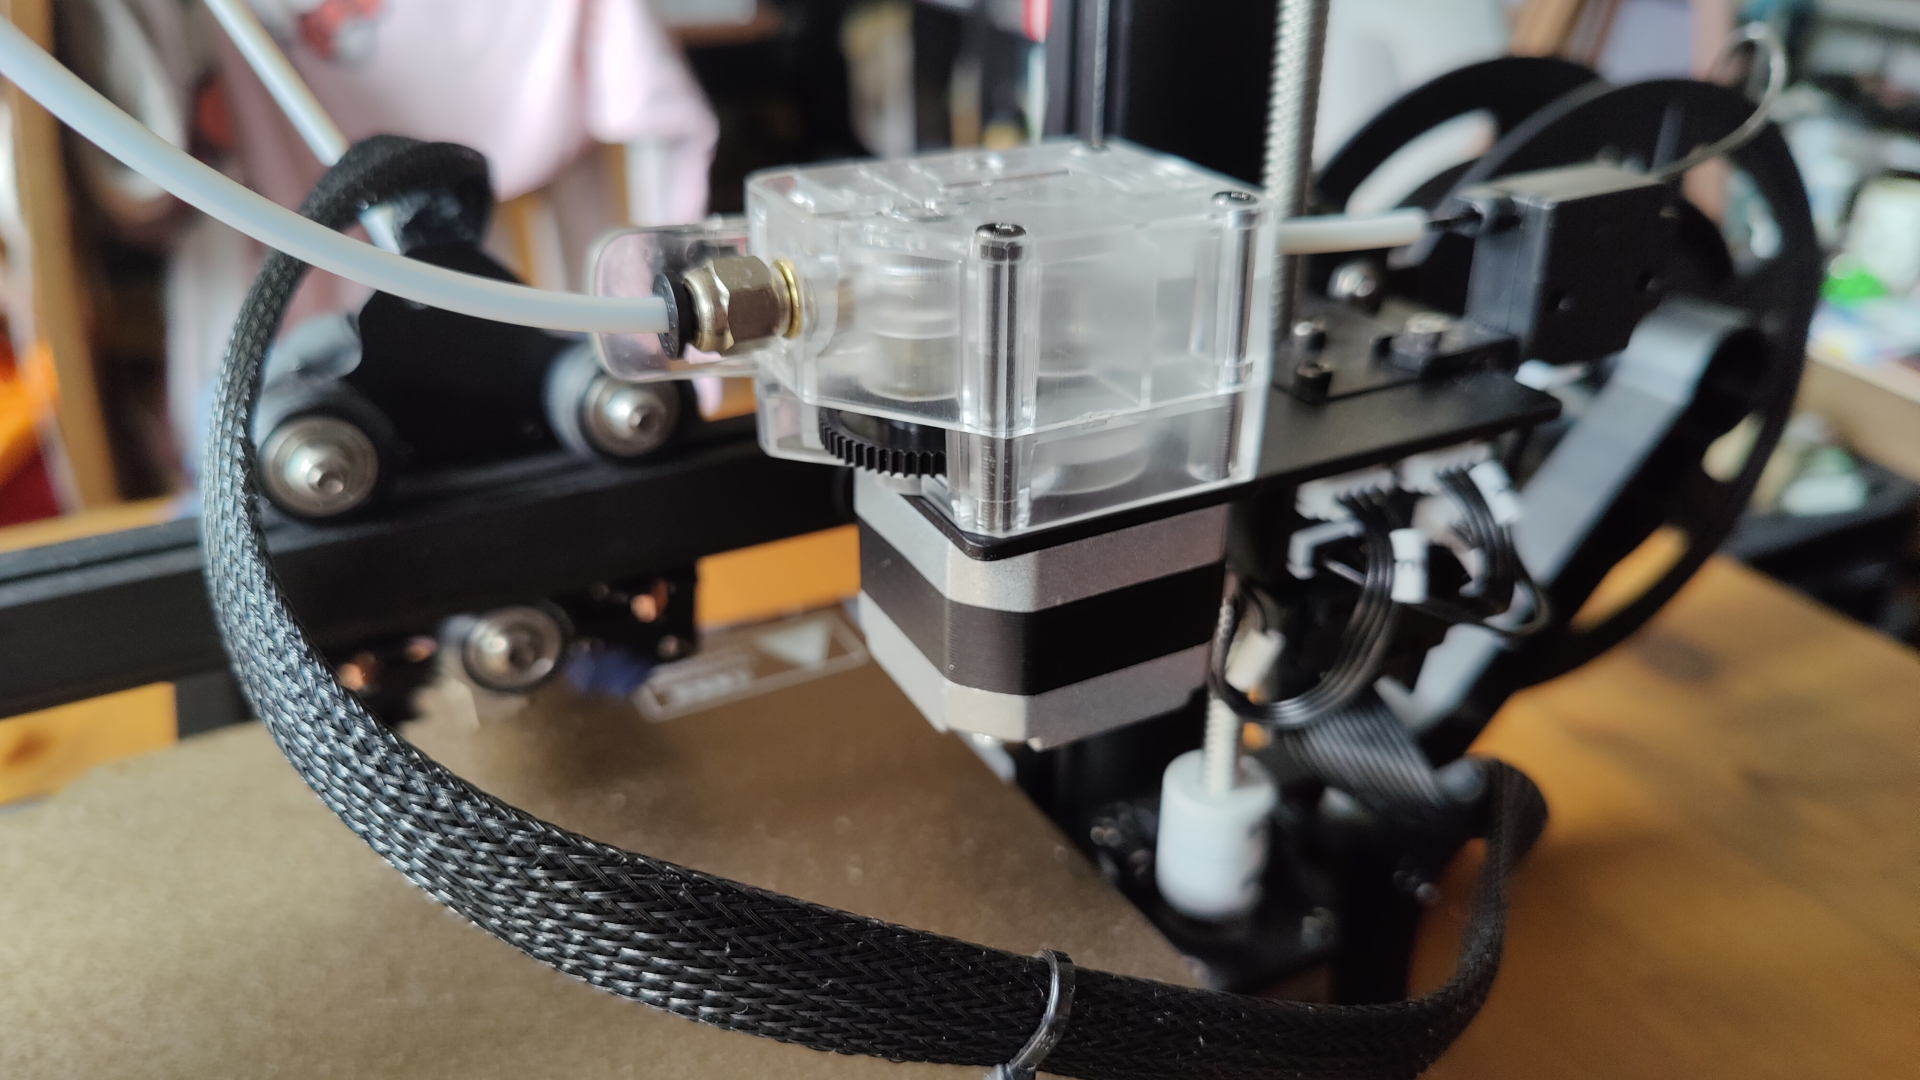
There is plenty of other clever tech at work in the Anycubic Vyper too. It has dual fans for cooling the plastic as it comes out of the extruder, which means you shouldn’t have issues with warping and overheating in your prints. The print bed is a a flexible steel sheet that attaches to the printed via magnets - this means you can detach it and then bend the sheet, helping you to easily remove printed models after they’re finished.
The Anycubic Vyper comes bundled with a copy of Ultimaker Cura, a free 3D printing software that you load your models into. The program then analyzes the model and slices it into layers and basically tells your 3D printer how to print it. This will give you an STL file which you can use on your printer. As of right now, Cura doesn't have a pre-made setup for the Vyper, so you'll need to manually load in the printer settings - these are provided on the USB drive that comes included.
Cura is a great program, but the version that comes with the Vyper isn't the newest version, so you should head to the Cura website and download the newest version if you do grab a Vyper.
When it's time to print, you can either connect your 3D printer directly to your computer, or you can use the included USB drive and memory card to transfer files between your computer and the printer. Then you can use the touch screen on the device to select your print and set it going.
Anycubic Vyper: Print quality and speed
- Fantastic print quality out of the box
- Print speeds are optimistic
So, enough about all the fancy settings. How good is the Anycubic Vyper at 3D printing? To find out, we printed a bunch of different models to see how it fared.
We started out with the file that came included on the USB drive, a little model of an owl. As you can see from the pictures below, this printed wonderfully with very few artifacts. There were a couple of little blips on the owls back, but we didn’t see any layer shifting or larger print failures. That’s to be expected though - companies aren’t going to send out a test model with their products if it will make their printer look bad
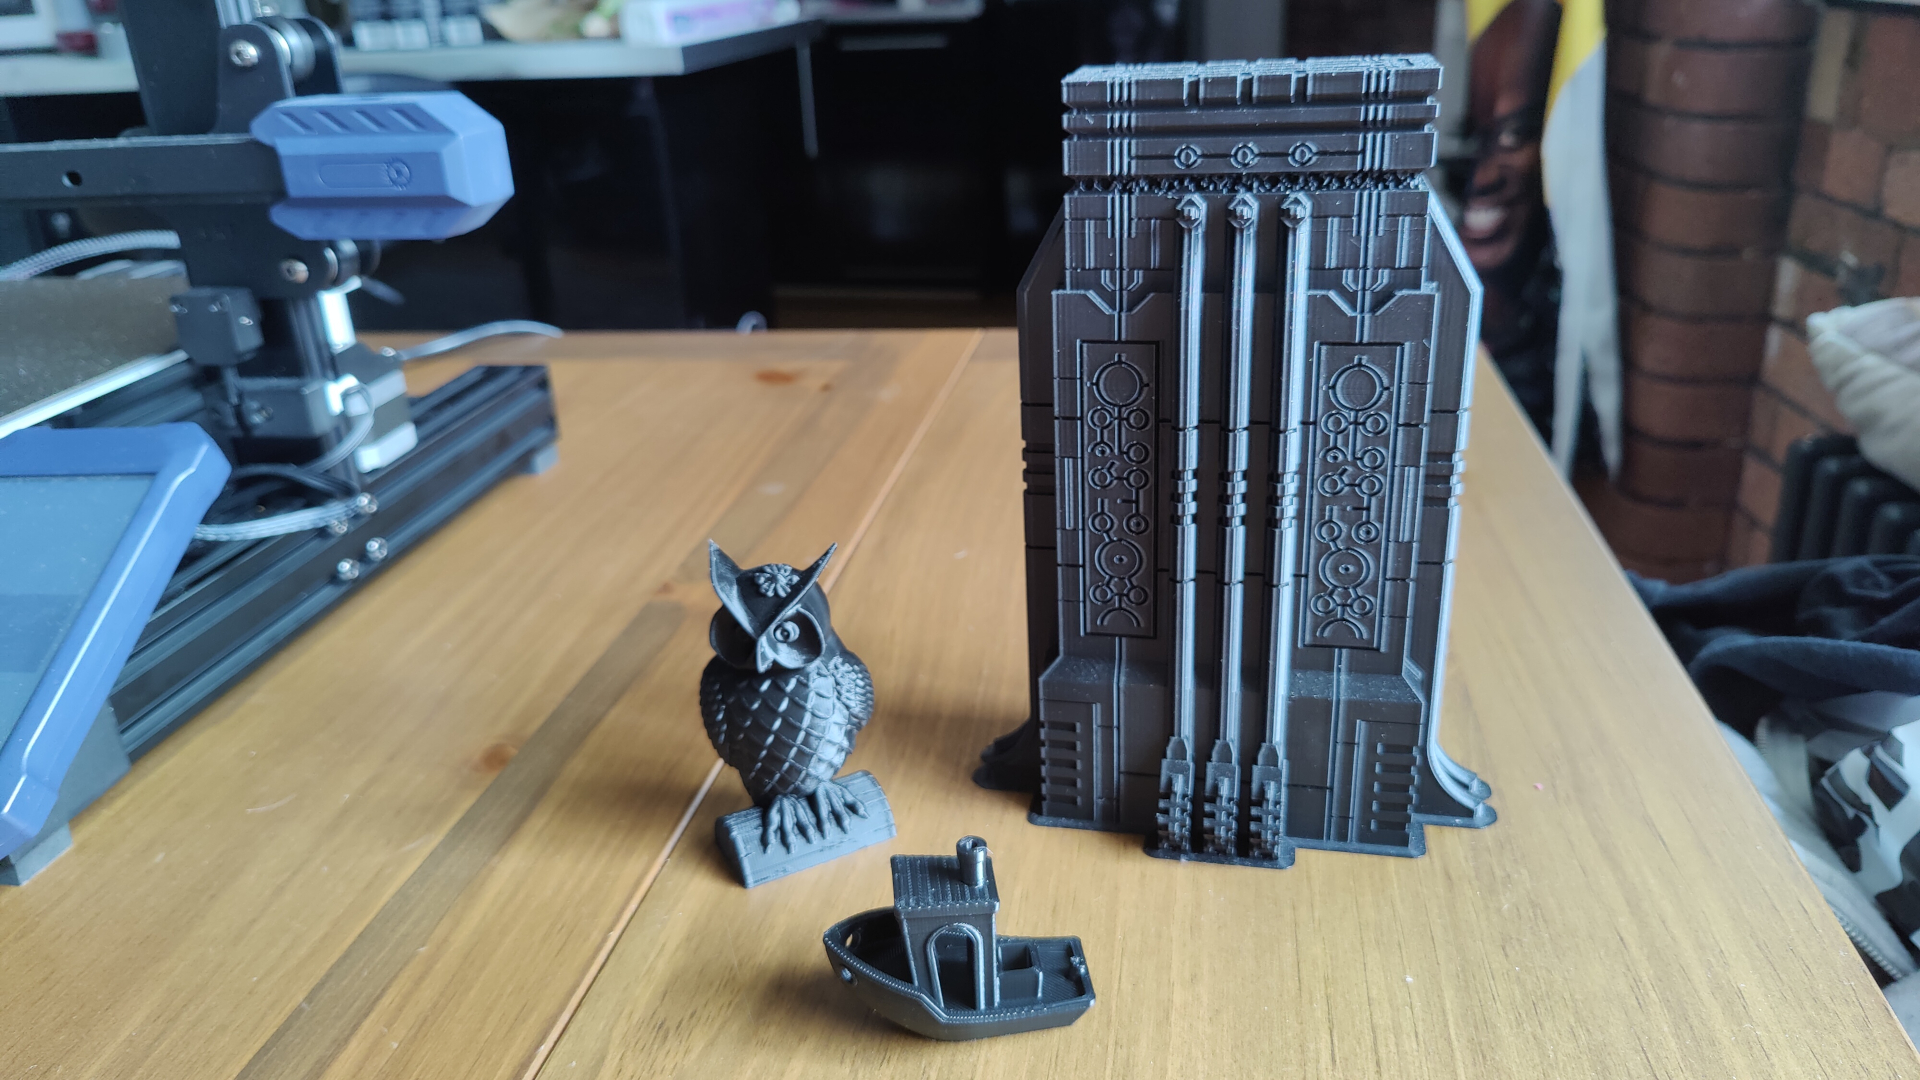
Anycubic Vyper: Our three main test prints
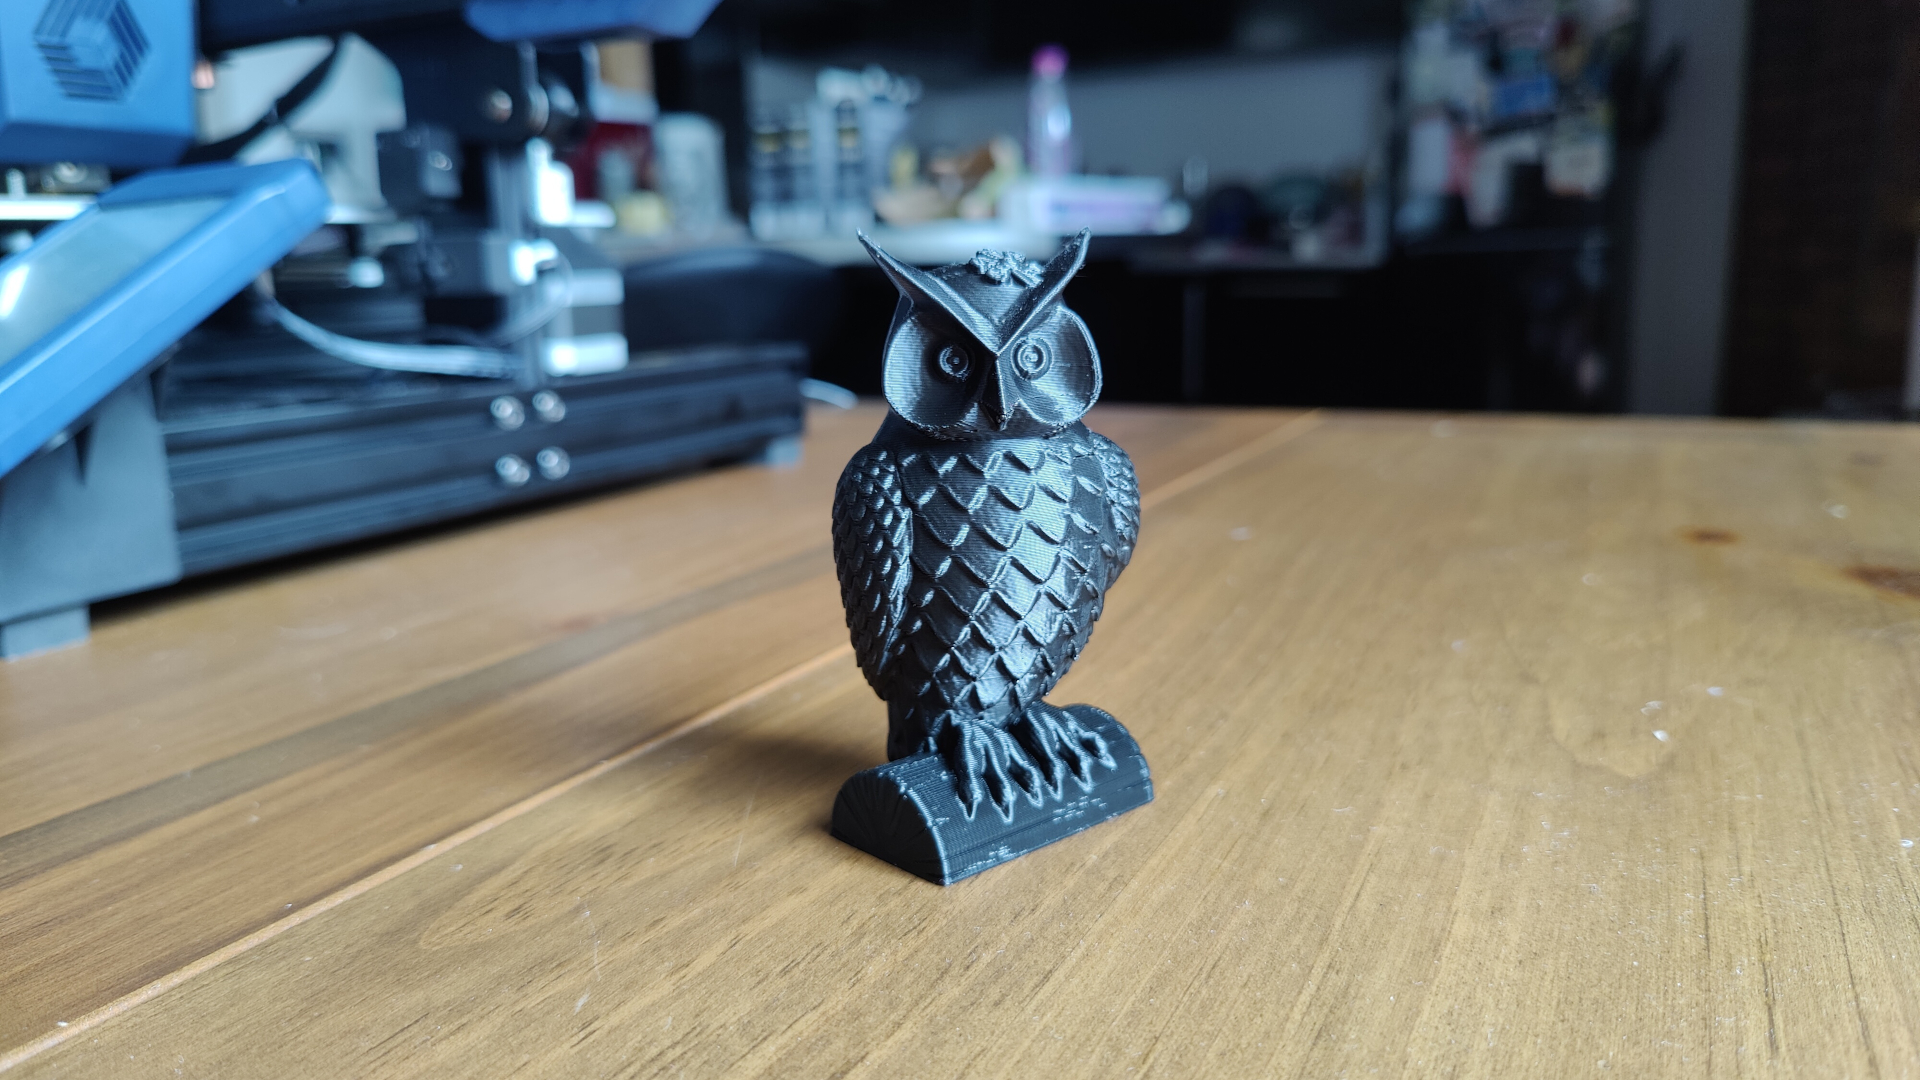
Anycubic Vyper: Owl printed at 0.2mm layer height (model supplied with printer).
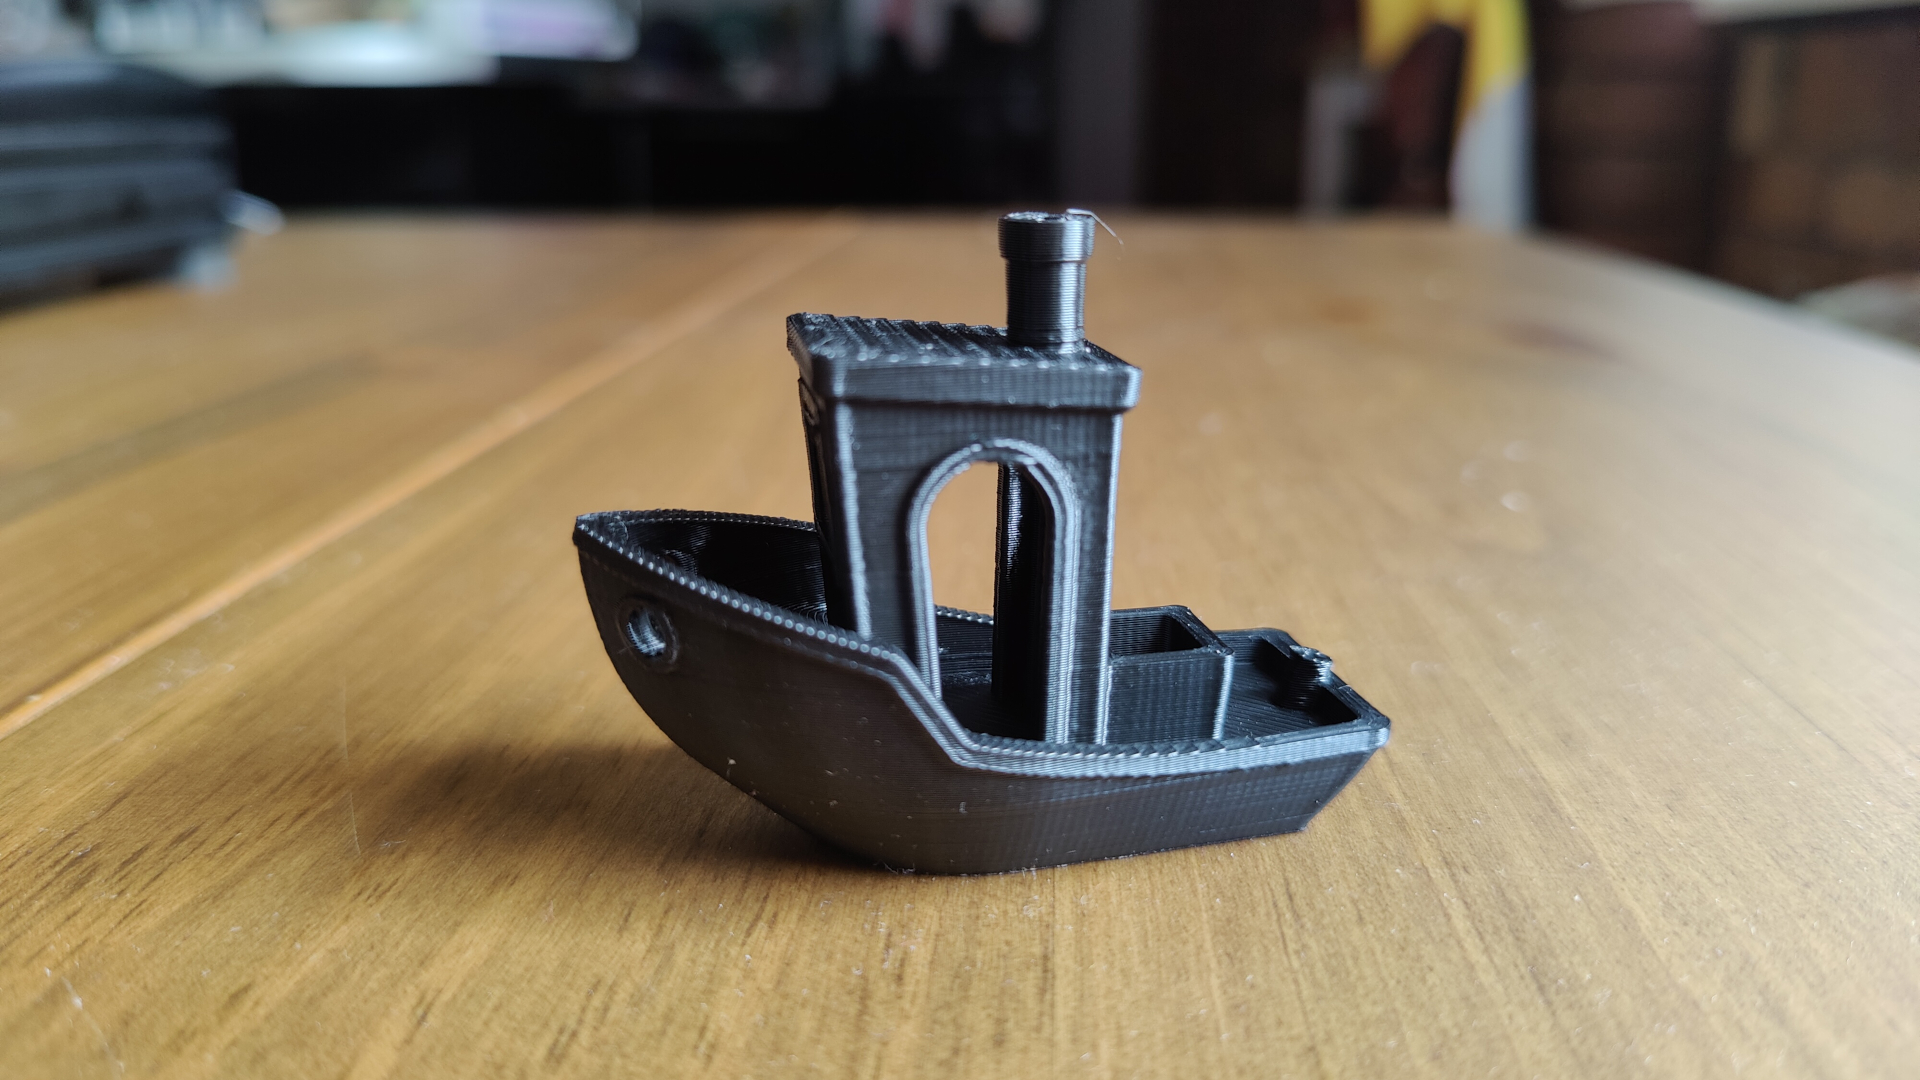
Anycubic Vyper: Benchy printed at 0.2mm layer height (model available free at Thingiverse).
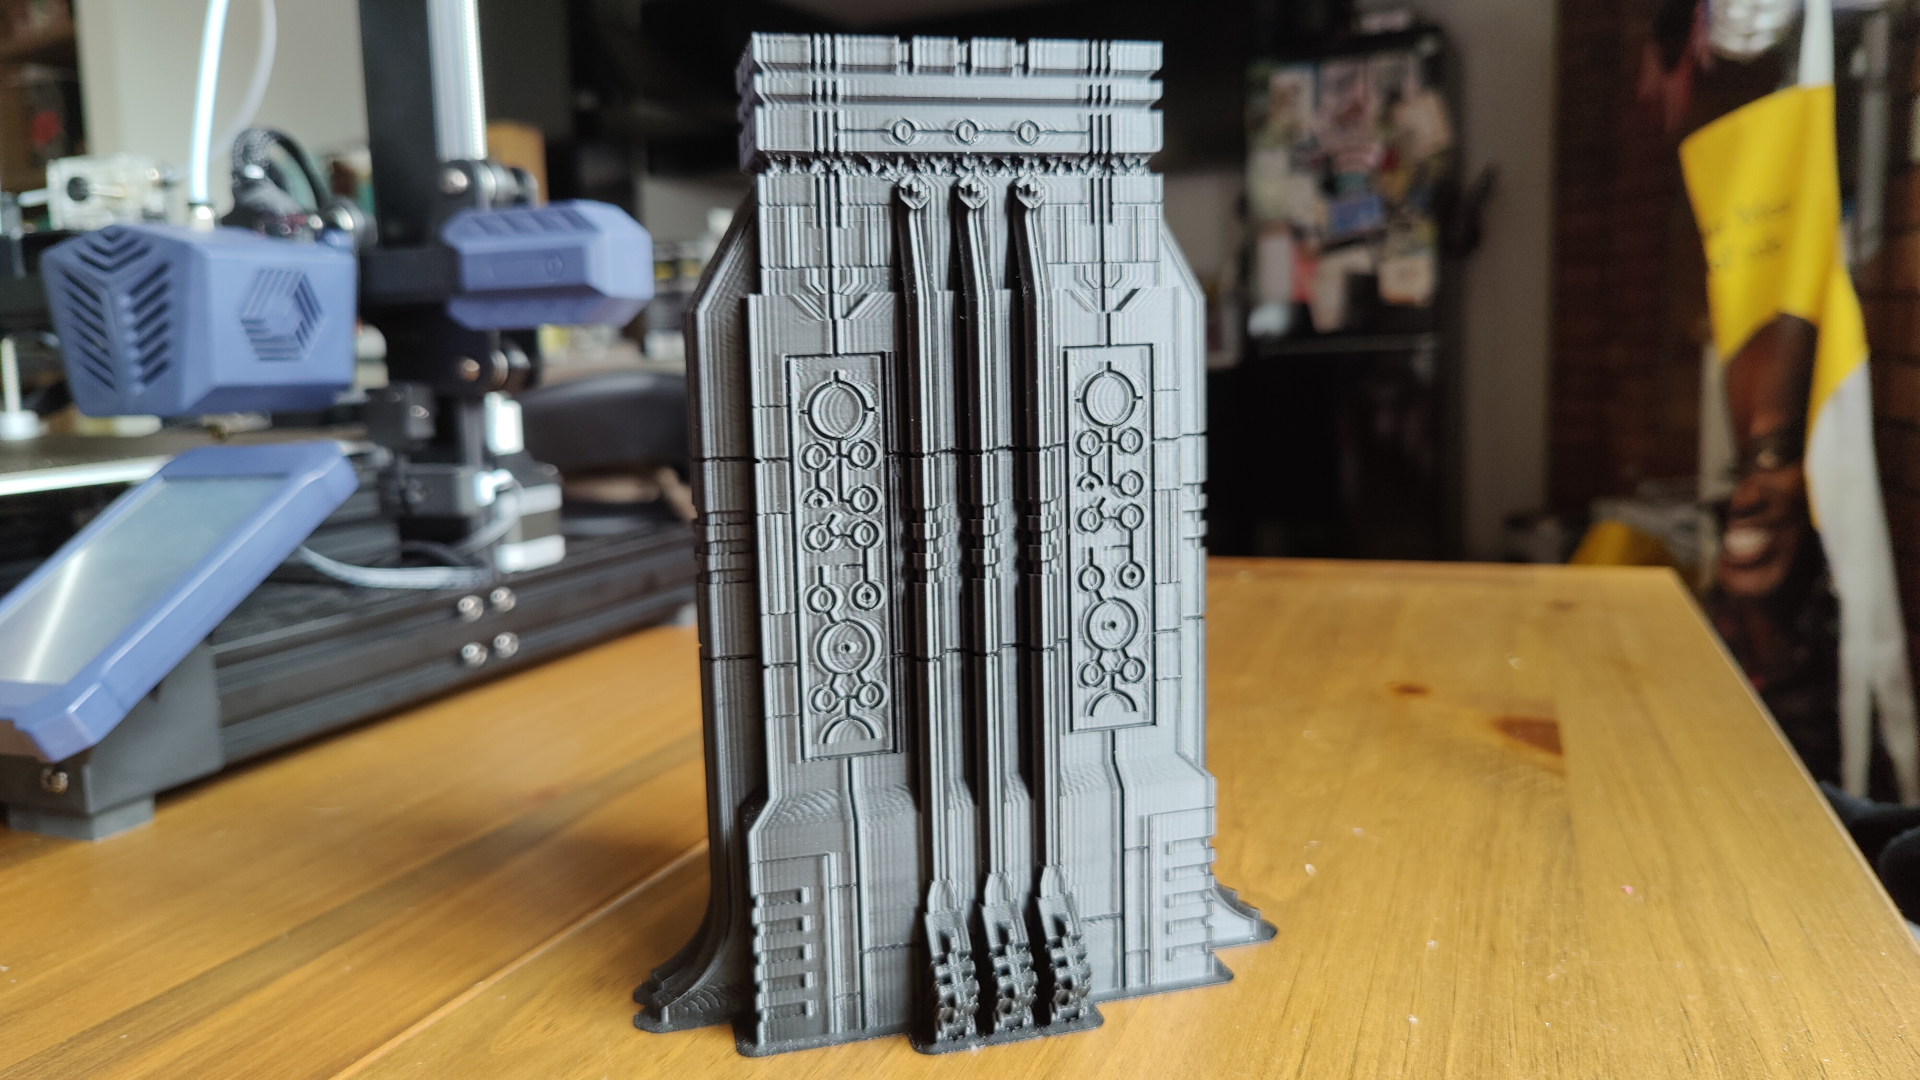
Anycubic Vyper: Necrossia Cenotaph printed at 0.2mm layer height (model available at Protokraken.com)
To put the Anycubic Vyper through a real test, we printed out a Benchy - a model that’s infamous within the 3D printing community as a test of your 3d printer's abilities - you can find out more about the Benchy at 3Dbenchy.com. This adorable little sail boat model is deceptively difficult for 3D printers, with curved surfaces, small details, and difficult overhangs. Again, the Anycubic Vyper knocked it out of the park on almost default settings.
We say almost default settings, because we turned the print speed down to 55mm/s - the default speed of 80mm/s is one of the Anycubic Vyper’s selling points, but it’s only really capable of printing larger, less detailed models at that speed in our experience.
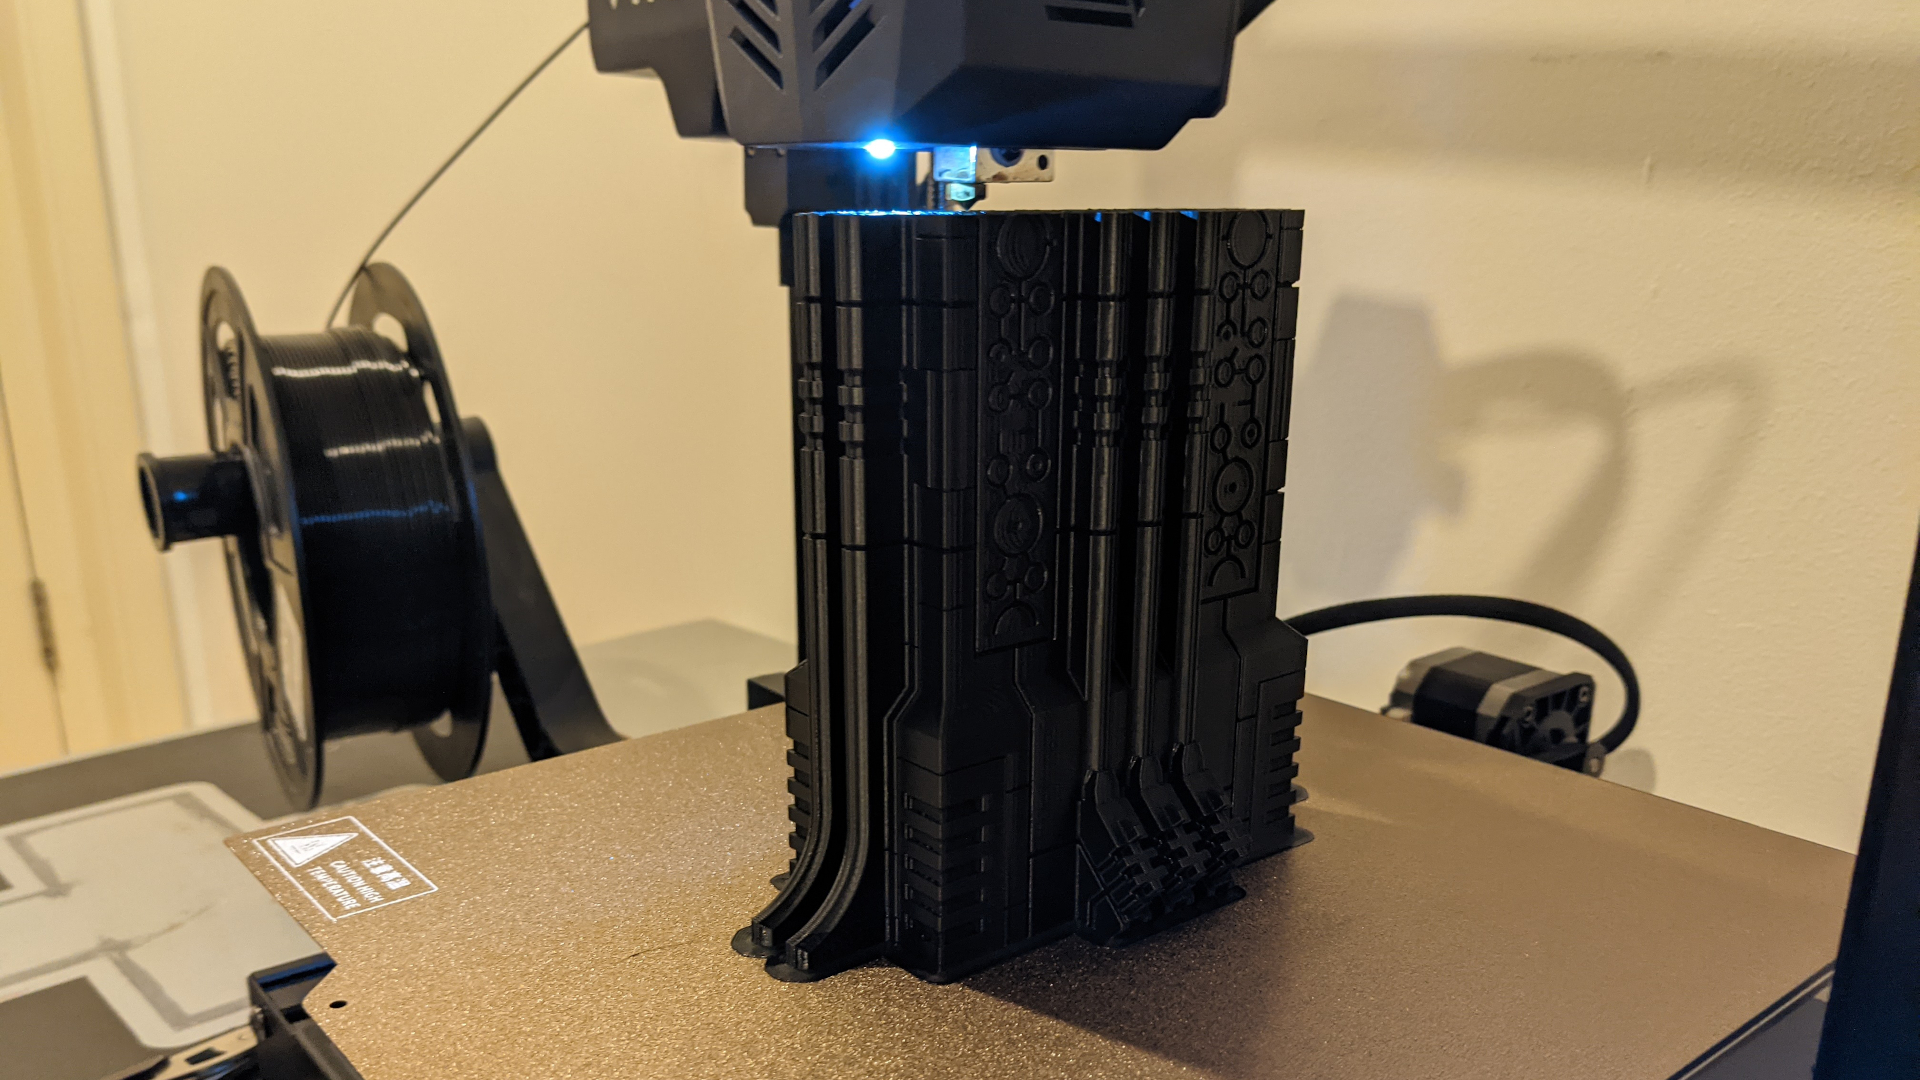
Speaking of larger models, we turned our attention to something larger for our next print. As a massive miniature gaming nerd, I wanted to see how the Anycubic Vyper would handle a large terrain piece, so we printed off a huge alien monolith structure. This mammoth print took the better part of a day to print, but it looks fantastic and again, we saw very little in the way of print issues.
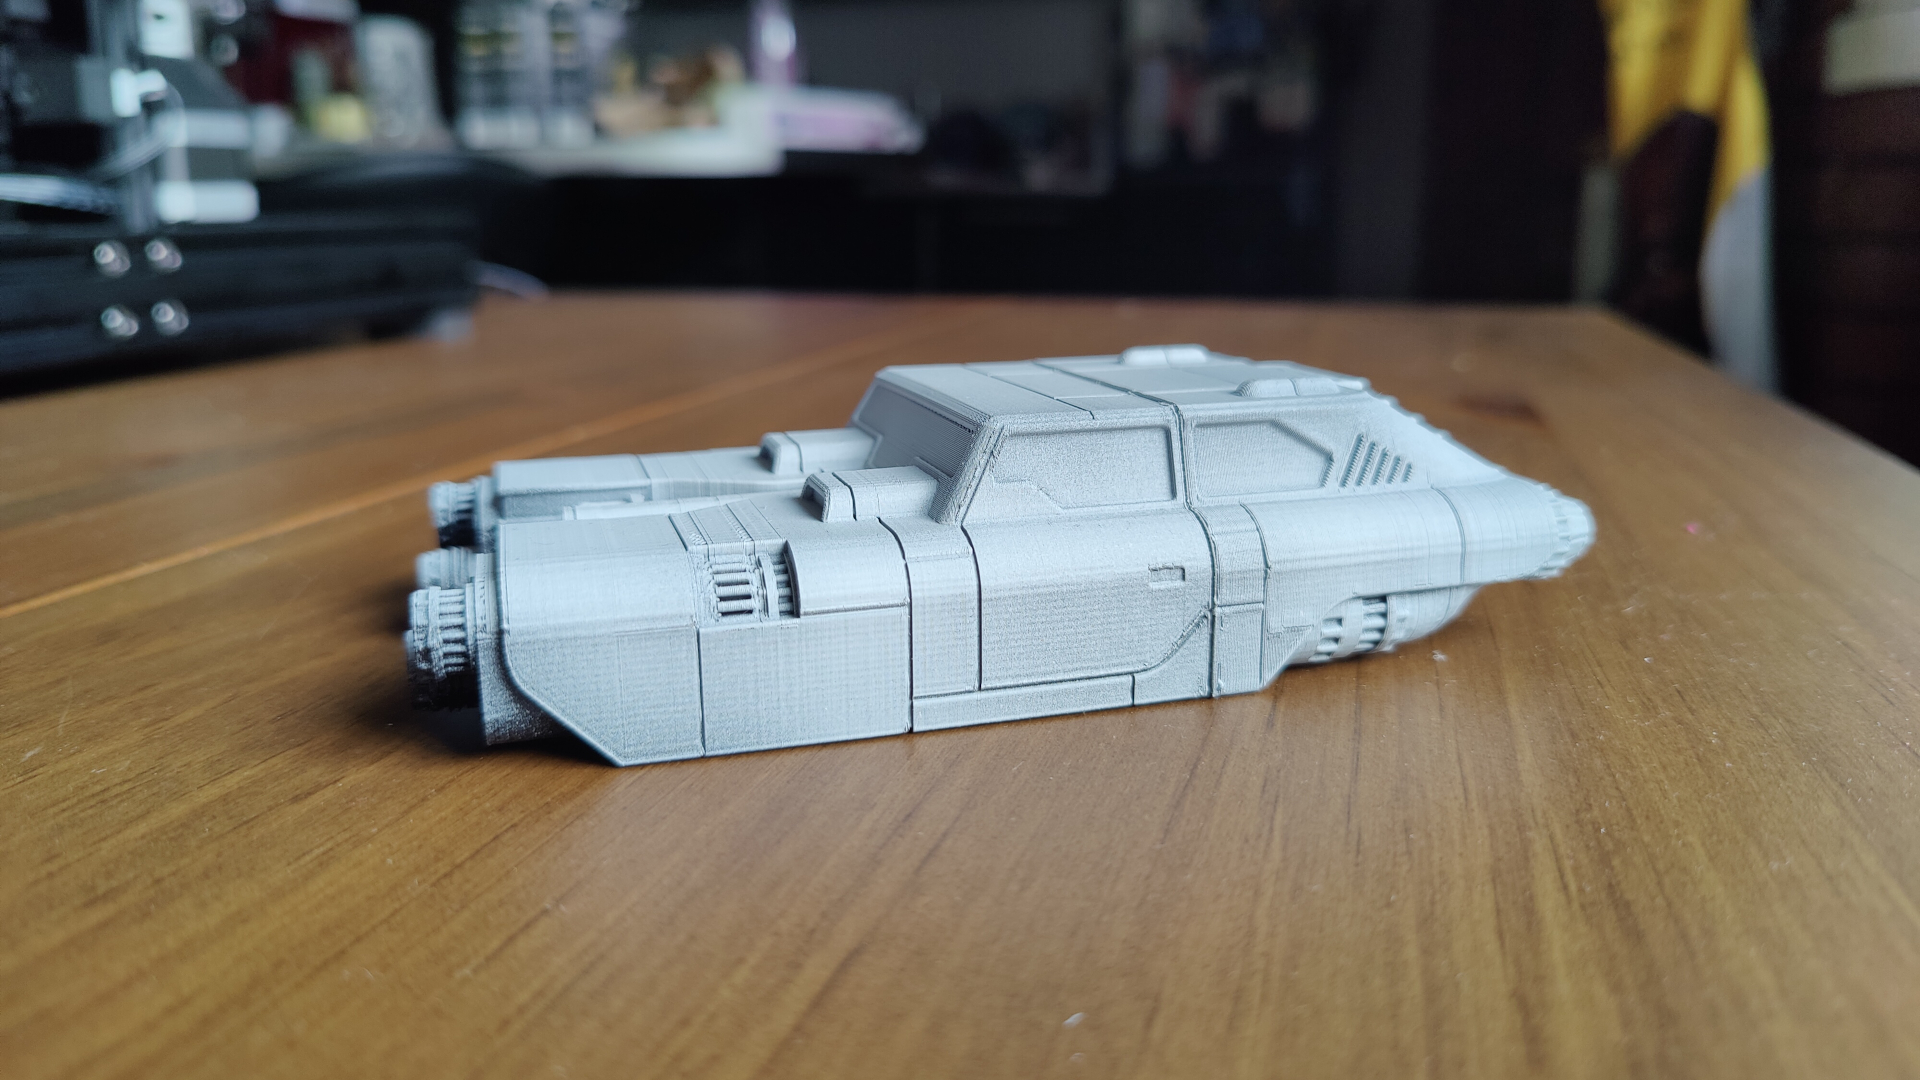
The test printer that we were sent came with a spool of black PLA. Since it can be difficult to make out the print quality on the black PLA prints, we also printed a model of this sci-fi hover car and sprayed it white with an airbrush, so you can see the details more clearly.
While the Anycubic Vyper has impressed us with print quality, we do have an issue with print speed. Not that the Vyper is slow, not at all. It’s capable of faster print speeds than most other models at this price range. No, our issue is with how fast it thinks it is. Slice up an STL in Cura and it will give you an estimated print time. This print time is always wildly optimistic. Not a huge issue on smaller prints where they take a few minutes longer than expected, but for large files you can be adding an extra ten hours on top of your estimates.
Anycubic Vyper: Price and warranty
- $359 MSRP
- One year warranty with some caveats
The Anycubic Vyper costs $359 as standard. You can also bundle in either 1kg, 2kg, or 3kg of PLA which will increase the cost slightly. We think this is a great price for a 3D printer of this quality and size, especially when you consider that it has auto levelling.
At time of writing, the only place you can buy the Anycubic Vyper from is the Anycubic website. It is also listed on Amazon, but it's not available until the end of July 2021.
Anycubic does offer a decent warranty on the Anycubic Vyper, but it’s not quite as extensive as we’d like for a product that costs this much. With all of Anycubic’s FDM printers, you get a 3 month warranty on the print head, 6 months warranty on the ultrabase, and 12 months warranty for everything else. For reference, Prusa offers a full one year warranty in the US (and two years in the EU).
Should you buy the Anycubic Vyper?
If you’re looking for a simple to use 3D printer with a large print bed, the Anycubic Vyper is an excellent choice. The auto-levelling system takes all the faff out of setting up your printer, ensuring that you get excellent prints right out of the box. The print bed is also huge, which means you can print some pretty hefty pieces in one go. It’s perfect for beginners who don’t know the ins and outs of dialing in the settings on a 3D printer, but it’s also a great low maintenance option for experienced printers too.
We have a few minor complaints about the Vyper, but none of them are deal breakers. The filament spool holder is flimsy, and somewhat poorly positioned. Our main concern is the issue we had with our extruder motor, but having looked around at all the other reviews of the Vyper, we haven’t seen anyone else have this issue.
Ian Stokes is the Tech Editor here at Top Ten Reviews. He has extensive experience in tech and games journalism, with work published on IGN, Kotaku UK, Waypoint, GamesRadar, Trusted Reviews, and many more. You'll find him covering everything from smartphones and home computers to 3D printers and headphones. He's also our resident cocktail expert.


