Top 10 tips for creating photo books
An expert gives their advice on how to curate, edit and ship the perfect photo book.
Sign up to receive the latest news, reviews, buying guides and deals direct to your inbox
You are now subscribed
Your newsletter sign-up was successful
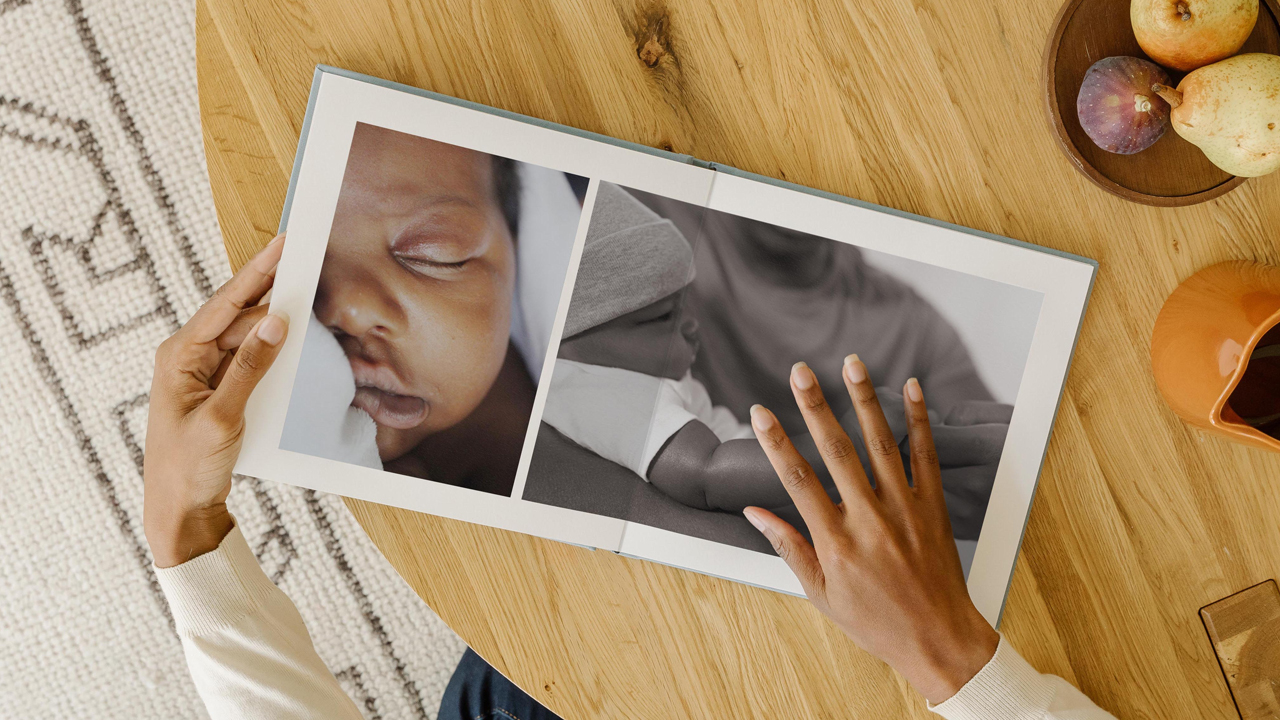
Photo books are popular gift options, as they can be used to mark special occasions, commemorate past events and record family history. A carefully curated collection of pictures, printed in a well-bound book that’s made from high quality materials, can be a lasting tribute to a loved one and a handsome item to display on your bookcase.
While we already have a thorough guide to the best photo books available in 2021, we’re aware that some people may feel overwhelmed by the process of selecting, editing and curating these books. For this reason, we spoke to Barrett Brynestad, Artifact Uprising Creative Director, to get his advice on how to make the perfect photo book.
He's got some great advice that runs all the way through from taking and editing the photos, right through to how to choose the right materials for your book, how to get it shipped, and any finishing flourishes that'll make it truly special. So, here are his top ten tips on how to create your photo book.
1. Be super selective
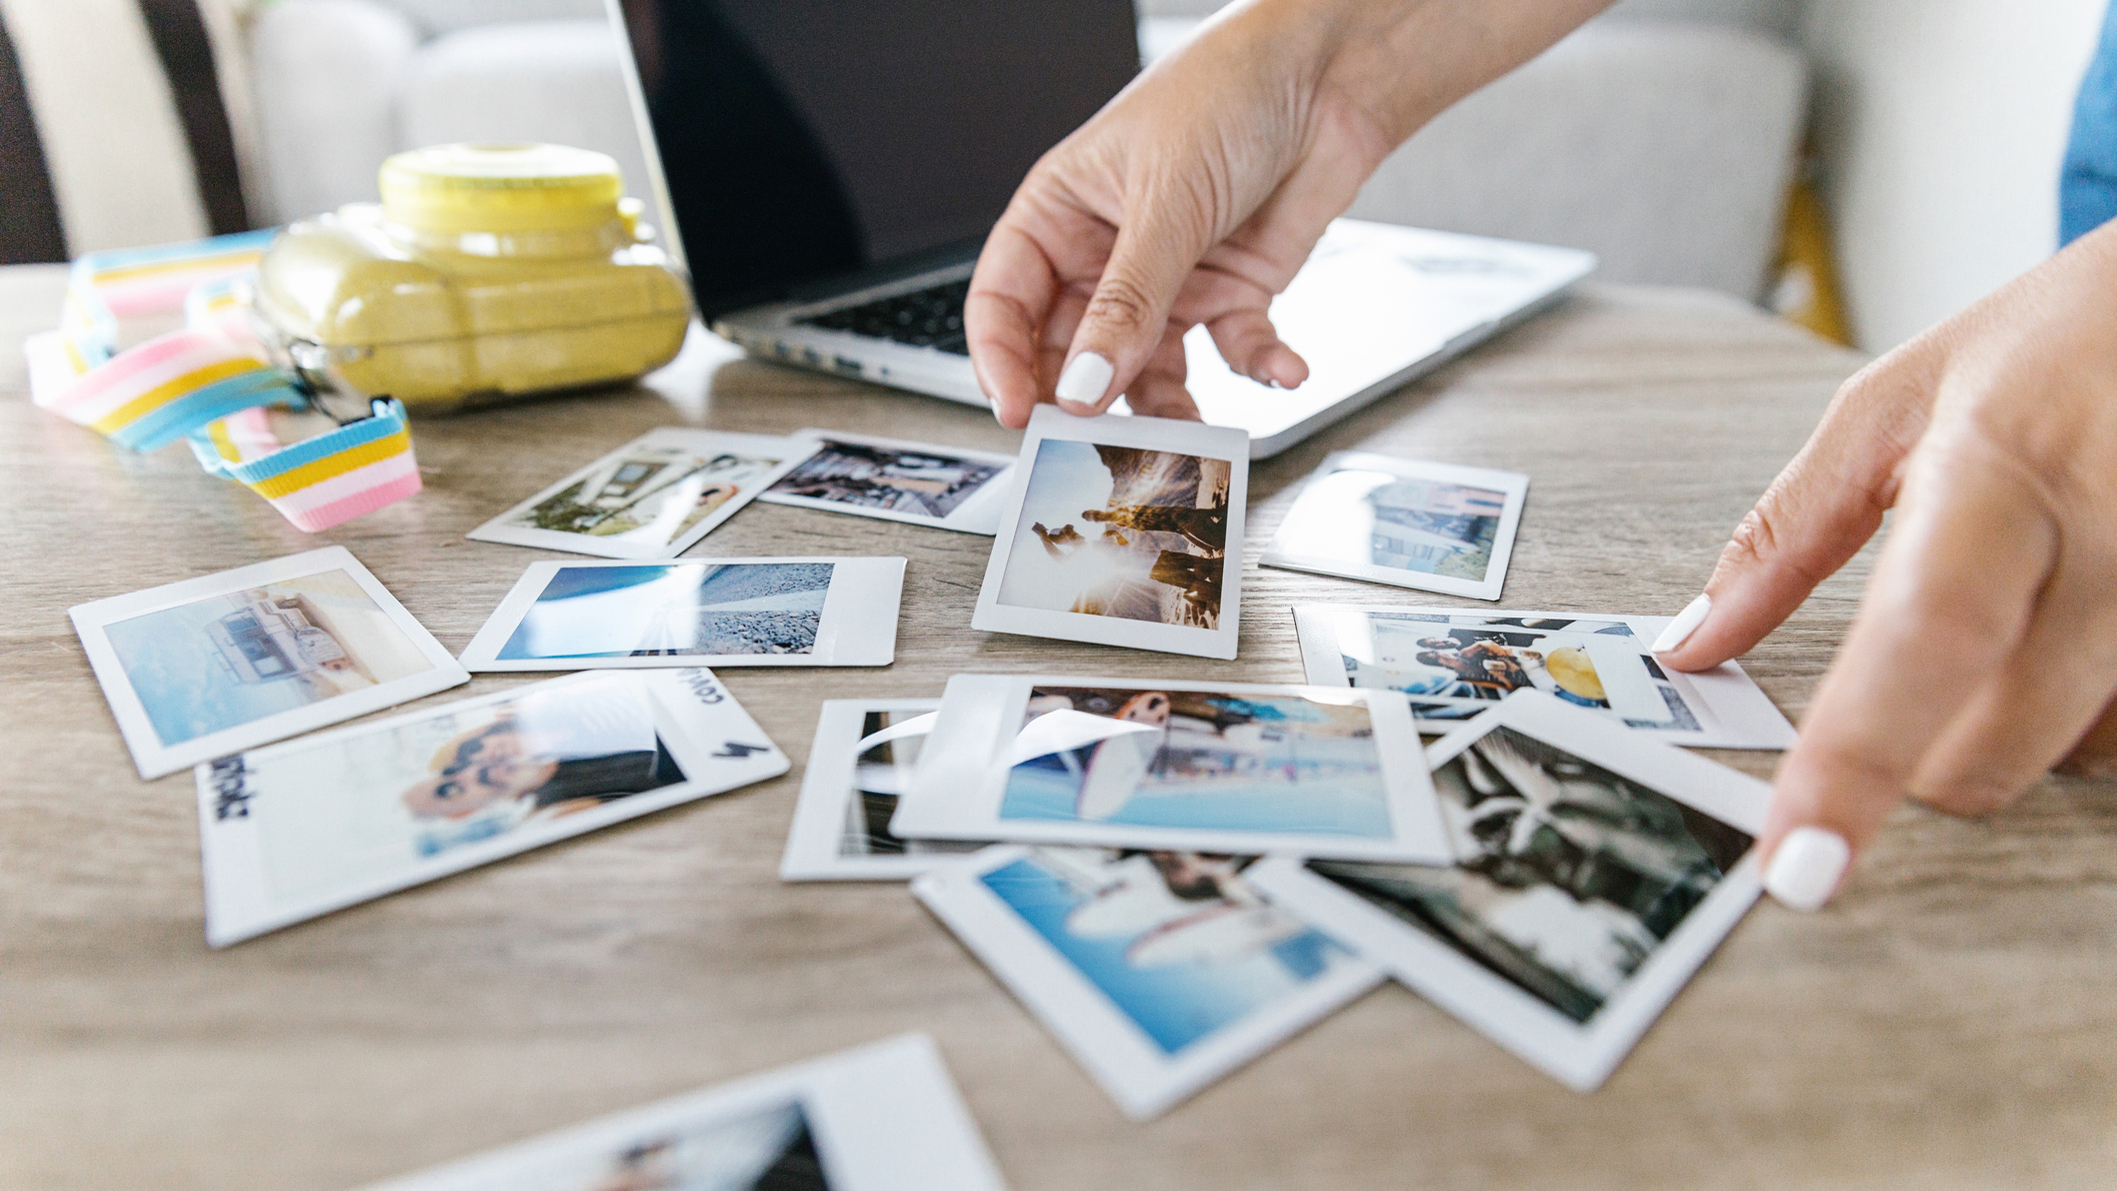
Often, the problem when you're creating a photo album is knowing what to include, and what you should leave out. With modern cameras and phones allowing us to take as many pictures as our memory cards allow, you'll likely have way more pictures than you can actually fit into the book.
"There are often so many photos you want to include, but it can be helpful to avoid redundancy and be extra-selective with which ones you keep," suggests Brynestad. "When selecting your photos, choose the images that spark emotion, invite the viewer in, or transport them to that moment in time. Often, these are not the posed or overly thought-out photos, but the candid, caught-in-the-moment images where you can hear someone’s laugh or feel the sunlight."
2. Pick high res images
In terms of resolution, we recommend that 300dpi (dots per inch) is the ideal resolution, and Brynestad agrees. Some of the best smartphones can deliver this kind of resolution, but you'll definitely get it shooting in RAW with a DSLR or mirrorless camera.
You can check the resolution of most image files by right clicking on it, then scrolling down to properties and clicking on the 'details' tab. If you're using older images, which you've scanned yourself, then it's especially important that you clean them up using some editing software and make sure they're at a high enough resolution for a photo book.
Sign up to receive the latest news, reviews, buying guides and deals direct to your inbox

3. Discard dark pics
There are some photos you should definitely exclude when you're going through. "Printed photos generally appear darker than they might on your device or your computer screen," says Brynestad, so you want to avoid anything that is too dark when you see it on a phone or computer screen.
You can try to improve the look of these images using an editor, but that may result in them looking oversaturated. Our recommendation is that you put them in the 'no' pile, unless they're integral to the photo book.
4. Fine tune images using an editor
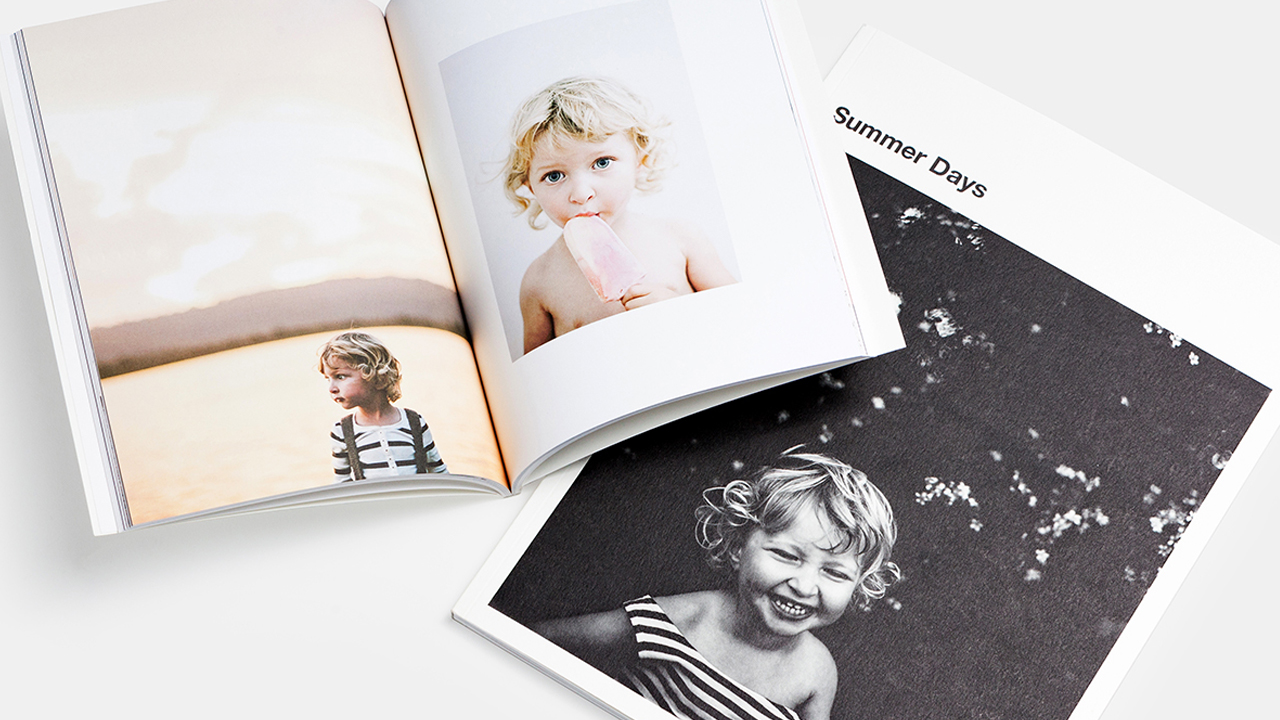
We recommend using some of the best photo editing software to get your pictures into shape before you put them into your photo book. Brynestad offers some advice here. "Adjusting the brightness, contrast and saturation and ensuring the photo is cropped to emphasize the scene are some of our go-to steps," he explains.
While we'd never truly recommend altering too much of the image, you can now replace the sky in your photos using Photoshop, so if you had poor weather for your wedding, for example, and it resulted in disappointing pictures... there is a fix for that.

5. But don’t over edit old photos
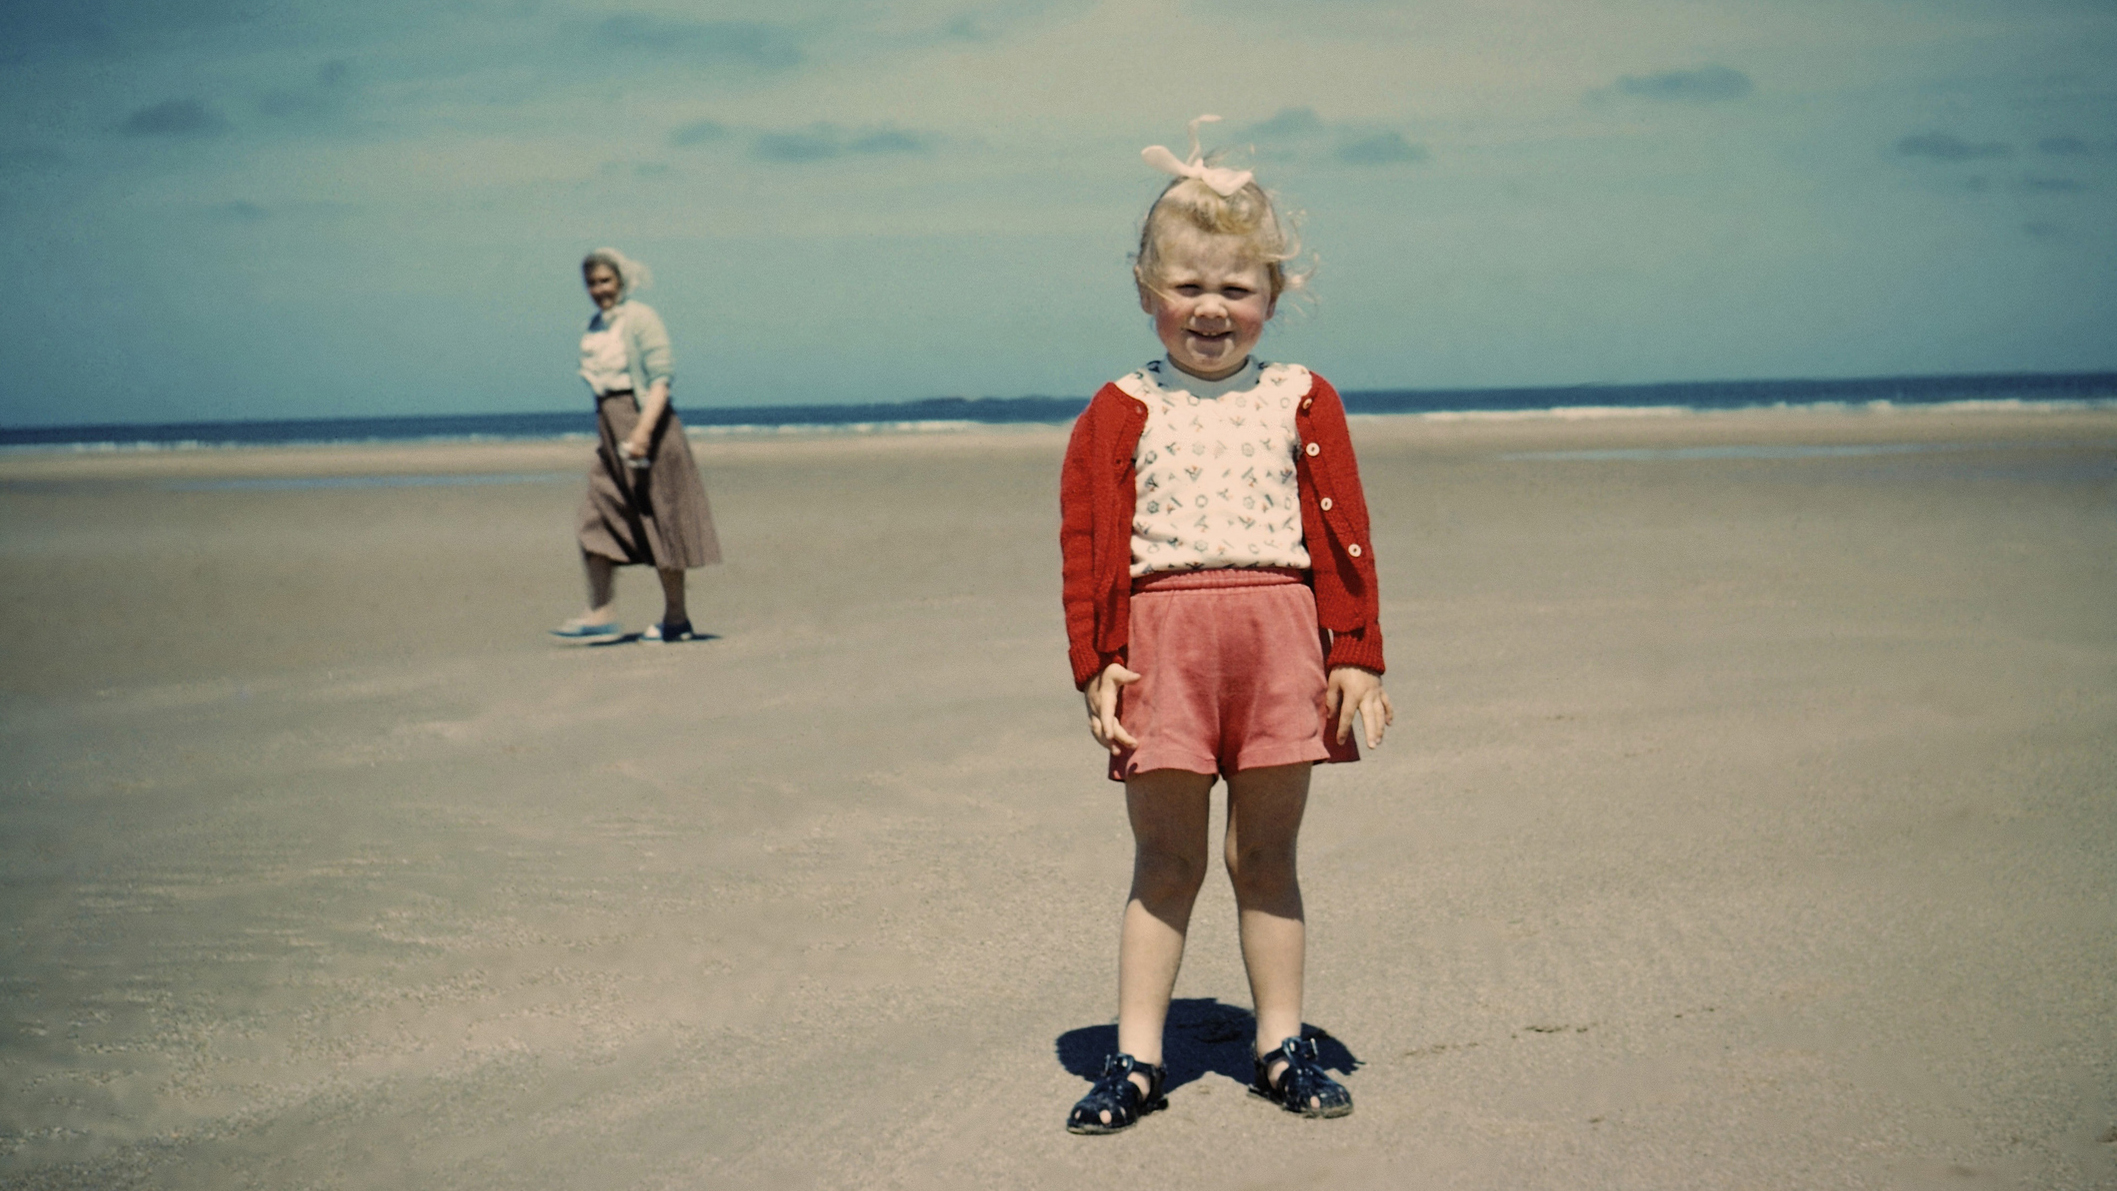
It may be tempting to edit old photos where the color has bled or a faded look has settled over the top. However, Brynestad actually recommends that you fight against this instinct:
"With old photos, sometimes the color is too long gone, or a sepia tone has taken over an entire negative — don’t strive for perfection here, embrace the light leaks, scratches and dust, these colors and textures are part of the story and help bring the times and places to life in a way that’s impossible to recreate."
6. Get the crop right
A lot of photo book sites offer some basic form of software, where you can upload pics and lay them out. You'll often come across unusual shapes here, so it can be useful to crop images before you upload them to make them fit more easily.
Crops can also be used to centre images or remove unwanted objects. If you're feeling adventurous, there are tools in Adobe Photoshop CC that will allow you to remove objects (people) entirely, automatically adding in a background as you do. It's really clever stuff.
7. Consider adding captions
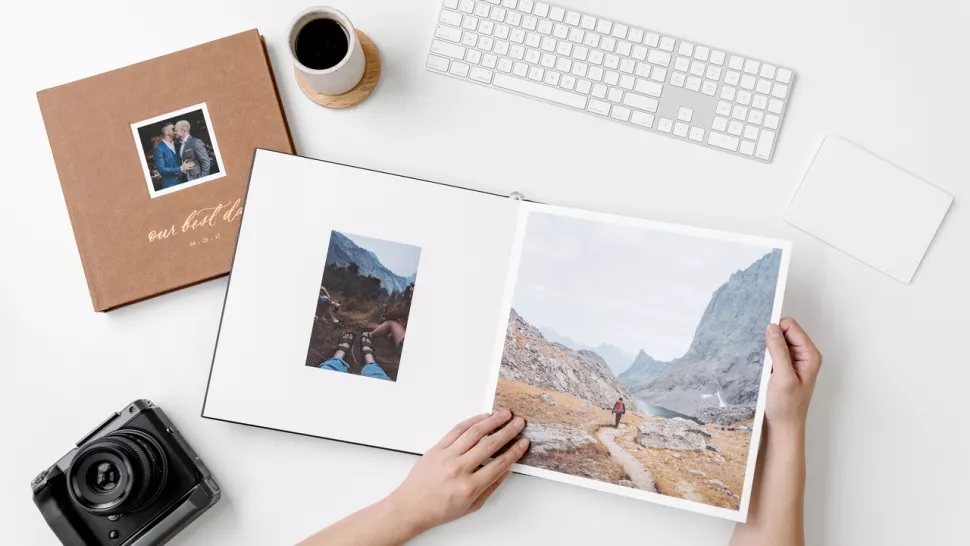
Whether or not you add text is up to you. Most photo book printers will offer the opportunity to do it, but some don't. Captions can add context and details, so if you're creating a book for a specific event, and you want to remember the little things, we'd recommend some text.
Brynestad concurs: "Using text in your photo book - whether that’s a quick snippet to describe dates, names and locations or a longer dedication page - can really supplement your photos, helping to tell your story, preserve specific details, and personalize a photo book. On the flip side, we’ve also seen some really beautiful albums created with no text at all."
After all, a picture can tell a thousand words, so don't feel like you need to annotate every single image. What we would recommend is keeping things consistent through the album.
8. Remember: Context is key
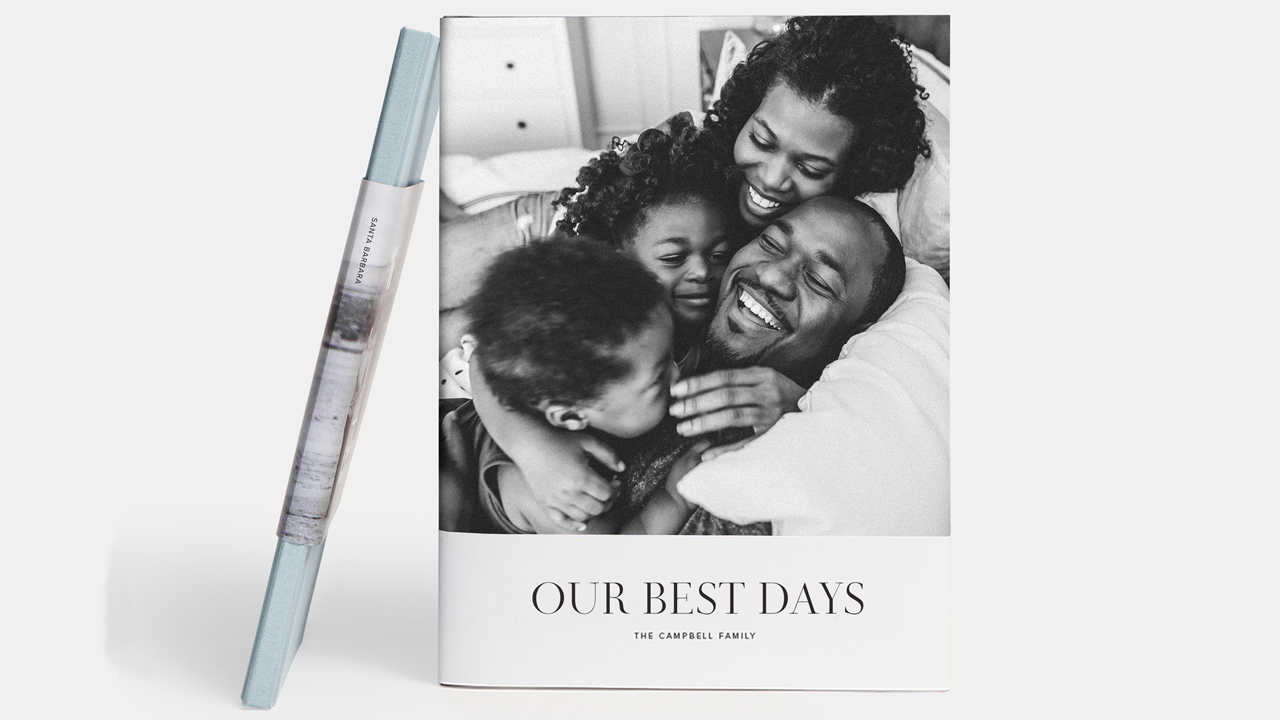
Picking between color themes and styles can be difficult, but Brynestad has some good advice on how to make a decision here.
"When deciding what type of book you want to create, ask yourself how the album will be used - do you want an archival album that will be passed down from generation to generation, do you want something that can be displayed in your home and that will match your décor, or do you want something that’s a little more casual that can hold many photos and that you can create multiple copies of to gift."
9. Pick high quality materials
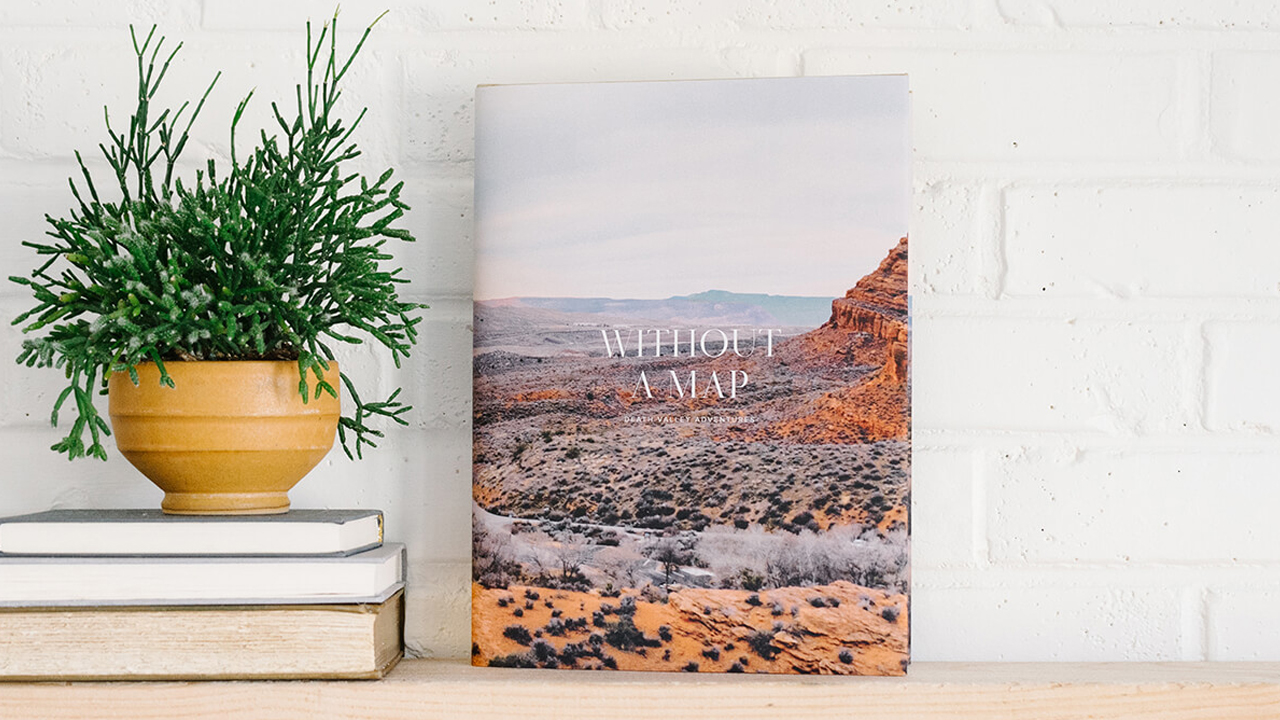
While we have our preferences for materials, we are no experts when it comes to what's best for creating photo books. So we passed this one over to Brynestad in its entirety. Here's what he had to say:
"Heirloom albums like our Layflat Album and Signature Layflat Album are handcrafted using time-honored binding techniques with premium linen and leather covers - these are meant to be looked at often, displayed and handed down. Or, our Hardcover Photo Book or Softcover Photo Book can hold hundreds of pages of photos - great if you’re someone with a ton of photos and budget-friendly if you’re looking at creating multiple copies of one project."
10. Opt for the best possible packing materials
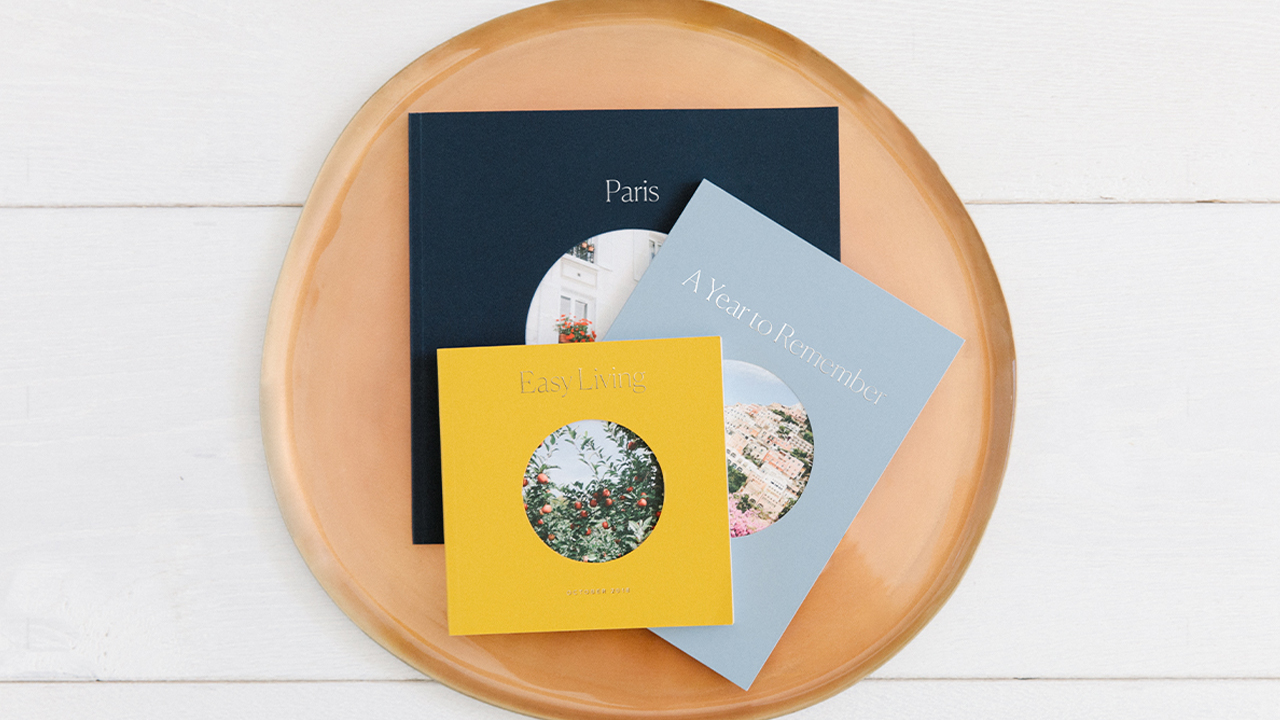
While there's little you can do about shipping from the actual book printer, there are things you can control when you're gifting a photo book to another person. Where possible, simply have it shipped direct to them, and pay extra for faster shipping, if you're able. The less time a photo book spends going through the postal system, the better.
If you are sending it across the country yourself, make sure you use quality packaging materials, including bubble wrap and packaging chips. Don't risk the chance of your gift getting dented or crushed for the sake of a slightly higher shipping cost. We'd recommend using a courier too, as they often have better tracking tools than the regular postal system.

Andy was the previous Editor-in-Chief of Top Ten Reviews. With over 18 years experience in both online and print journalism, Andy has worked for a host of world-leading tech and gaming brands, including PC Gamer and GamesRadar. He specializes in photography, technology and smart home, and has provided expert comment for sites like The Guardian. In his spare time Andy is an amateur photographer, and teaches at the National Film and TV School.

